Adding group boxes to a window
Use group boxes to make the layout of your windows more interesting, and to give the user some visual clues about the type of data that is being entered. However, do not use too many group boxes – two or three is typical for most windows.
If you delete a group box from a window, all of the controls within that group box are automatically removed from the window.
Do not place a group box inside another group box, as this may give unexpected results.
To add a group box to a window:
- In Window Manager, open the required window.
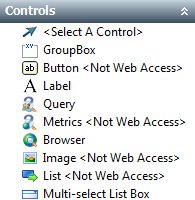
- Expand Controls tree.
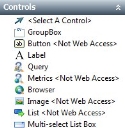
- Click GroupBox, then click on the Window Editor.
The group box is added to the window.
- Use the selection handles to size the group box as required, and position it.
- On the Properties grid, alongside the Text property, type the name for the group box.
- With the group box selected, on the Properties grid, set Is Two Column GroupBox to True for those group boxes that you want to have two columns when they are displayed in Workspaces.

Fields that are wider than half the width of the group box in Window Manager always appear full width in Workspaces. This means that a group box configured for two columns that contains a large text entry field will still use the full width for the text field.
- With the group box selected, on the Format menu, point to Order, then click Send to Back.
- Click
 .
.
A property called Align with Groupbox is available for group boxes. This property enables you to improve the appearance of windows displayed in Web Access by specifying which other group box on the window the selected group box is aligned with. Align each of the group boxes with the group box at the top of the window.
The Background Color property for the group box enables you to set a different background color for the group box. Setting the Enable Background Color property to False makes the background color for the group box transparent.