Creating a window using the Window Wizard
The Window Wizard enables you to create a new window and select which attributes you want to appear on it. Two predefined group boxes are created by the Wizard: Details and Status, and you select which attributes appear in them. You can also specify which collections appear on the window, and choose to create a Web Access version of the window if required.
To create a window using the New Window Wizard:
- Start the Window Manager component.
- On the Business Objects tree, navigate to, and select the business object for which you want to create a new window, then on the Actions list, click New Window Wizard.
The New Window Wizard starts.
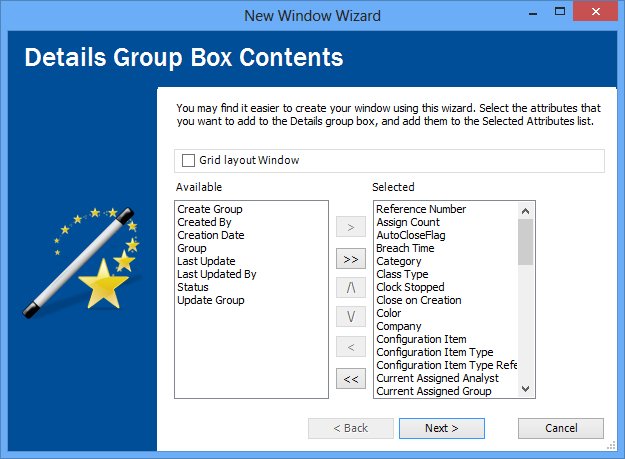
Firstly, you can add attributes to the Details group box. Typically, these attributes can include Description, Title, Category and so on.
- In the Available list, select the required attribute, then click
 .
.
The attribute is added to the Selected list.
You can also add attributes by double-clicking them, or hold Ctrl while clicking to select more than one attribute at a time. You can change the order in which the attributes appear using the, Up and Down arrows.
- Repeat until you have the required attributes that you want to appear in the Details group box. You can change the order in which they appear by using the Up and Down arrows on the wizard.
- If you want to create a window for Web Access, as well as for console, select the Grid layout Window check box.
- Click Next.
The Status Group box Contents page appears.
Notice that a number of suggested attributes have already been added for you. - If required, add additional attributes, then click Next.
The Collections page appears. Collections are groups of related business objects, and can appear as tabs at the bottom of your window, on the Process tree, or both. For example, Assignments, Notes, Attachments and so on. - Add the required Collections to the Selected list, then click Finish.
The window is created. You can reposition the controls as required. - If required, you can rename the window using the Actions list.
- Click
 .
.