Using the Create action in a process
After you have added the Create action to the required relationship in Object Designer (see Adding the action that creates the objects), you can use the action in your process designs.
You can use the action as either an optional, standard, or automatic action. The procedures below describe how to use a Create Group action. You would use a Create User or Create CI action in a similar way.
To add Create Group as an optional action in a process:
- In Process Designer, deactivate and open the required process.
- In the process diagram, select the status where you want to add the optional action.
- In the Properties grid, alongside Optional Action Instances, click
 .
.
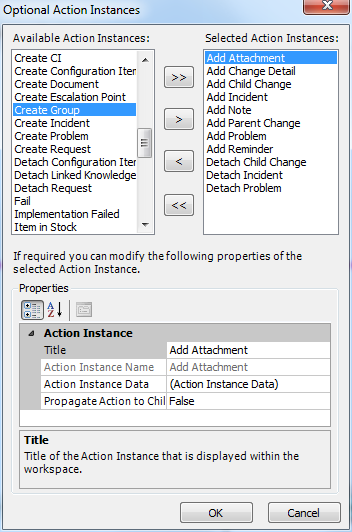
The Optional Action Instances dialog appears.
- In the Available Action Instances list, select the action that you added in Object Designer (in our example, select Create Group), then click
 .
.
The action is moved to the Selected Action Instances list.
If you have designed a window for the item that you are creating with this action, you can add initial data to the window. - In the Selected Action Instances list, select Create Group, then in the Properties grid, alongside Action Instance Data, click .
The Group window appears. - Enter any values that you want to appear when the window first appears at runtime, then click OK.
The window closes.
If the action you have selected creates a top-level object (CI, User or Group), you can specify which subclass is created using the Object Type property. If you do not set the Object Type property for a top-level object, then when the user clicks the action at runtime, they are asked to choose the object type at that time. - Alongside the Object Type property, click .
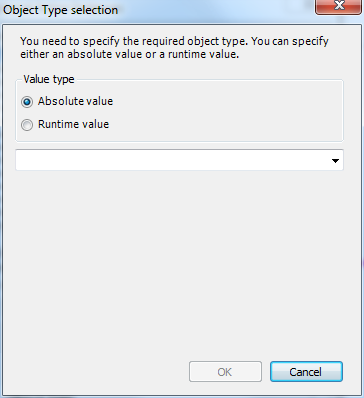
The Object Type selection dialog, which enables you to select the specific type of object that you want to create, appears.
You can either select a specific value for the object type, or you can determine which type of object to create at runtime, based on the value of an object type related to the specific process instance. - Either select the Absolute value option button and choose a value from the list, or select the Runtime value option button and choose a value from the attribute tree that appears.
If you make no selection, a dialog appears at runtime for the user to select the type from. - Click OK.
The Object Type selection dialog closes. - Click OK.
The Optional Action Instances dialog closes.
The procedure to add the Create Group action to a manual action is similar.
To add Create Group as a manual action in a process:
- In Process Designer, deactivate and open the required process.
- From the Toolbox, drag Action Instance onto the workspace.
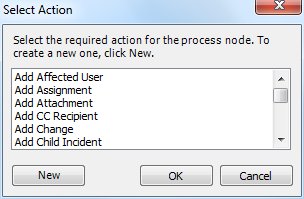
The Select Action dialog appears.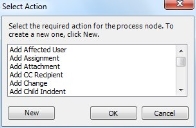
- Select the required action instance, then click OK.
- Display the Properties grid.

- In the workspace, select the Action Instance that you added, then set the required properties in the Properties grid.
Title – the name of the action that will appear in the Actions list.
Action Instance Data – enables you to set the initial values that appear on the window at runtime.
Object Type – for a top-level object, this enables you to set which type of object to create; if you do not set a value, the user is asked to choose which subtype they require at runtime. As for an optional action, you can set an absolute or runtime value for the object type. - Complete the process design as usual.
The procedure for automatic actions is slightly different because you must specify the object type if the action was created for the top-level object – you cannot leave the object type to be selected at runtime for an automatic action.
To add Create Group as an automatic action in a process:
- In Process Designer, deactivate and open the required process.
- From the Toolbox, drag Automatic Action Instance onto the workspace.
The Select Action dialog appears. - Select the required action instance, then click OK.
If the action was created for the top-level object, the Object Type selection dialog appears. If the action was created for a subclass, the window for the subclass appears immediately. - Specify the object type as required, then click OK.
The window for the appropriate object type appears. - Complete the window as required, then click OK.
For more information about specifying dynamic values for automatic action instances, see Specifying dynamic values for automatic actions.