Configuring Query and Report Designer
This section describes how you can configure the way in which you use Query and Report Designer.
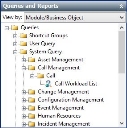
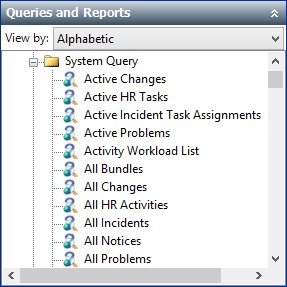
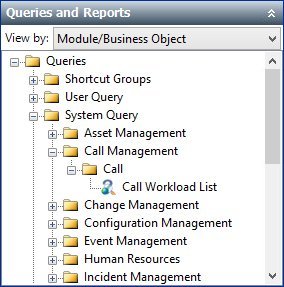
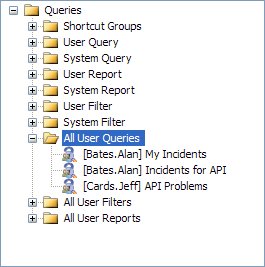
The Queries and Reports tree
On the Queries and Reports tree, you can choose to display the queries and reports alphabetically, or display by Module and Business Object.
To configure the Queries and Reports tree:
- Start the Query and Reports Designer component.
- On the Queries and Reports tree, in the View By list, select either Alphabetic or Module/Business Object.
The tree changes to reflect the option you selected.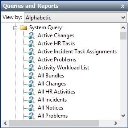
The SA user can view all of the user-defined queries, reports and filters that are within the system.
User options
Each user can modify the way in which their version of the Query and Report Designer behaves. For example, you can choose to display only those attributes (fields) that appear on windows, rather than all the attributes for the required business object.
The User Options page appears when you first start the Query and Report Designer.
To modify user options:
- Start the Query and Report Designer.
The Query and Report Designer starts, and the User Options page appears.
- Complete the required fields:
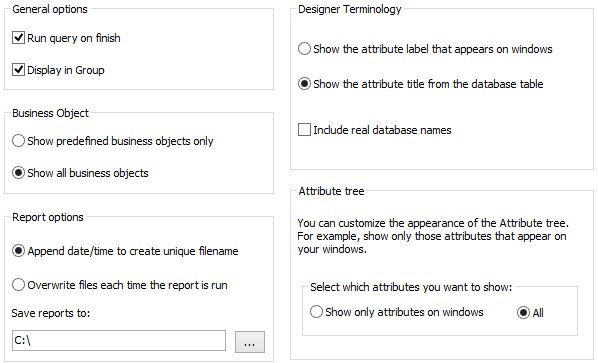
Run query on finish – when you click Finish in the Query and Report Designer, the query runs immediately.
Display in Group – the query is displayed in the relevant shortcut group.
Show predefined business objects only – only the predefined modules of Change, Configuration, Incident, Problem, and System and their top-level objects are available when you create a query.
Show all business objects – all of the business objects within your database appear in the Business Object list.
Append date/time to create unique filename – each time you generate a report, the date and time is added to the filename to distinguish it from other reports. For more information, see Report Designer.
Overwrite files each time the report is run – the report is not given a new name; when you run the report, it overwrites earlier versions of the same report.
Save reports to – reports are saved to the specified location. We recommend that this location is situated on a network so that the reports are available to all the required people.
Show the attribute label that appears on windows – the attribute label used on your windows is used on the Attributes tree.
Show the attribute title from the database table – the attribute title from Object Designer is used on the Attributes tree.
Include real database names – in addition to either the attribute label or attribute title, the database name is shown on the Attributes tree.
Show only attributes on windows – only attributes that appear on window designs, and essential attributes such as Change ID and so on, appear on the Attributes tree. All other attributes are hidden.
All – all attributes appear on the Attributes tree.
- Click
 to save the changes you have made.