Designing grouped queries
You can add groups to your query when you initially design it or at a later time.
To add groups to a query in Query Designer:
- Open the query you want to add grouping to, then in the Query tree, click the Grouping branch.
The grouping page appears.
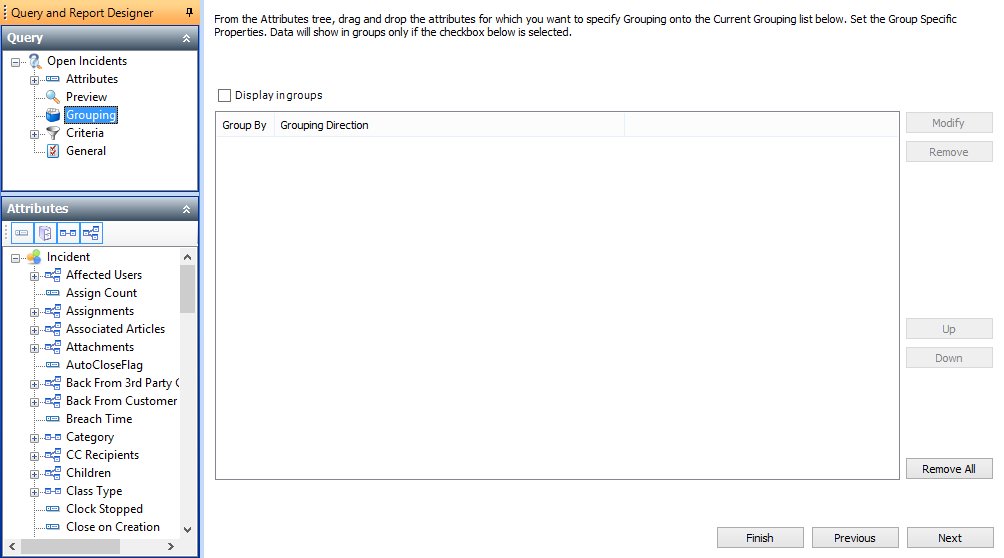
- From the Attributes tree, drag the attribute that you want to group by onto the grouping list.
The Group dialog appears.
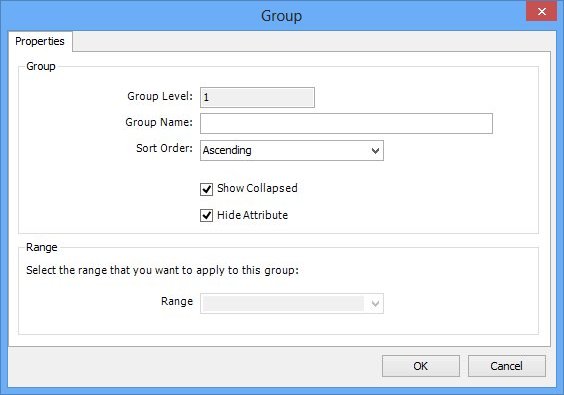
- Complete the Group dialog as follows:
Group Name – the name that appears before the group value when the query is run
Sort Order – Ascending or Descending
Show Collapsed – select this to display the query with the groups initially collapsed so that you can see only the group headers, and not the individual records
Hide Attribute – select this to remove the column for the grouping attribute from the results list
Range – (for date/time attributes only) enables you to set the range of values that constitute a grouping value for a date/time attribute. You can choose from Yearly, Half Yearly, Quarterly, Monthly, Weekly, Daily, or Hourly. - Click OK.
The group is added to the grouping list. - Add any further grouping you require, as above.
If you add more than one grouping attribute, the query is grouped by the top attribute in the list, then each group is grouped further by the following attribute in the list. You can use the Up and Down buttons to change the grouping order.
You can also modify or remove groups by selecting the required group, then clicking Modify or Remove.

Make sure the Display in groups check box is selected. This provides a convenient way of disabling the groups you have set up, and is also needed to make sure that certain queries created in earlier versions still work as expected.
You can change the font used in the group headers using the Group Header Appearance system setting.