Creating a new user using the New User wizard
To help you configure your system more quickly, you can create new users using the New User Wizard, and specify their group and role membership in one process.
The following procedure documents creating a new Analyst user. There are similar wizards for other types of user.
To create a user using the New User Wizard:
- In the Administration component, expand the User Management tree.
- Expand the Users folder, and select the relevant user type folder. For example, Analyst.
- On the Actions list, click New Analyst Wizard.
The New Analyst Wizard starts, displaying the standard Analyst window. This will change according to the type of user that you are creating. - Complete the relevant user information, then click Next.
The next stage is to select the group(s) that you want the user to be a member of.
Groups are not restricted to User Type. Roles, however, are.
- Select the relevant Group Type, for example, Support Group.

- In the Available Groups list, select the relevant group, then click
 .
.
The Group Membership window appears.
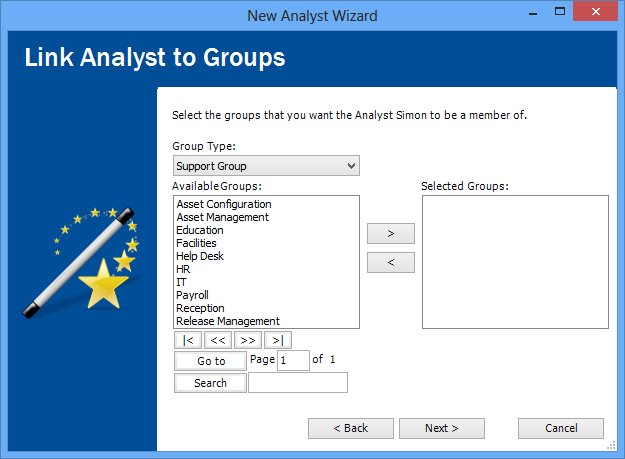
If you have many groups listed, you can use the paging buttons under the Available Groups list.
- Select the relevant options, then click OK.
- Click Next.
You can now select the required roles.
A user does not have to be assigned a role, but must be assigned to either a group or a role to be able to have privileges assigned to them. Roles are linked to the type of user that you are creating.
- Click Finish.
The User is created with its relevant groups and/or roles.