Publishing shortcut groups to users, roles and groups
To access the different components of the Ivanti Console, Web Desk or Self Service, you add shortcuts to those components to a shortcut group on the Shortcut bar. You can either do this on an individual basis, or you can define sets of shortcuts for specific users, groups or roles. This means that you can manage which components each user, group or role can access. When you create a shortcut group, you can then publish it to the required users, groups or roles.
To create a set of shortcuts to application components:
- On the Shortcuts menu, click Manage Shortcuts.
The Shortcut Manager dialog appears.
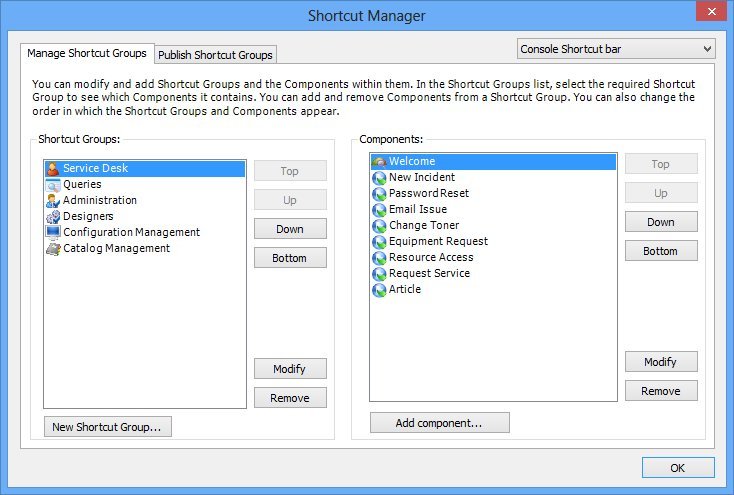
- At the top of the dialog, select Console Shortcut bar, Web Desk Shortcut bar, or Self Service Shortcut bar as required.
Console and Web Access Shortcut bars are maintained separately. Changes to Shortcut bars in Web Access do not take effect until you reset IIS. The menu in Workspaces is maintained using the Manage Menu and Manage Dashboards items in the Administration menu group in Workspaces.
- Underneath the Shortcut Groups list, click New Shortcut Group.
The New Group dialog appears.
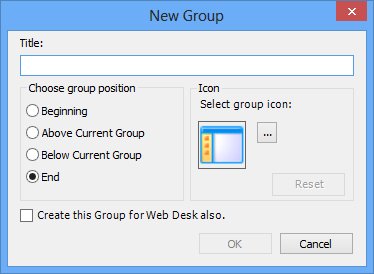
- Type a Title for the group, and the position where you want it to appear.
To help to distinguish between the different groups, you can specify a different icon to be associated with that group. If you do not specify an icon, but create more than one shortcut group, then you may find that you have to expand each group to see which shortcuts it contains.
- To specify an icon, click
 .
.
The Open dialog appears. - Select the relevant icon, then click OK.
- Click OK on the New Group dialog.
The group is added to the Shortcut Groups list. You can now add shortcuts to that group. - Under the Components list, click Add component.
The Component Maintenance dialog appears. - In the Select Component list, select the required component, then if required, specify a new name for the component.
- Complete the properties as required, then click OK.
The component is added to the Components list. - Repeat as required for all of the components that you want to add to this shortcut group.
If required, you can change the order of the components on the shortcut bar. To do this, select it in the Components list, then click either Up or Down. You can also change the order of the shortcut groups in a similar way.
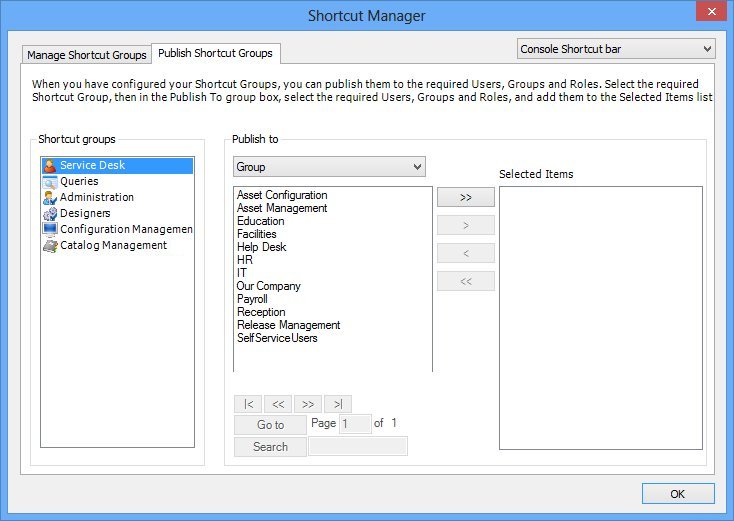
- Click the Publish Shortcut Groups tab.

- At the top of the dialog, make sure the required application is selected: Console Shortcut bar, Web Desk Shortcut bar,or Self Service Shortcut bar.
- In the Publish to list, select User, Group or Role.
The list of available items below updates accordingly. - Select the relevant users, groups or roles, then click
 to add them to the Selected Items list.
 - Repeat for other users, groups, and roles as required.
- Click OK.
The shortcut groups are published to the relevant people.