Setting privileges using the Privilege Settings Wizard
To enable you to configure your system quickly, you can define privileges at a specific Module, for example Incident Management, business object or for all Modules at one time, and then all of those privileges are inherited for the nodes beneath it.
You can override specific privileges if required, by setting their options as before, by double-clicking the specific action privilege to toggle from a tick to a cross.
If you have already defined a set of privileges for a specific module, for example, Incident Management, then these privileges may be overwritten by this wizard, however, you do have the option to keep them as they are.
The following procedure starts by creating a new role. You create a set of privileges for a new group and update existing role and group privileges in a similar way.
To set privileges using the Privilege Settings Wizard:
- On the User Management tree within the Administration component, expand the Roles folder, and then select the relevant Role Type folder.
- On the Actions list, click New Role.
The Role window appears. - Type a Name and Unique ID for the role, then click
 .
. - On the Actions list, click Privileges.
The Privilege tree appears. - Expand the Modules folder, then select the relevant node. For example, Incident Management.
- On the Actions list, click Privilege Settings Wizard.
The Privilege Settings Wizard starts and the Select Privileges page appears.
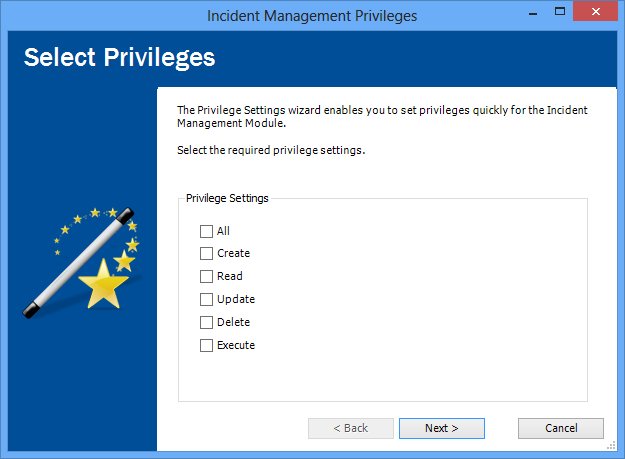
On this page, if you select All, then all of the check boxes are automatically selected.
- Click Next.
The Clear Existing Settings page appears.
This page applies only to roles and groups that you are updating rather than creating for the first time, but does appear when you are creating a new role or group. If you are creating a new role or group, just click Next.
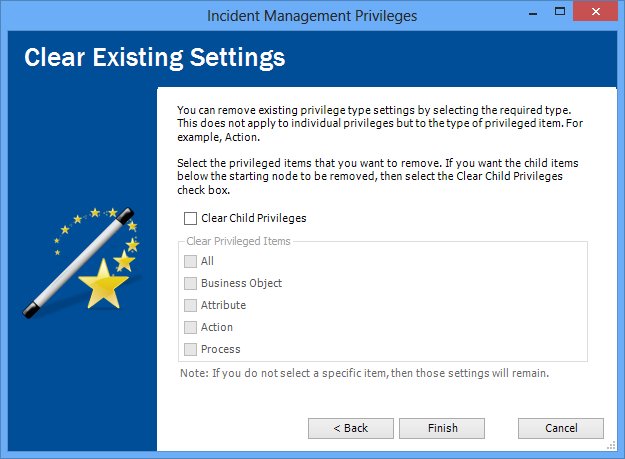
You can remove existing privilege type settings by selecting the required type. This does not apply to individual privileges but to the type of privileged item. For example, Action.
- If you want the child items below the starting module node to be removed, then select the Clear Child Privileges check box.
Clearing the Clear Child Privileges check box disables all of the other check boxes within the Clear Existing Privileges group box. - If you have selected the Clear Child Privileges check box, select the privileged items that you want to remove. If you do not select a specific item, then those settings will remain unchanged.
- Click Finish.