Creating an import configuration
You can schedule when you import the data, for example, each night at midnight.
In addition to importing current data into Service Desk or Asset Manager, you can import data that is marked as deleted. For example, you may have a very large customer database that you want to import. Within this external database, you may have a number of customers that are no longer with your organization. Instead of having to manually delete these users in either your external database or after they have been imported, you can map the ‘deleted’ attribute to a ‘soft delete’ attribute, so that they are automatically deleted. This will save you time and effort.
The attribute that you use to indicate a True or False value is the attribute that you need to map to the Soft Deletion attribute. This is typically a Boolean data type. The True value could be Y, Yes, True, 1 and so on as opposed to the False value which could be N, No, False, 0 and so on.
To create a new import configuration:
- In Console, start Data Import.
- On the Import Mappings tree, select the Scheduled Imports folder.
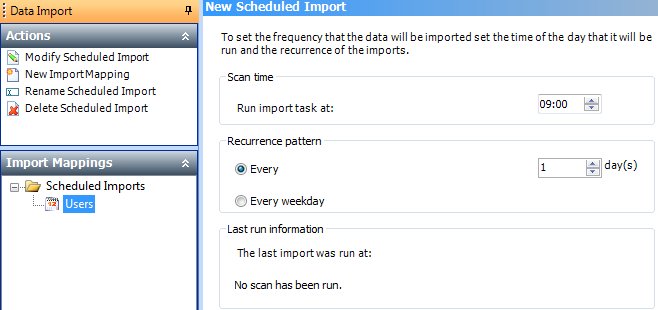
- On the Actions list, click New Scheduled Import.
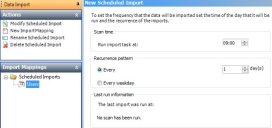
- Specify the required import time and frequency, then click
 .
. - On the Import Mappings tree, select the schedule you have just created, then on the Actions list, click New Import Mapping.
The New Import Mapping window appears.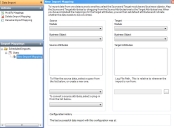
- In the Source Module list, select the required module.
- Select the Source Business Object from which you want to import data.
- Repeat for the target objects.
- If required, you can filter the data from the source. In the Filter list, select the required filter, or click [New].
- If required, you can use a bespoke plugin to convert a source attribute. In the Plugin list, select the required plugin. For example, you may want to append a field with further data before importing that information into a single field.

Contact your supplier to request bespoke plugins.
- Drag the attributes that you want to import data from onto the target attributes.
- You need to specify the Target Key attribute. In the Target Attributes list, select the required business object, then on the Actions list, click Set Target Key Attribute.
Alternatively, right-click the required business object, then click Set Target Key Attribute.
The Target Key Attribute dialog appears.
- Select the required attribute you want to set as the key attribute, then click OK.
- If required, you can transform the data that you are importing. For example, you can truncate Incident IDs, convert the case of a name and so on.
You cannot transform the target key attribute. For more information about transforming your data and converting attribute values, see Converting attribute values.
- Alongside the Log File Path box, click
 to browse to a suitable location where you want to store the data import log file.
The Save As dialog appears. - Type a log file name, then click Save.
The Log File Path box populates with the path and filename of the log file. - Click .
The import runs at the scheduled time.
Alternatively, click the Import Mapping you have just created, then click Import Data Mapped on the Actions list to import the data immediately.
- You can create more than one import mapping, as described above, and you can change the order (or priority) in which the import mappings take place. You do this by dragging the mapping to the required position on the Import Mappings tree.
For information about data import errors, see Log file errors.