Hardware
In the previous topic we imported hardware and software items. Hardware items are also sometimes referred to as OSIs, or Operating System Instances, because we are actually interested in anything that could be running an operating system and so running licensed software: this could be a server, a laptop, or a virtual machine.
There are two ways of viewing your hardware records:
•Under Estate Management on the menu bar, click Hardware.
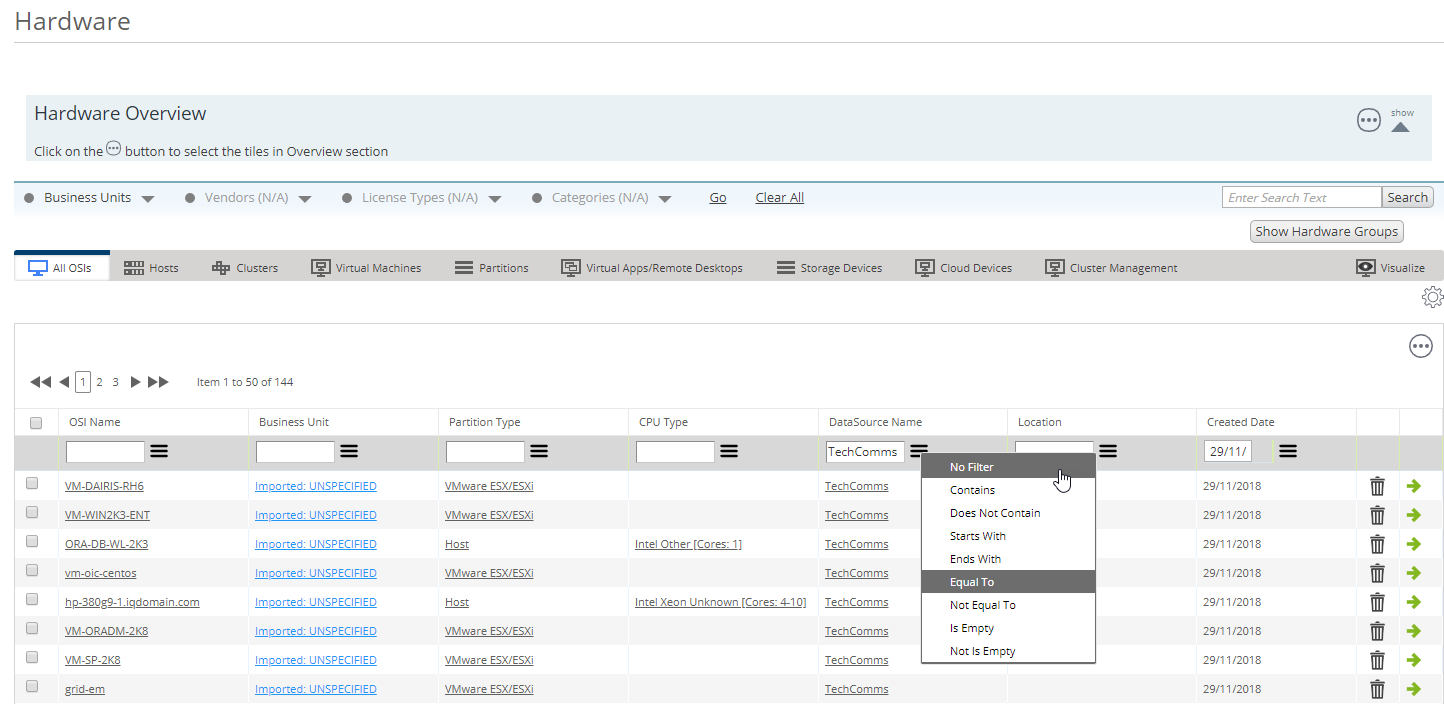
This displays a data grid of all the hardware records in your system.
•On the Inventory Sources page, click in the Hardware Change column for the data source you are interested in.
This displays a data grid of the hardware records associated with the selected data source.
In both cases you can use the filter boxes at the top of the data grid to change which items are reported, or use the Clear All Filters item on the ![]() menu to see all items.
menu to see all items.
Hardware details
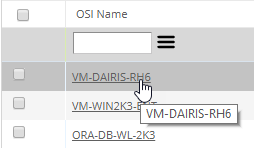
You can view the details of an item by clicking the link in the OSI Name column.
The complete record for the item appears.

If the hardware item was imported, the Lock to Audit Tool check box is initially selected, which prevents you from editing certain fields. If you clear this check box, the OSI is not updated when you run a new import.
The Installed Software tab reports the software that is installed on the OSI.
Assigning OSIs to business units
Sometimes it is helpful to assign OSIs to specific business units, for example to help you to target your investigations to a specific area of your organization. If you have imported your hardware records, then ideally you will have imported this information along with the hardware. However, many inventory data sources do not include this information, so you may need to import OSI to business unit mappings separately using a spreadsheet. In the examples earlier in this topic, the Business Unit is set to Imported: UNSPECIFIED, indicating that our inventory data source did not specify the business unit.
To import OSI to business unit mappings, your business unit records must include a unique Business Unit Code.
To import Business Unit to OSI mappings:
1.On the Data Import page, under Import Types, click the Batch Processing tile.
The Batch Processing Sources page appears.
2.Click + New Batch Processing.
The Data Source page appears.
3.Type an Import Name, then in the Batch Processing Type drop-down, select Business Unit to OSI Mapping.
The Select your sources section appears.
4.Click Download Template if you want to download a spreadsheet that has the required columns for the import.
5.Select the Business Unit to OSI Mapping check box, then click Save.
The Choose data sources page appears.
6.Complete the mapping spreadsheet with the required Business Unit Code to OSI Name mappings, then close the spreadsheet.
7.On the Choose data sources page, click Select, browse to and select your spreadsheet, then click Upload.
The spreadsheet is uploaded.
8.Click Next.
The Map Business Unit to OSI Mapping page appears. If you have used the template file, this is set correctly.
9.Click Next.
The Settings page appears.
10.In the Import Method drop-down, select Merge, clear the Run recognition after import check box, enter the Email address for notification after import, then click Queue Import.
The import is queued. When the import has completed, your OSIs will be mapped to the appropriate business units.
When you have set a business unit to OSI mapping, re-importing the original inventory data source with blank business unit mappings does not reset the existing business unit to OSI mappings but leaves the mappings that you have previously set.
What next?
We have looked at the hardware, so let's now look at the software: Software.
More information
Hardware – further information about hardware