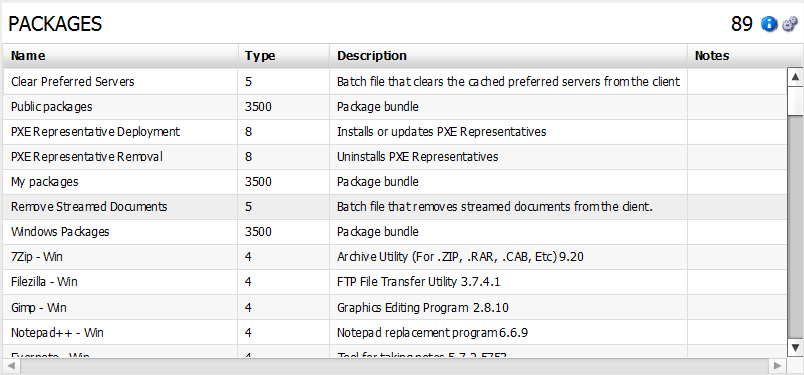
List (record) components
You can use record list components to display raw data from a data source without performing a summation. When adding a record list to a dashboard, note that the administrator may have created a default set of columns for the viewable content. If needed, you can further modify this set of columns in your personal profile settings. For details, see "Defining a new default set of columns" below.
When viewing list components, note the following:
•By default, column widths are auto-sized when a list is rendered, ensuring that all data is visible in each column. You can resize the widths to prevent horizontal scrolling, but upon refreshing the display, the columns will default back to the auto-sized width.
•Paging may be turned off for your user account. To toggle paging on, click the ![]() icon in the top right corner to display the paging < > icon. To turn on paging by default, your administrator must enable the setting for your user account.
icon in the top right corner to display the paging < > icon. To turn on paging by default, your administrator must enable the setting for your user account.
•Columns in the display can be edited, formatted, and sorted (see the next procedure). You can also modify the default set of columns that display in the result. These are temporary changes specific to a single component in the display.
If you're not already connected to a data source, click the ![]() icon in the left navigation pane and connect to one.
icon in the left navigation pane and connect to one.
1.From the navigation pane, drag and drop a list component onto a pane in the layout.
2. Click the ![]() icon in the component header. The List Component dialog displays the following options:
icon in the component header. The List Component dialog displays the following options:
• General tab
•Title: Title for the record list as it will display in the pane header.
•Data source: Data source used for the component, which you can change here if needed.
•Distinct records only: Depending on the data model and the filter being applied to the component, Xtraction may display duplicate records. Select this option to remove the duplicate records. Use only when required, as this option increases the load on the system.
•Show title summary: Xtraction creates a title summary of what the component does, along with your own title. If you clear this option, the default summary is removed. For example, the title "Incidents (Last Month)" becomes just "Incidents."
•Columns tab
•Define a temporary set of columns that is specific to this component in the display:
•Right-click in the Column area and select Edit columns.
•From the Select Columns dialog, select a new set. In the Selected Columns list, ensure that the columns are in the order you prefer. Click OK.
•In the List Component dialog, click in the Format column to set the format for columns that display numbers. For example, Decimal (3) would return a number such as "4.567." You can also change the sort order here by dragging and dropping column names into the Sorting area.
•Filter tab
•Criteria used to filter the data from the data source. Right-click in the blank area to add a filter condition or open a saved one. For details about filters, see Filters.
•Notes tab
•Enter explanatory text directly into the blank area, which will display when your mouse hovers over the ![]() icon for the component. If Show notes is selected for an export, these notes are included in the component export.
icon for the component. If Show notes is selected for an export, these notes are included in the component export.
3.Click OK to save.
About encoded URLs
If your data source includes any encoded URLs, the list component presents these as active hyperlinks when you view the data in Xtraction. It's up to your administrator to add these links via the Xtraction Data Model Editor application.
The inclusion of encoded URLs enables you to open a specific record in its native application from Xtraction. For example, if you're looking at data in a record list that's sourced from a service desk web application, clicking an encoded URL link enables you to launch that application and view the record details within it.
Links become navigable by either double-clicking the specific record or right-clicking the record and selecting from a menu. Either action opens the URL in your browser.
Defining a new default set of columns
For the list components of each data source, the administrator may have created a default set of columns for the viewable content. You have the option of defining a new default set based off of that one, which then takes precedence for your account.
1.At bottom of the page, click the Profile > Settings link.
2.Open the Default Columns tab. Right-click in the list and select Add.
3.Navigate to the data source for which you’re creating the default columns list, select it, and click OK.
4.In the Default Columns dialog, right-click in the Columns area and select Edit columns.
5.In the Select Columns dialog, select the columns that you want to view and click Add selected to move them over to the Selected columns list. If you want to remove a column from this list, right-click it and select Remove field.
6.Click OK when finished.
7.In the Default Columns dialog, apply these optional changes:
•Format: If a column has numerical values that you want to format, click in this column to select from a list of options. For example, Decimal (3) would return a number such as "4.567."
•Sorting: Organize the sort order of the columns. Drag and drop column names into Sorting to define the list.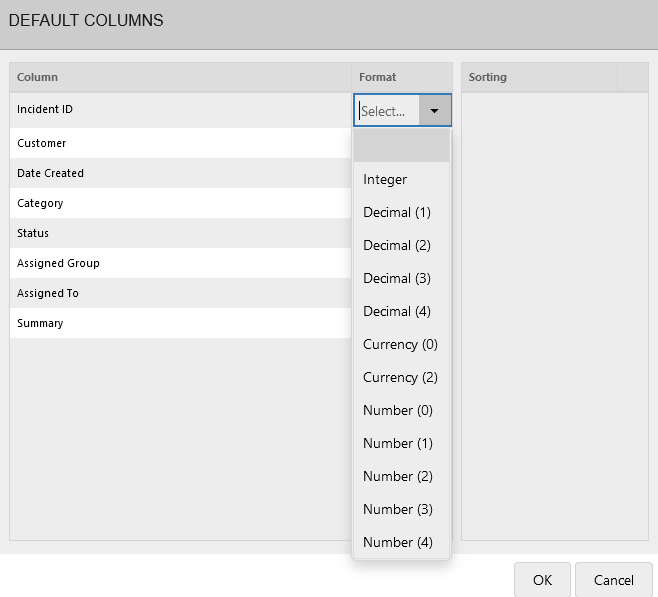
8.Click OK to save.