Inviting Users
When you add a user, you have an opportunity to invite that user to enroll devices. In fact, this option is selected by default. The invited user receives an email message containing the information needed to enroll. You can also invite (or re-invite) a user from the Users > Users page.
Procedure
- Go to Users.
- Select the users you want to invite.
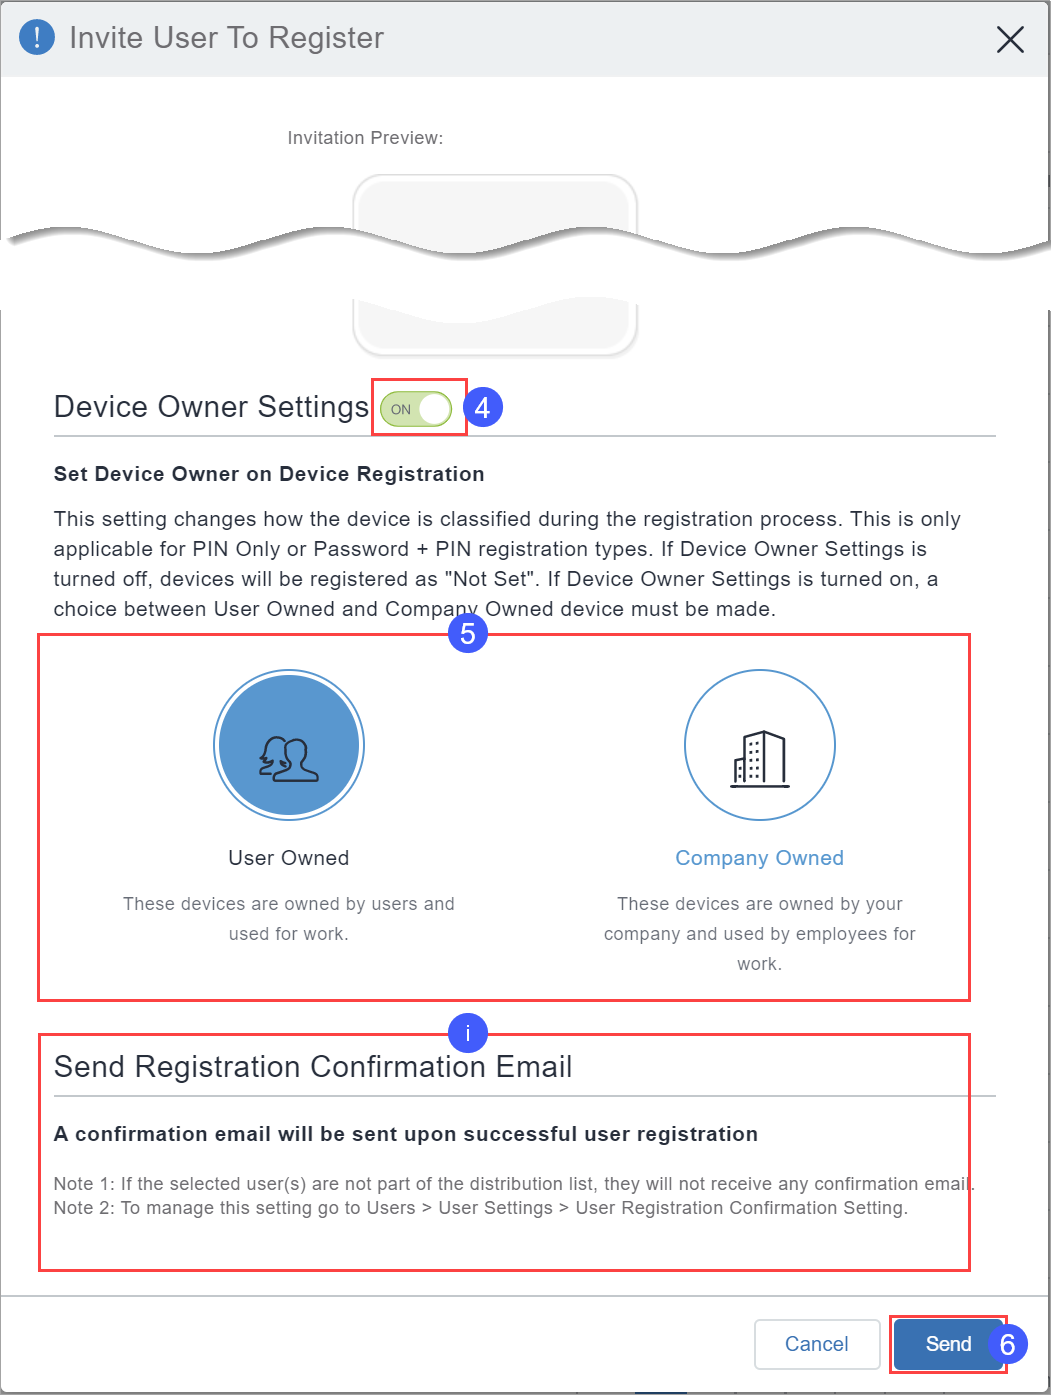
- Select Actions > Send Invite. The Invitation Preview appears, along with an option to set device ownership to UserOwned or Company Owned.
- Optionally, turn on Device Owner Settings.
- Click User Owned or Company Owned. This setting changes how the device is classified during the registration process. This is only applicable for PIN Only or Password + PIN registration types. If Device Owner Settings is turned off, devices will be registered as "Not Set." For Supervised devices, device owner setting will be "Company Owned."
- Click Send. If a PIN based device registration was performed, the user will receive a PIN to their registered email address. If a QR code based registration is set, the user will receive a QR code.
- Click Okay.
If the registration confirmation email feature is enabled as described in Configuring and using registration confirmation emails, then you will also see a reminder that the user will receive a registration confirmation email upon successful registration. To receive the email, the user needs to be part of the distribution list that you specify in Configuring User Registration Confirmation emails in User Settings.
For more information, see Importing LDAP users.