Guest Self Registration for Sponsor Approved Guest Access
The guest user logins and registers as guest by entering the contact information such as name, email, phone, company name, sponsor name and the sponsor email who approves/denies the guest access. Once the sponsorer approves the access request. The Guest user can access the internet resources.
The user flow for sponsor approved guest access is described below:
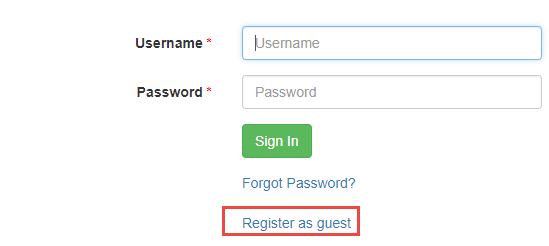
- Open the guest URL and click Register as Guest.
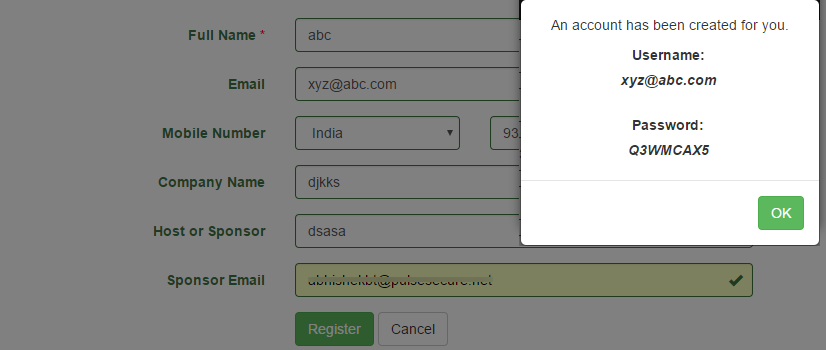
- Enter the name, email, contact number, company name, host or sponsor name, and the sponsor email ID (Sponsored Guest Access) The sponsor email ID appears in the self-registration page only when the user enables Sponsored Guest Access option. See Configuring IPS for Sponsored Guest Access.
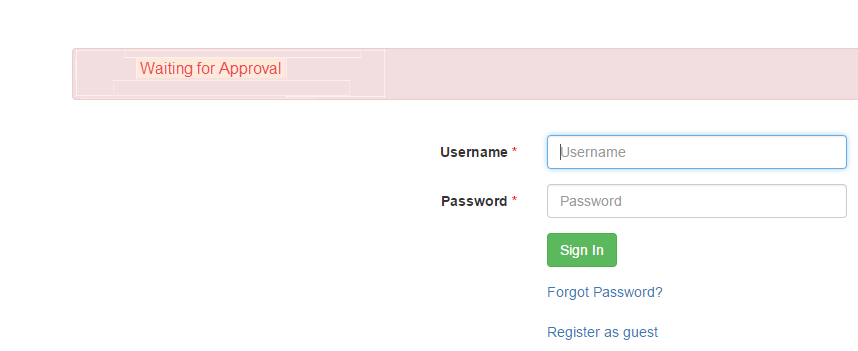
- The Guest user tries to open the Guest Account using the credentials. The user fails to login as the account should be approved by the Sponsorer.
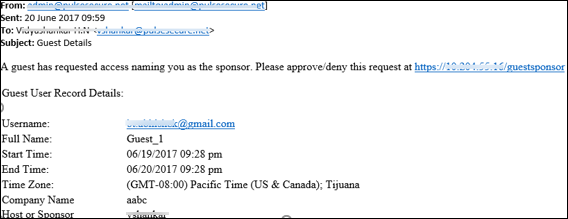
- The Sponsor user receives an email notification to validate the Guest user.
- The Sponsorer logs in with the user credentials and opens the Sponsor Portal to view the list of Guest users.
The Sponsorer login name must match with the sponsor email ID or AD username as entered by the guest while self registering.
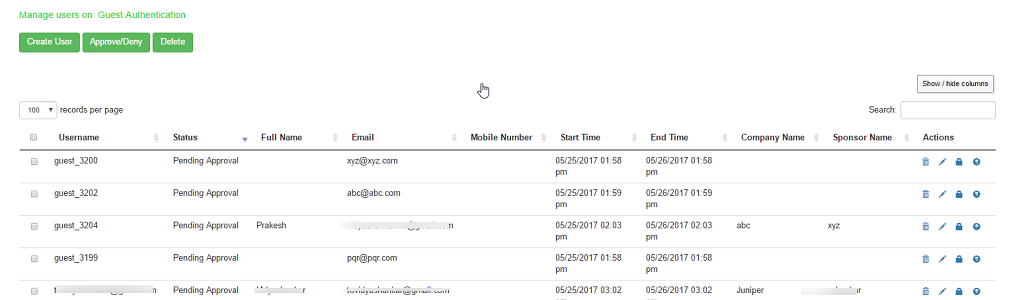
- From the Sponsor page, the Sponsor user can click Approve to approve the guest user account details. Figure shows the Approve window.
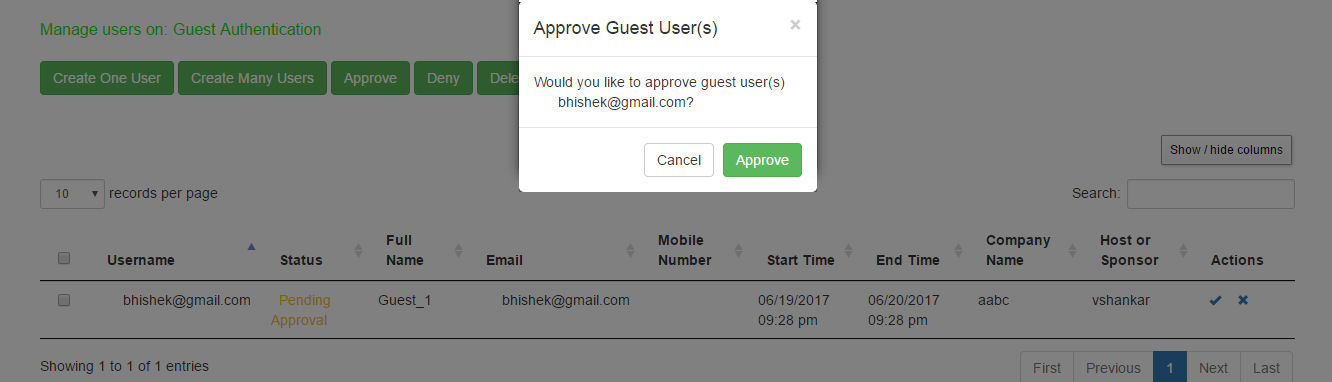
- Click Approve. The Guest User receives a notification email describing that the access is approved.
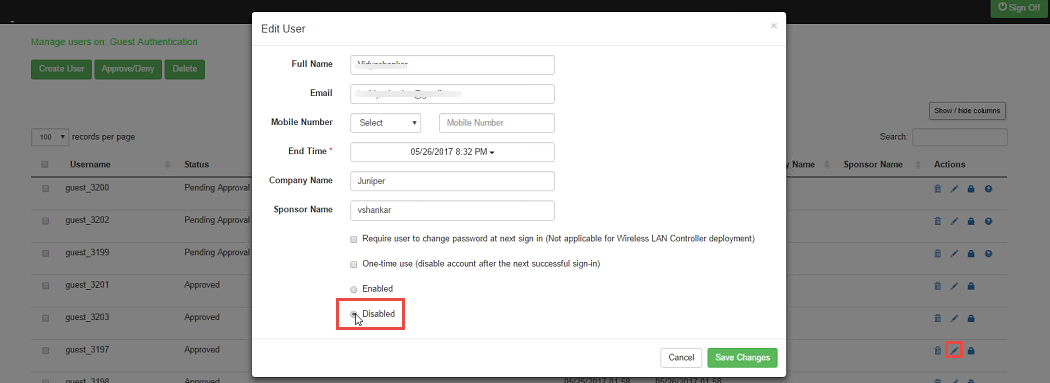
- The Sponsor has the flexibility to edit the user details as shown in figure. For example, the Sponsorer can revoke the access by changing the setting to disabled.
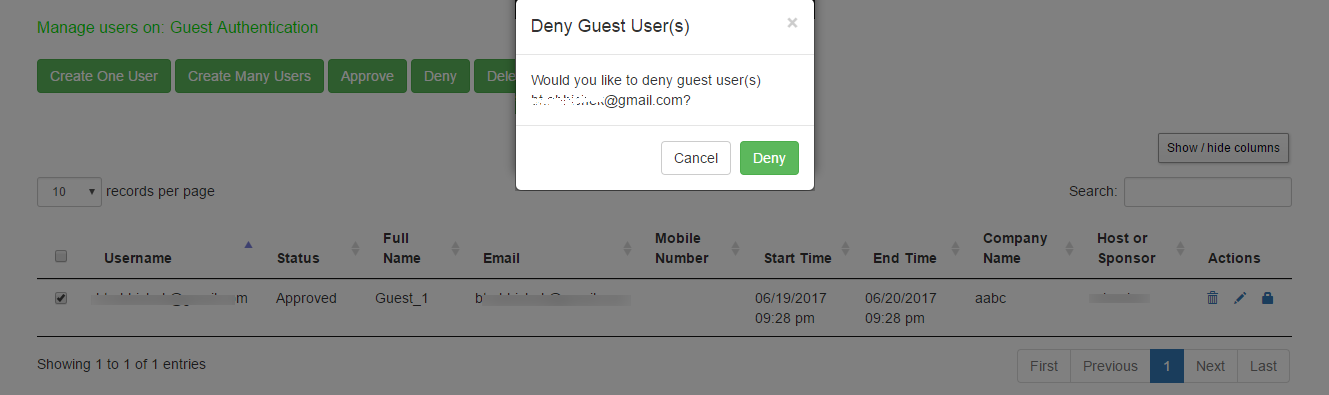
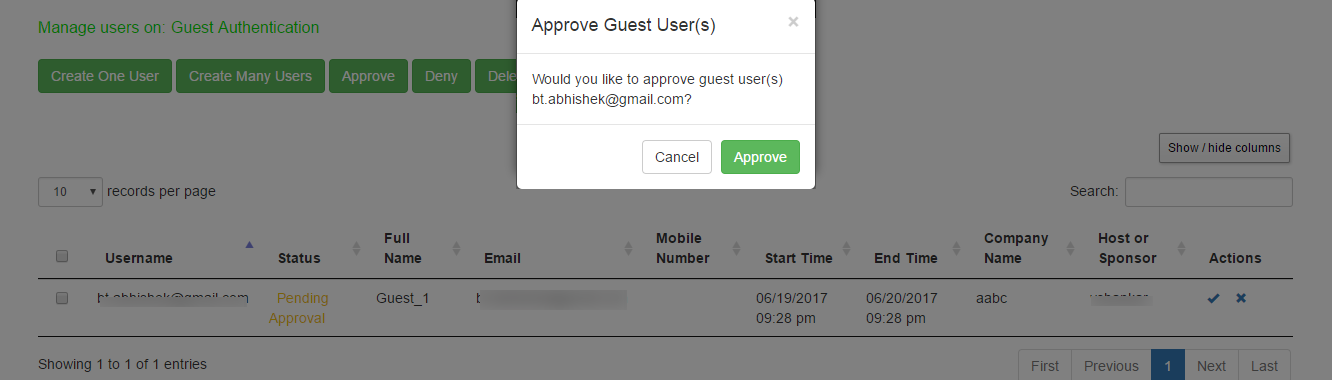
The following page is displayed if the Sponsor chooses to deny access to the Guest User. A notification email is sent to the Guest User describing that the access is denied.