Deploying ISAC using SCCM
Prerequisites
This guide assumes you are familiar with the use of the following products or documents and their related terminology.
-
Windows
-
Ivanti Secure Access Client (Latest)
-
64-bit Installer
-
Batch File
-
Pre-configuration File
Procedure
Perform the following steps to configure the ISAC using SCCM:
The following configurations contain sample/dummy values. Admin’s must configure values as per their deployment scenario.
-
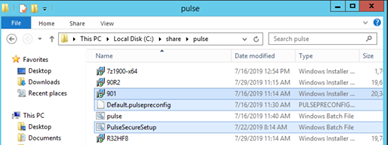
The batch file includes the commands to install ISAC. The commands included in the batch file are listed below.
mkdir c:\pulse\
copy 901.msi c:\pulse\
copy Default.pulsepreconfig c:\pulse\
msiexec /i "C:\pulse\901.msi" DRIVERTYPE=<virtual/ethernet> UIMODE=<admin/newux/classic> CONFIGFILE="C:\pulse\Default.pulsepreconfig" /l*v install.log /qn
From 22.6R1, DRIVERTYPE setting is optional when you need to change the driver type.22.7R2 supports an option to select the default UI mode.Copy the commands to a file and save it with .bat extension.
Go to Software Library > Overview > Application Management > Applications. Launch configuration manager console. Following screen appears:
-
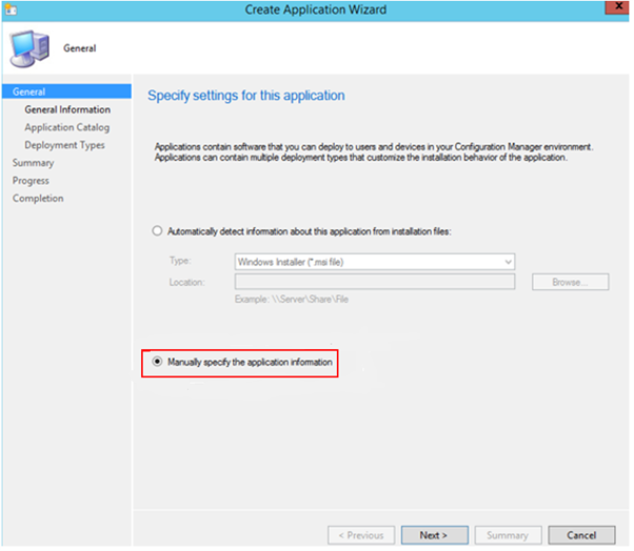
Create a new application and select Manually specify the application information. Click Next. Following screen appears:
-
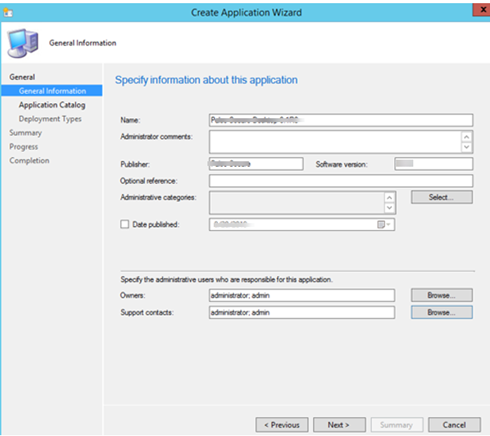
Specify the application information and click Next. Following screen appears:
-
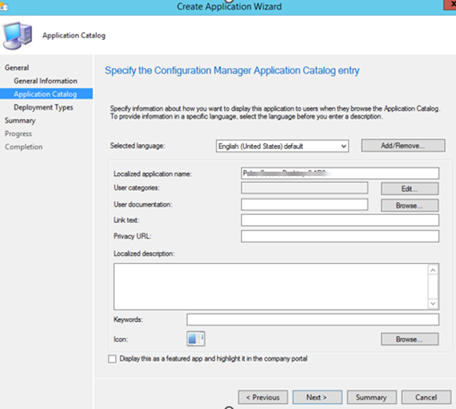
Specify the information about the application under Application Catalog. Click Next. Following screen appears:
-
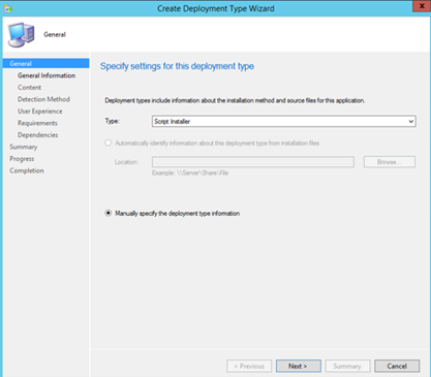
Select a new deployment type from the Type drop-down box.
-
Select Manually specify the deployment type information
-
Click Next.
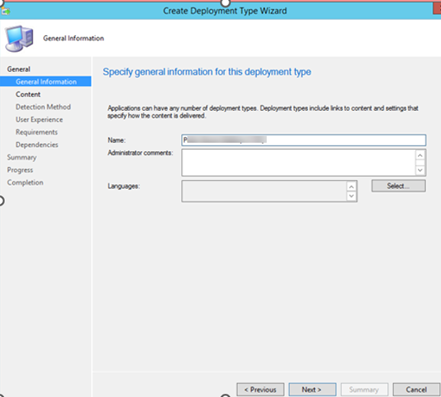
The following screen appears:
-
-
Specify the name of the application. Next. Following screen appears:
-
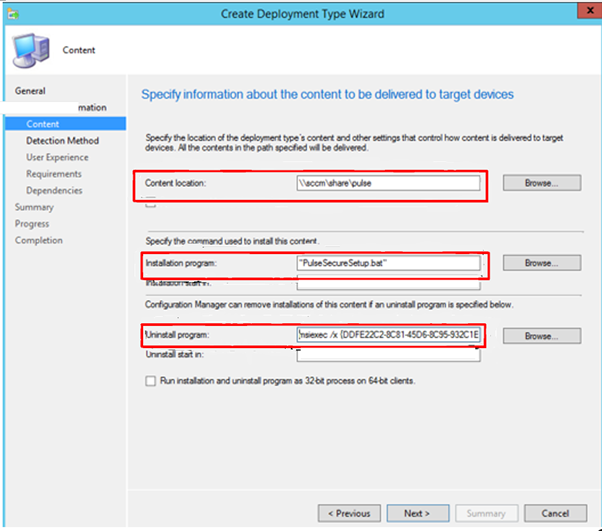
Content location, Installation program, and Uninstall program commands. Click Next. Following screen appears:
-
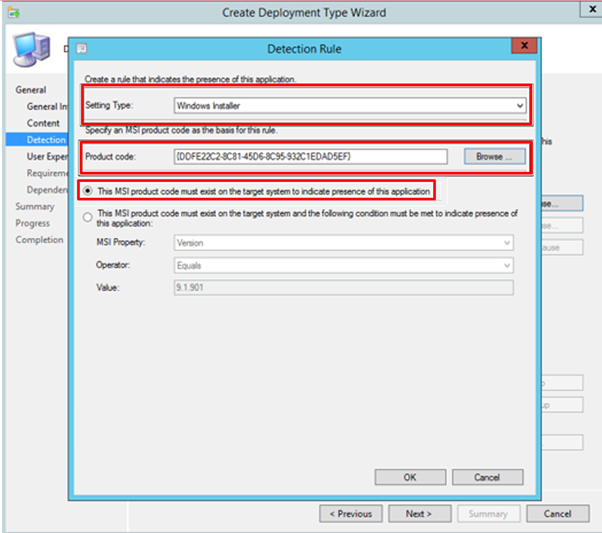
Add a detection method to detect the presence of the application.
-
Choose the Setting Type as Windows Installer. Click Browse, select the msi installer and that will display the product code automatically.
-
Select the option The MSI product code must exist on the target system to indicate presence of this application.
-
Click OK.
-
Click Next.
The following screen appears:
-
-
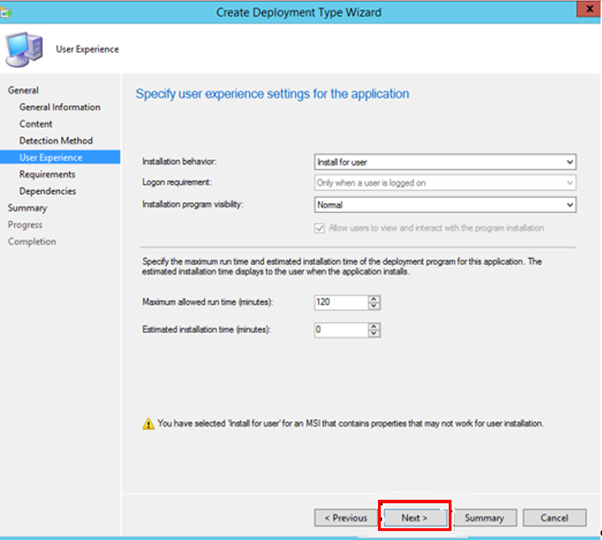
Specify the settings for user experience. Click Next. Following screen appears:
-
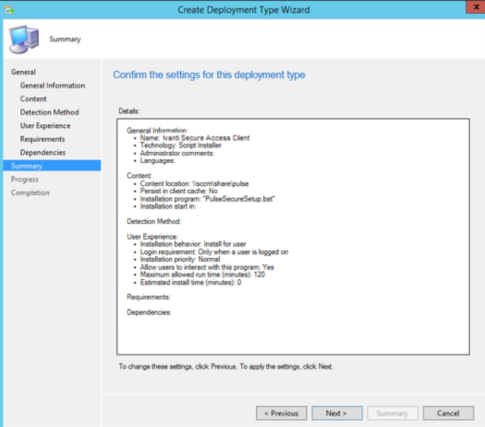
Keep clicking Next for the remaining steps till you get Completion page.
- Click Close. Following page appears:
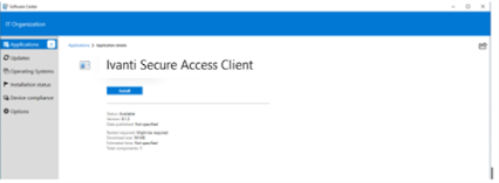
You have packaged the ISAC using SCCM. Distribute the application to distribution point and deploy it to a device collection. When you see the application in software center, it is ready to install. -
Click Install button. Following screen appears:
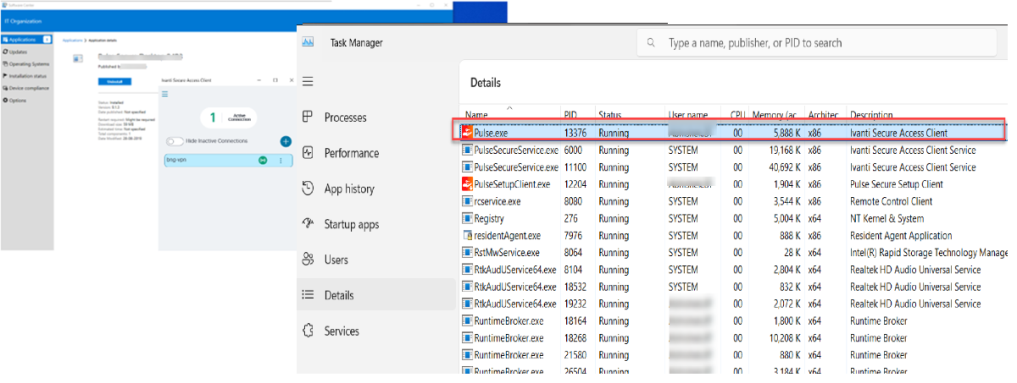
After the successful installation, you can see PULSE.exe is running under ‘admin’ user context, where ‘admin’ is the user logged into the endpoint.
-
Pulse.exe is not running under ‘SYSTEM’ context.
-
For VM based deployments, the Ivanti Secure Access Client is preinstalled on a base image and used to deploy on multiple machines.