Installation Process
The following steps outline the installation process:
1.Download the Pulse One 2.0.2003 VM release package file (for example pulseone-2.0.2003-xxxx.tgz that is supplied by the Pulse Secure support team.
2.Extract the contents either using 7-Zip (Windows) or using tar –zxvf (Linux/MacOS). If you are using
7-Zip, the first extraction results in a .tar file. Use 7-Zip to extract that tar file as well. The following four files will be extracted:
•pulseone-2.0.2004.1-xxxx-disk1.vmdk
•pulseone-2.0.2004.1-xxxx.mf
•pulseone-2.0.2004.1-xxxx.ovf
•version.json
3.Access the ESX server either using vSphere client (running on a Windows endpoint) or using web client.
4.Import the extracted OVF file onto the ESX server.
The VM requires approximately 1TB disk size. Pulse Secure recommends that the VM is stored using thin-provisioning.
Please note the following networking requirements:
•You must ensure that each of the three Pulse One interfaces (internal, external and management) are set to different subnets.
•The management network should be accessible to system admin for Pulse One CLI setup and configuration.
•The external network should be accessible to Pulse One admin users and should also have access to various other resources, such as DNS, NTP, and SMTP servers (either internal or external).
•The internal network, which is used for clustering, can be an isolated network.
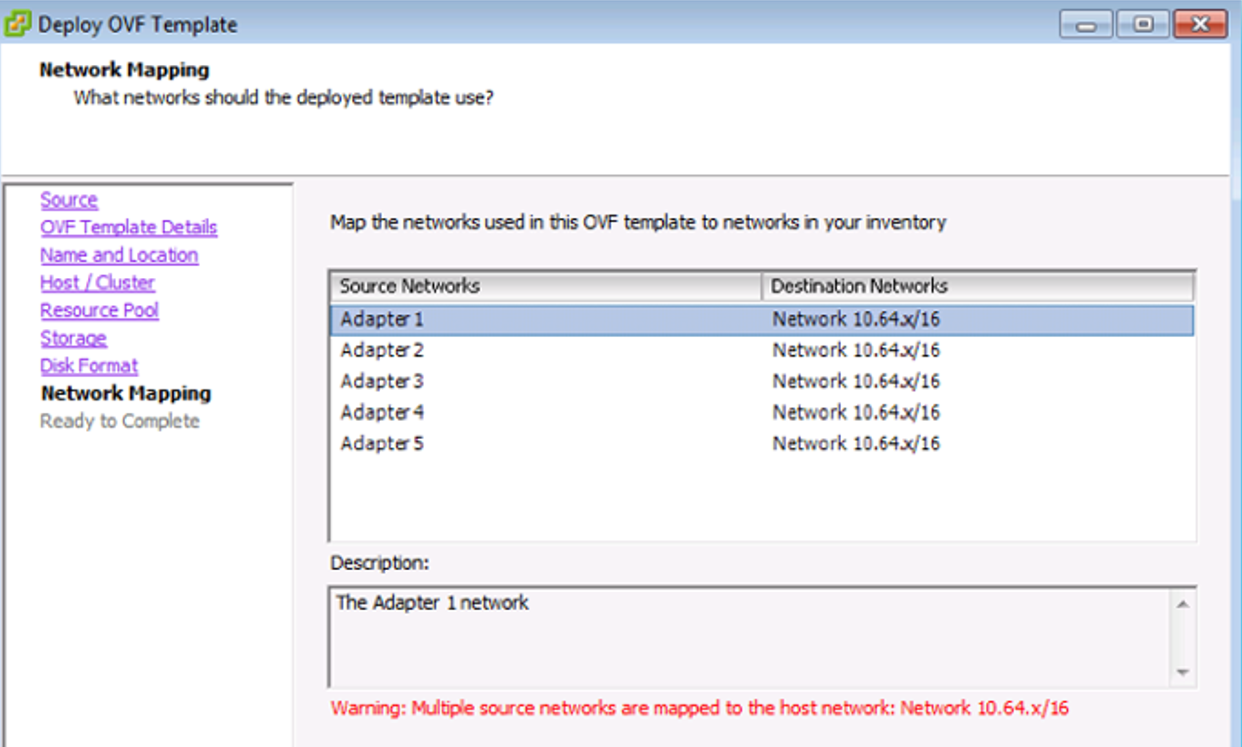
5.During the installation process, leave the various adapters in the network mapping set to default (there will be exactly five network adapters).
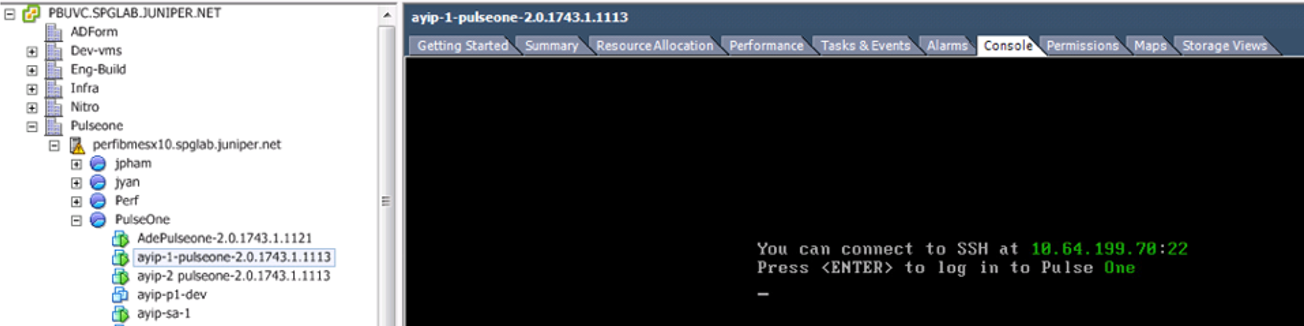
6.Once the installation is completed, navigate to the built-in VM console.
•If DHCP server exists on the default VLAN set, an IP address SSH message is displayed.
•If an IP address SSH message is not displayed, additional configuration is needed. For configuration details, see Determining Interface Associations.
7.Create an admin user when prompted and be sure to save/remember the password.