PingOne Configuration
In this solution, PingOne serves as Identity Management Provider. PingOne acts as Identity Provider for Cloud services and as Service Provider for Pulse Connect Secure. For Cloud Secure solution, PingOne has to be configured with:
•PingOne Account
•Add PCS as SAML IdP
•Configure Cloud Applications
Steps to Configure
Follow the below steps to configure PingOne:
1.Sign up for PingOne admin account at https://admin.pingone.com/web-portal/login and create your domain.
2.Log in to PingOne domain account as admin at https://desktop.pingone.com/<Domain>.
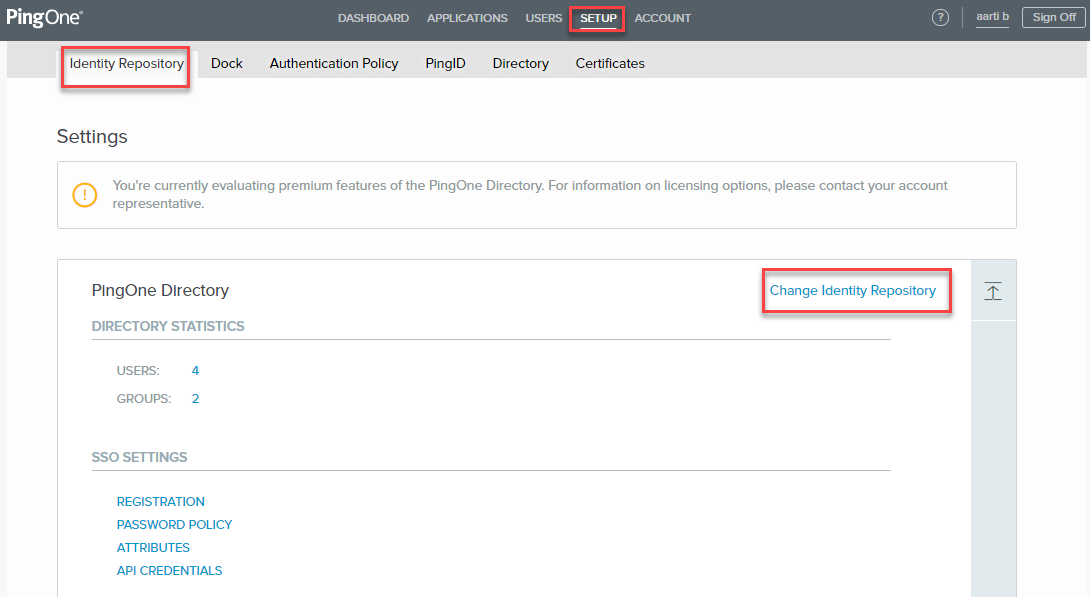
3.Navigate to Setup > Identity Repository. Click Change Identity Repository.
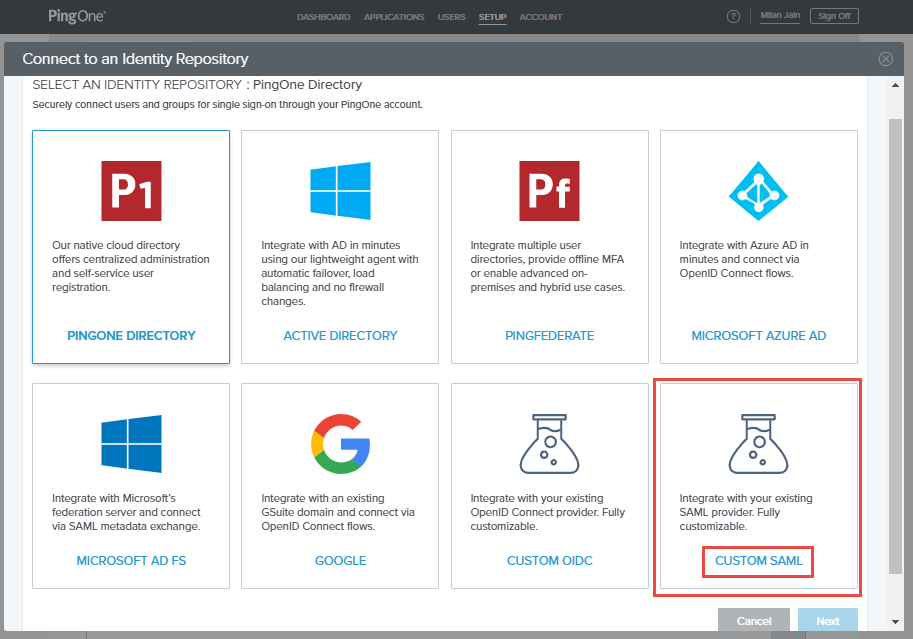
4.Select CUSTOM SAML as Identity Repository. Click Next.
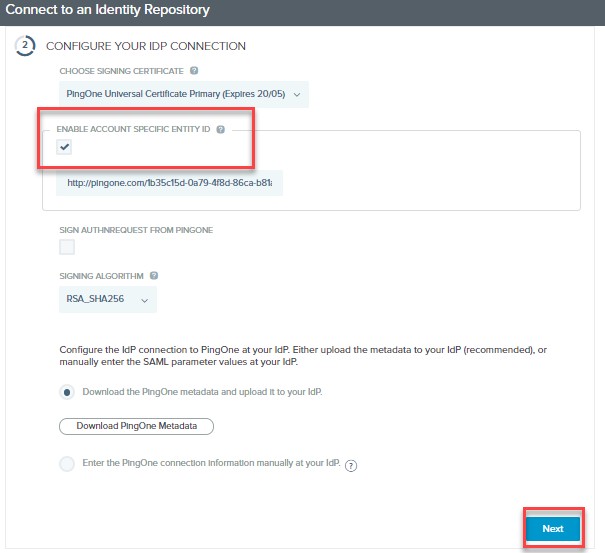
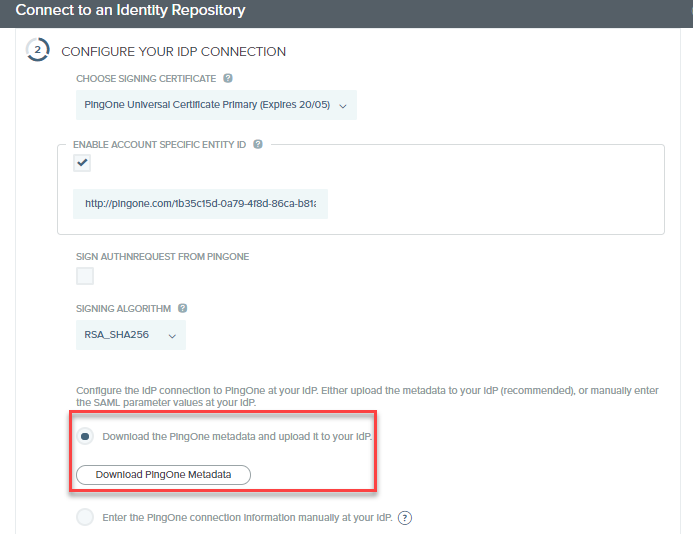
5.Select Enable Account Specific Entity ID. Click Next.
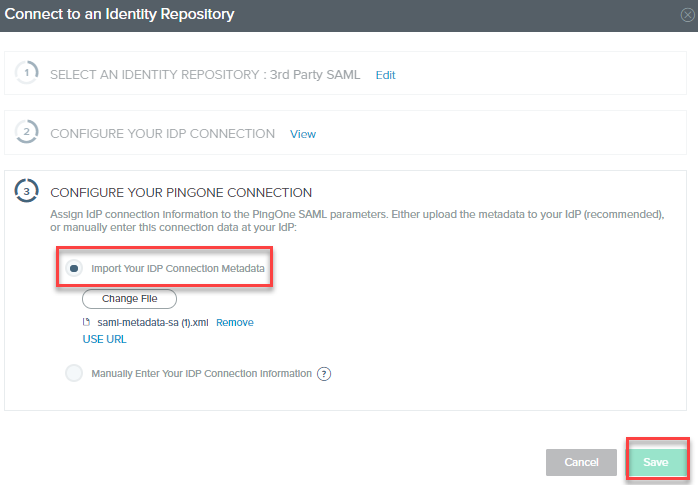
6.Under the Configure your PingOne Connection section, select Import your IDP Connection Metadata, select PCS SAML Metadata file and click Save ( To download PCS Metadata file, navigate to Authentication >Signing-in >Sign-in SAML >Metadata Provider and click on ‘Download Metadata’ on PCS admin console).
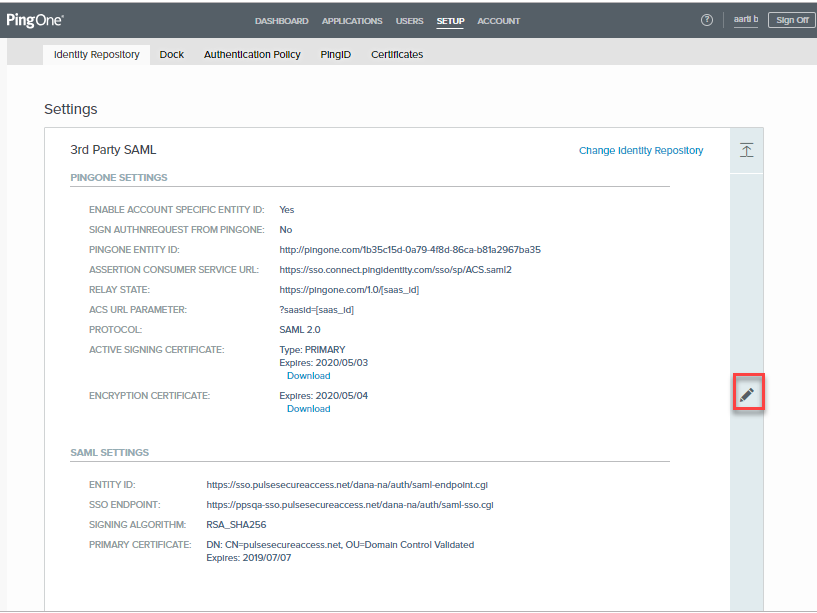
7.Once the settings are saved, verify that all the PingOne Settings and SAML Settings are updated. Click on the edit icon and download PingOne SAML Metadata.
8.To add the Zendesk application in PingOne for SSO, follow below steps:
•Navigate to Applications > My Applications.
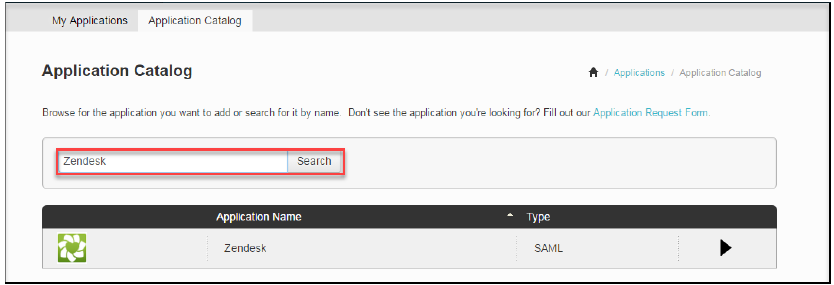
•Click on Add Application and select Search Application Catalog.

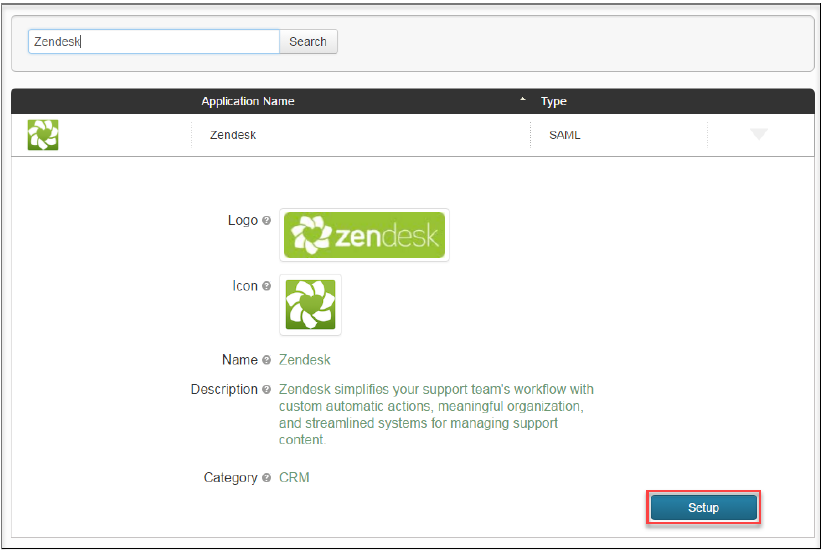
•Type Zendesk in search list. Click on the Zendesk application in the results.
•Click Setup.
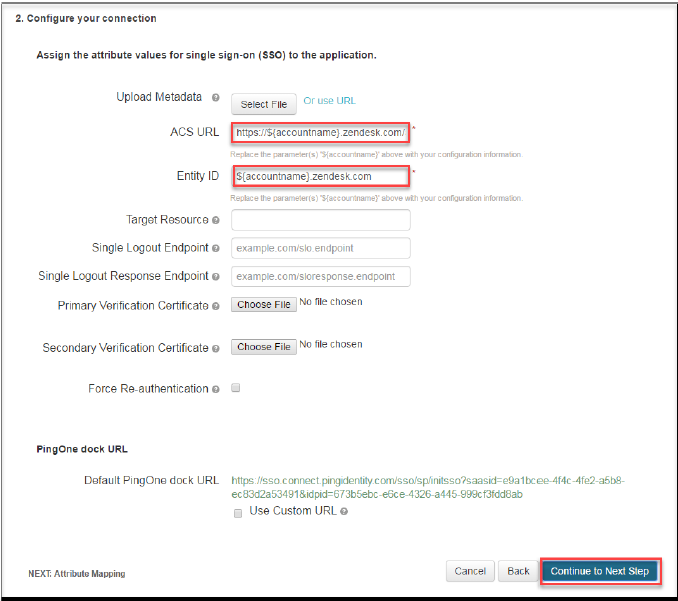
•Leave values to default and click Continue to Next Step.

•Under ‘Configure your connection’ section, provide the Zendesk ACS URL (replace ${accountname} with your Zendesk Domain). Similarly, provide Zendesk Entity ID (replace ${accountname} with your Zendesk Domain and prepend https://. For example, https://cloudsecure.zendesk.com). Click Continue to Next Step.
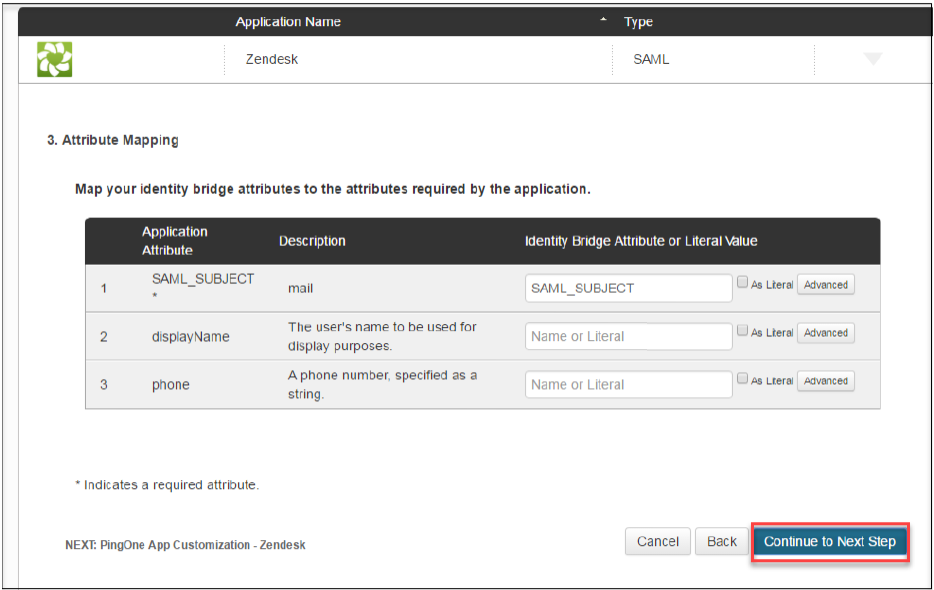
•Under Attribute Mapping section, leave default values and click Continue to Next Step.
•Click Save and Publish in the next page.
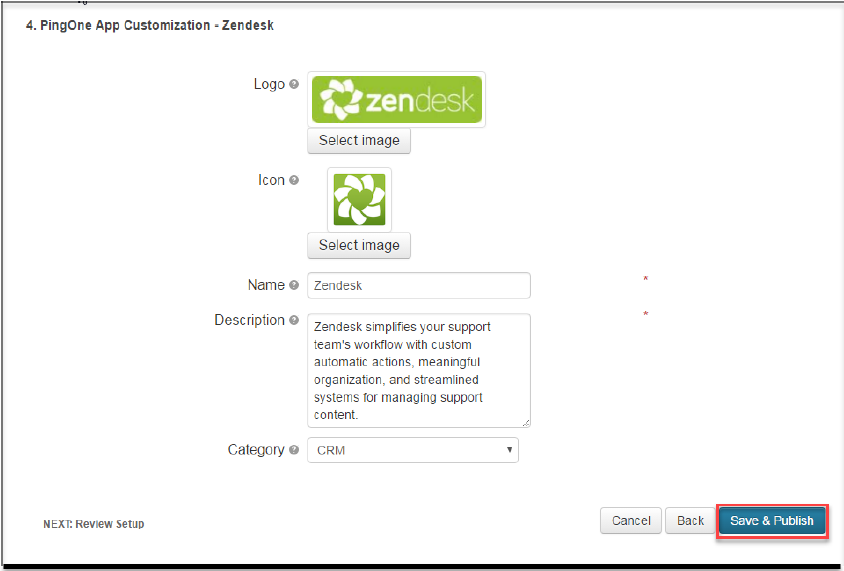
•Review Setup and click Finish.
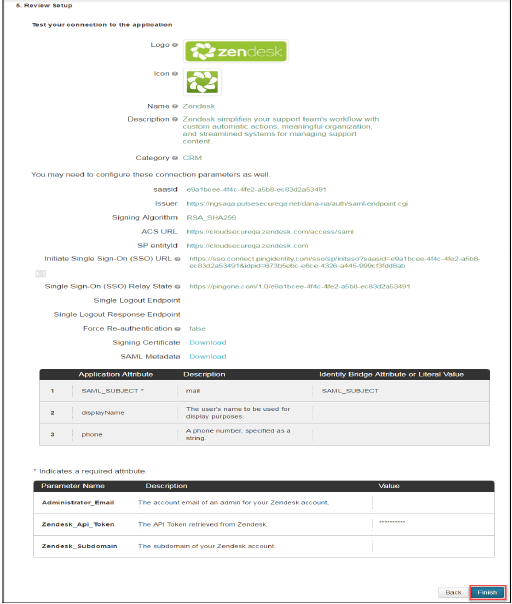
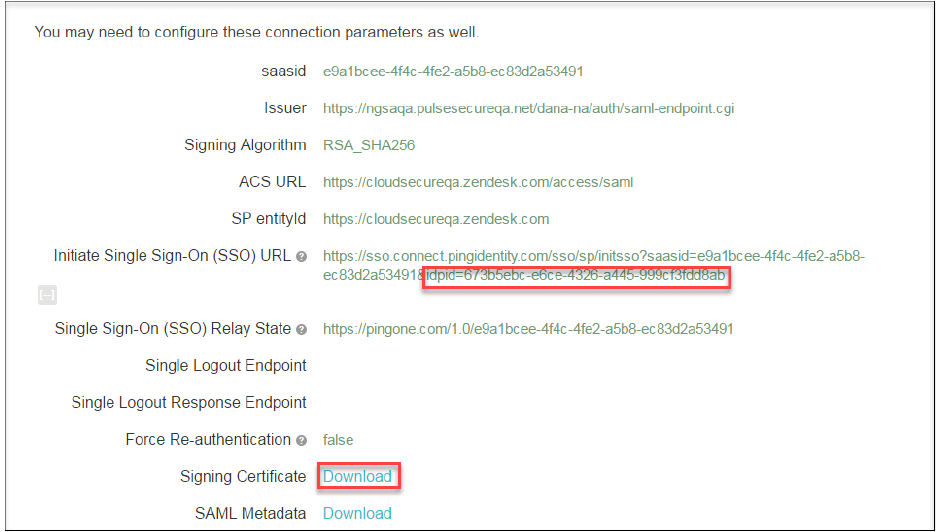
9.Navigate to Applications > My Applications and verify that Zendesk application got configured and is Active. Click on the Application. All the configuration details will be displayed. Download Signing Certificate and make a note of the idpid value from Initiate Single Sign-On SSO URL. These will be used to configure the Service Provider.