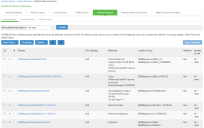
RADIUS Configuration Migration
The configuration flow for RADIUS based authentication on PPS and the equivalent configuration on SBR is described in the below table. The examples documented in this guide is based on SBR latest Release version.
Table describes the recommended configuration flow for PPS
|
Step |
Configuration on SBR |
Equivalent configuration on PPS |
|---|---|---|
|
Step 1 |
Configure Users > Native > Add Native Users. |
Configure Authentication Server
|
|
Step 2 |
SBR profile-based authentication. |
Configure the Authentication Realm, Role mapping rules and Sign-In Policy. |
|
Step 3 |
Configure SBR > Location Groups. |
Configure the Location Group |
|
Step 4 |
Configure SBR > Radius Client |
Configure a RADIUS client
|
|
Step 5 |
Configure SBR > Profiles. |
Create RADIUS return attribute policy
|
Exporting SBR XML Configuration
To export the SBR configurations:
1.Run the SBR Administrator.
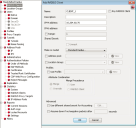
2.Choose File > Export.
3.In the Export dialog, select the information to export. Each tab in the dialog lists exportable items of a particular category. For each category, select the appropriate tab and click each item you’d like to export. To select a contiguous range of items, select the first item in the range, hold down the Shift key, and click the last item in the range.
•To select a non-contiguous set of items, hold down the Ctrl key as you click each item you want.
•To select all items in a category, click All.
•To select all items in all categories, click Select All.
4.After you have selected the items to export, click OK.
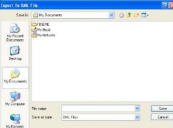
5.In the Export to XML file dialog, enter the file name and click Save.
Importing SBR XML file to PPS
To import the SBR XML file to PPS from PPS Admin console:
1.Select Maintenance > Import/Export > XML Import/Export > Import SBR Configuration.
2.Click Browse and browse the SBR xml file which needs to be imported.
3.Click Import.
Authentication Server on PPS
PPS provides a seamless migration from SBR server to PPS server. Once it is migrated it can be easily paired with an organization’s other identity databases, such as LDAP, RADIUS server and Active Directory (AD) to leverage existing credentials.
Import the SBR xml file to PPS. After importing the file:
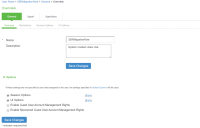
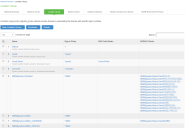
1.Select Authentication > Authentication Server. You can see the imported file on PPS authentication server. Local Auth Server named as SBRMigrationAuthServer is created for SBR migration.
2.Auth Server will be created with default values.
3.Password storage type will be set to clear text by default.
4.Password must be different from user name and New Passwords must be different from previous password options will be disabled.
User Creation on PPS
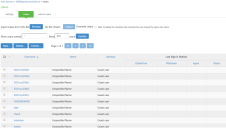
The Users are created on SBRMigrationAuthServer.
•Password will be stored in plain text.
•Default password will be pulsesecure.
•User must change password if next sign-in flag is enabled.
•If user in SBR contains attributes, it will added into attribute table of that user in PPS.
•If user in SBR has a profile associated with it, then attributes in the associated profile will be added into attribute table of that user in PPS.
Sign-In Page on PPS
Select Authentication > Signing In > Sign-In Pages. You can see the SBR Sign-In Page created by default.
Sign-In Policy
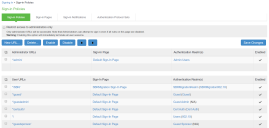
Select Authentication > Sign-In Policies.
The Sign-In policy user url */SBR/ with sign-in page as SBR Sign-In Page and Authentication Realm(s) as SBRMigRelam (802.1X) is created by default.
Authentication Protocol Sets
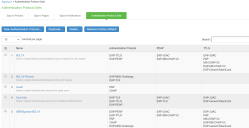
Select Signing In > Authentication Protocol Sets. SBRmigration802.1X is created by default.
Roles
Select Users > User Role > User Authentication Role. You can see the SBRMigRole user role created by default.
User Realms
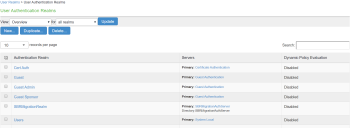
Select Users > User Realms > User Authentication Realms. You can see the SBRMigrationRealm realm.
SBRMigrationRole is added in the role mapping rules.
Network Location Group Configured on SBR
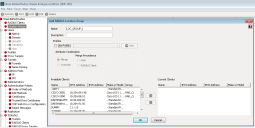
Select Steel-Belted Radius > Location Groups to view the location groups.
Location Group on PPS
Select Endpoint Policy > Network Access > Location Group.
Location group contains */SBR/ in sign-in policies. Default SBRMigLocGroup is created for those Radius Client which is not using any profile and location group.
RADIUS Client Configured on SBR
Select Steel-Belted Radius > RADIUS Clients to view the configured RADIUS client.
Creating a new RADIUS Client on PPS
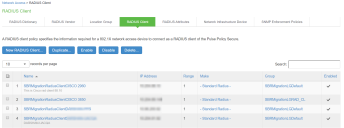
Select Endpoint Policy > Network Access > RADIUS Client.
For example, SBRMigrationRadiusClientPPS is configured as a RADIUS client.
If RADIUS client is not using profile and location group then the default Location group is used.
If a RADIUS Client is using Profiles then:
•If the profile is used by any of Location group: then will associate the RADIUS client with that location group
•If profile is not used by any location group, then a location group with name “SBRMigProfile<ProfileID/Name>” is created on PPS which will be associated to RADIUS Client.
•The default shared secret will be pulsesecure for all imported RADIUS clients.
RADIUS Return Attribute on SBR
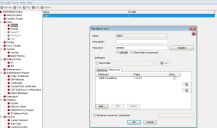
Select Return List and note down the attribute and value.
Configuring RADIUS Return Attribute Policies on PPS
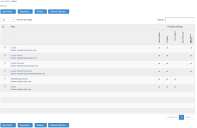
1.Select Endpoint Policy > Network Access > RADIUS Attributes > RADIUS Return Attributes.
2.Click Return Attributes tab to see the configured policies.
For example, SBRMigrationRadRetAttrdef
If Location group is using profile then will use those location group into profile.
If RADIUS Client is using profile and no location group is using that profile, then the Location Group used during the creation of RADIUS client will be attached to that profile.
If profile is not used by any location group or RADIUS Client it will not be imported.
Only PPS supported attributes will be imported. For example, if SBR supports attribute_a, attribute_b and attribute_c and PPS supports attribute_a and attribute_b then profile will contain only attribute_a and attribute_b.

