Working with Web Clips
A web clip is a URL-based bookmark associated with a policy. When the policy is applied to a mobile device, the web clip bookmark is created automatically on the device.
Web clips are currently supported on iOS devices only.
To create a webclip:
1.Select the Workspaces menu.
2.Select the Policies tab.
3.Select a policy from the list.
4.Select the Web clips tab. For example:

5.Click Create a new Web clip.
6.The Create a new Web clip wizard appears:
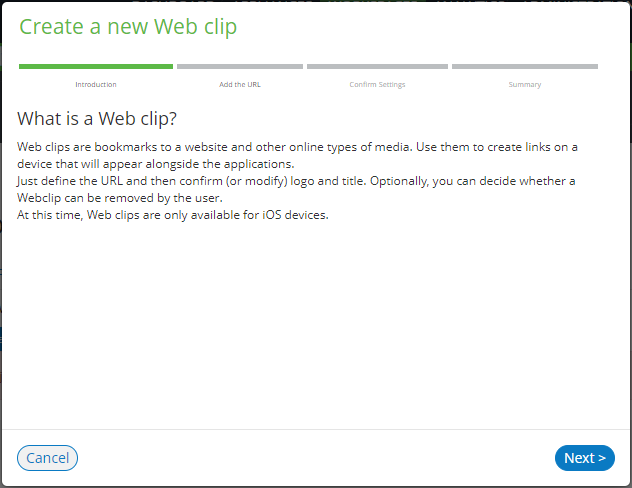
7.Click Next. The next panel of the wizard appears.

8.Enter the full URL for the web clip bookmark.
Click Next. The next panel of the wizard appears.
Where supported, the title of the web page and an icon is retrieved automatically. For example:

9.If no title for the URL was retrieved, you must specify a Title.
10.(Optional) Upload a Logo/Image for the web clip bookmark.
- This image file must be .PNG format, and no larger than 512Kb.
- If no logo is specified, a plain white icon will be used for the web clip bookmark on the mobile device.
11.If you want the user to be able to remove the web clip bookmark from their device, enable the Is Removable check box.
12.Click Next. The final panel of the wizard appears.
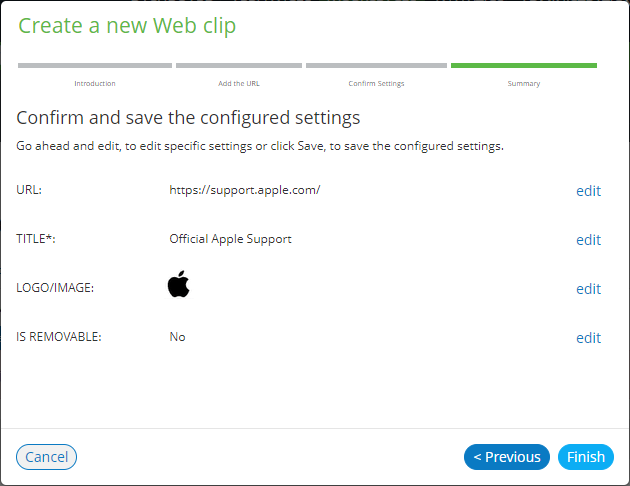
13.Click Finish to close the wizard and create the web clip bookmark.
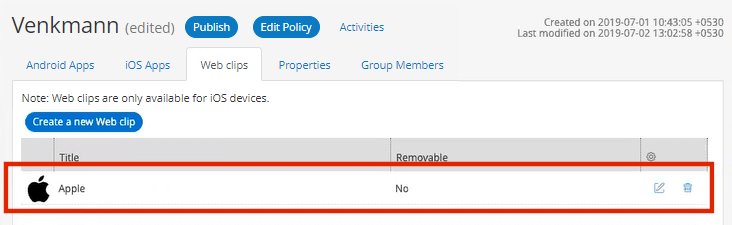
The Web clips tab for the policy updates to include the new web clip bookmark. For example:
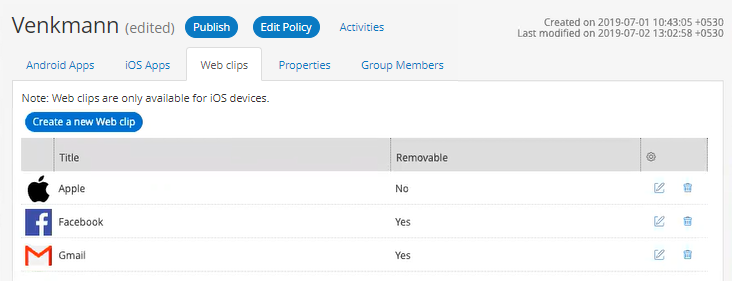
14.(Optional) Repeat steps 5 to 12 to add each required bookmark. For example:
15.(Optional) To delete a web clip bookmark from a policy, click its Delete (![]() ) icon.
) icon.
16.(Optional) To edit a web clip bookmark for a policy, click its Edit (![]() ) icon and update its details in the wizard.
) icon and update its details in the wizard.
17.(Optional) Confirm the addition of web clips:
•Navigate to Workspaces > Devices and select the required workspace.
•Examine the details for the registered workspace. For example:
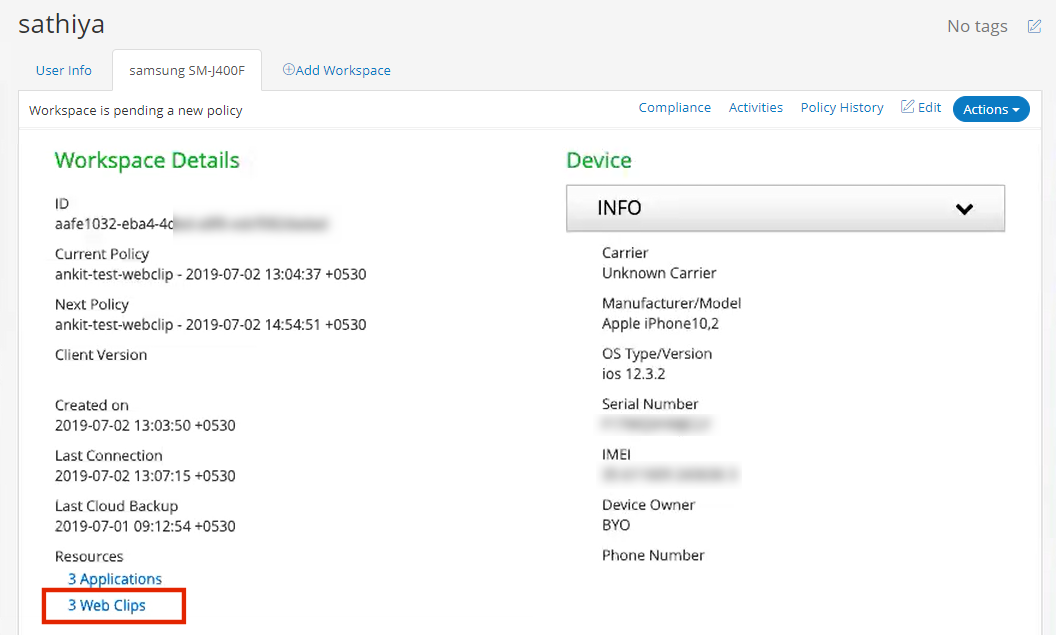
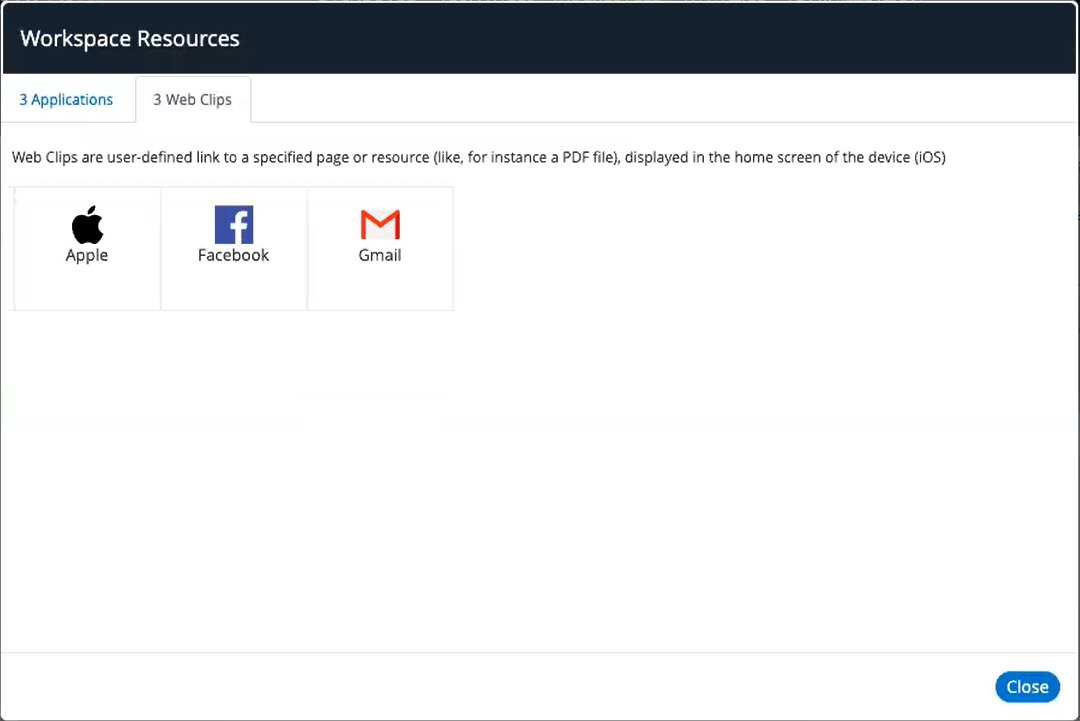
•Click the Web Clips hyperlink. The Workspace Resources page appears. For example:
18.Publish the policy to add the web clip bookmarks to all devices that use the policy. For example:
