Request and install certificate from a private CA
This topic describes how to request and install a trusted root security certificate for your appliance supplied by a private or internal certificate authority (CA). Trusted root certificates from a private CA are recommended only for proof of concept (PoC) tests.
To obtain a security certificate signed by a CA the first step is to create a certificate signing request (CSR) from the File Director appliance. You then submit the request data to your private CA. A certificate chain is required comprising the server certificate, the root, and chain (or intermediate) certificate(s). Once you obtain the signed certificates you will need to ensure they are each in the format required and then apply them to your File Director appliance.
In the case of trusted root certificates from private CAs, certificates must be installed within File Director in a particular order: firstly, the root certificate; then the chain certificate(s); and finally the server certificate.
The process is split into three key steps:
• Create a CSR from the File Director appliance
•Request certificates from your private CA
•Apply certificate chain to the appliance
Prerequisites
•You are using a private CA.
•Your CA will provide a web server certificate chain in 2048-bit RSA certificates in Base64 PEM format.
Many private CAs are available and the precise instructions for requesting and configuring certificates will vary between authorities.
Example documented
To view specific instructions as an example, click the expandable headings in this topic. The example describes creating a certificate chain for a single web server using Microsoft
Enterprise Certificate Authority on Windows Server. Your own configuration may include multiple servers - and will use your preferred private or internal CA.
Create a CSR from the File Director appliance
- From File Director Admin console, click Configuration > SSL Certificate.
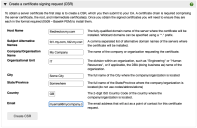
- Expand the section Create a certificate signing request (CSR), and complete the following fields:
- Host Name - The fully-qualified
domain name of the server where the certificate will be installed.
Note that wildcard domains can be specified with a * prefix.The host name does not have to match the appliance host name set in the appliance console. However, the host name you provide must match the FQDN on your DNS ’A’ records.
For further information refer to SAN Certificates.
- Subject Alternative Names - A comma separated list of alternative domain names of servers where this certificate will be installed (2021.3 and later).
Note, specifying alternative domain names enables you to apply one certificate to different nodes within a cluster without using a wildcard for your entire domain. - Company/Organization Name - The name of the organization requesting the certificate.
- Organizational Unit - The division within the organization. For example, Engineering or Human Resources, or if applicable, the database administrator name for the organization.
- City - The full name of the city where the organization is located. Do not use codes or abbreviations.
- State/Province - The full name of the state or province where the organization is located. Do not use abbreviations or codes.
- Country - The two digit ISO country code where the organization is located. For example, US, FR.
- Email - The email address that will
be a point of contact for the certificate request.
Note, this email contact may be required at certificate renewal, or in case of technical issues.
- Host Name - The fully-qualified
domain name of the server where the certificate will be installed.
-
Click Create CSR.
A text box displays the certificate request data.

Every time you use the Generate New CSR option, the unique server key is changed, making any previous certificates generated for this appliance invalid.
- Copy the CSR text
including the
BEGIN CERTIFICATE REQUESTandEND CERTIFICATE REQUESTtags, and save it as a TXT file. You will require the copied text in the next step.


Request certificates from your private CA
Having generated the certificate request, the next step is to go to your private CA and submit the certificate request.
Request server certificate
Note, the precise sequence of steps will vary between CAs.
1.In a web browser, navigate to your private CA: https://<your CA>/certsrv
2.Request a new certificate (or certificate renewal)
•Ensure that the certificate request uses base 64 encoded CMC or PKCS #10 (.csr, .pem, .p10 format).
•Alternatively, request a certificate renewal that uses base-64-encoded PKCS #7 file (.p7b or .p7c format)
3.Ensure that a web server certificate template and/or web server attributes are applied to your requested certificate
4.When prompted, paste the copied CSR text into the request text field.
5.Submit your request.
- In a web browser, navigate
to your private CA server.
-
From the home page, click Request a Certificate.

-
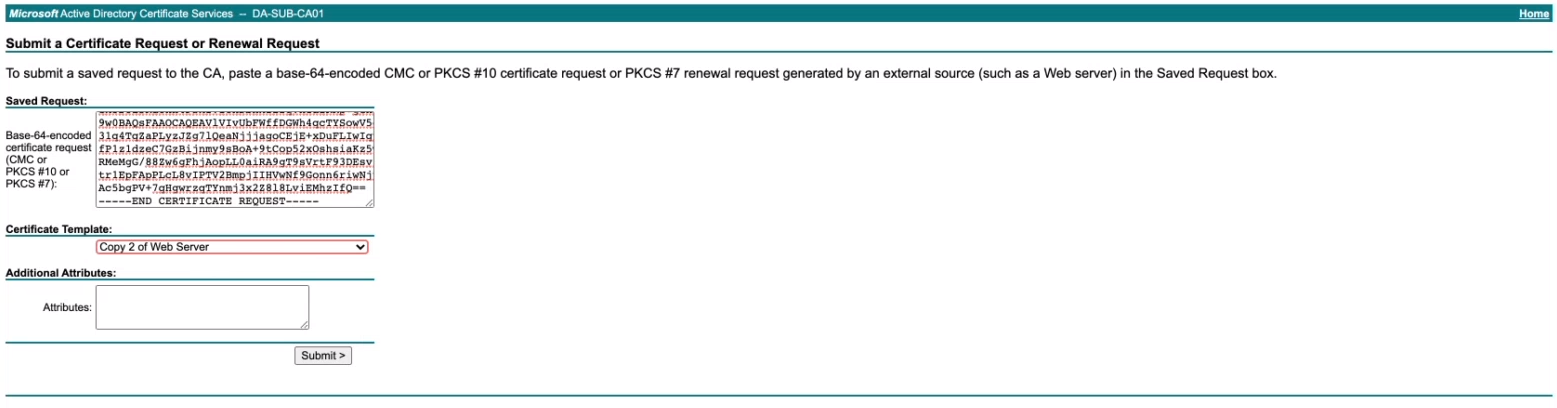
From the Advanced Certificate Request page, click the second option listed: Submit a certificate request by using a base-64-encoded CMC or PKCS #10 file, or Submit a renewal request by using a base-64-encoded PKCS #7 file.

-
The Submit a Certificate Request or Renewal Request page opens.
Paste the copied certificate request text into the Saved Request field.
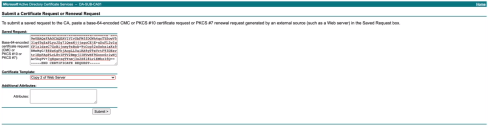
In the Certificate Template field, click the drop-down arrow icon and select the certificate template required.
In our particular example we require Copy 2 of Web Server however, template names will vary between different CAs. -
Click Submit.
Note that depending upon the CA provider used, an approval process may be required before the certificate is issued.
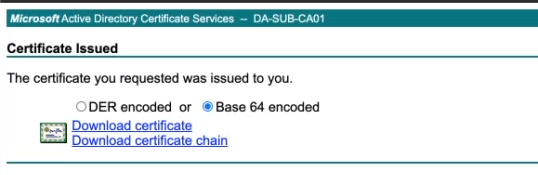
-
From the Certificate Issued page, select the Base 64 encoded option, then click Download Certificate.

In the file browser window that opens, navigate to your preferred folder location and enter a meaningful name for your server certificate download. Click Save.


Although you now have the server certificate downloaded in the format required, File Director requires firstly the root certificate, then any intermediate certificates to be installed before the server certificate.
Request certificate chain
In addition to the server certificate, you must also retrieve the certificate chain. This is required to cover the certificate of the intermediate or root CA plus and any preceding certificates.
1.Return to your CA to request the certificate chain or CRL.
2.Ensure the certificate request uses Base64 encoded CMC or PKCS #10 format.
3.Download the CA certificate chain.
4.Save your certificate file(s) to the folder required.
Chain certificates downloaded in the PKCS#7 (or P7B) format comprise intermediate and root certificates bundled together. The certificate bundle must be converted to X.509 (or PEM) format to separate the intermediate and root certificates before they can be applied to the File Director appliance.
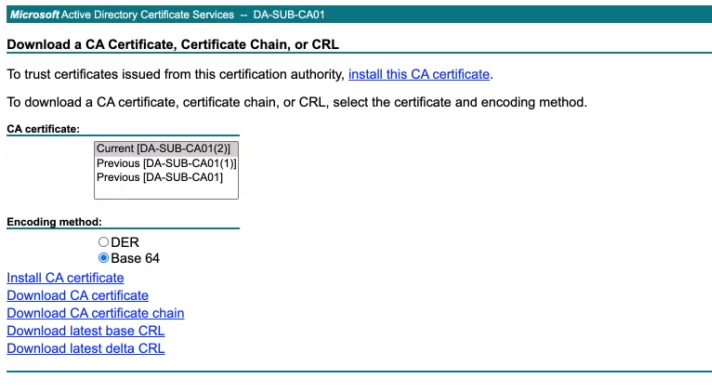
- Return to your CA web browser and from the home page click Download a CA certificate, certificate chain or CRL.
-
The Download a CA Certificate, Certificate Chain or CRL page opens.

In the CA certificate field, select the default option: Current <certificate server name>.
-
In the Encoding method field, select Base 64.
-
Click the option: Download CA certificate chain.
-
In the file browser window, navigate to your preferred folder location and enter a meaningful name for your chain certificate download. Click Save.
The chain certificate from Microsoft Certificate Services is downloaded in the PKCS#7 (or P7B) format so the intermediate and root certificates are bundled together.
The certificate bundle must be converted to X.509 (or PEM) format to separate the intermediate and root certificates before they can be applied to the File Director appliance.

Conversion tools allow you to change the format of your certificate file and these are widely available.
Example using OpenSSL
The following example uses OpenSSL (available from openssl.org).
•From your certificates folder, run the following command:
openssl pkcs7 -outform PEM -in chain_bundle.p7b -print_certs > certificate_bundle.cer
Where chain_bundle.p7b is the downloaded chain certificate file, and certificate_bundle.cer is the output certificate file in the x509 format.
Example using Windows Certificate Manager
Note, this process requires certificate server access and the exportable private key.
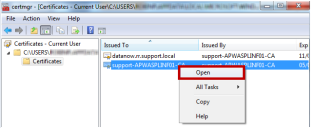
- Open Certificate Manager.
-
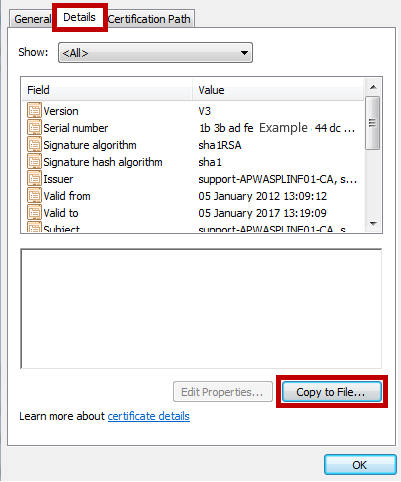
Right-click on the root File Director certificate and select Open from the short-cut menu.
-
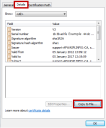
Select the Details tab and click Copy to File.
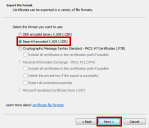
- The Certificate Export Wizard opens, click Next.
-
Select Base-64 encoded X.509 (.CER) and click Next.
-
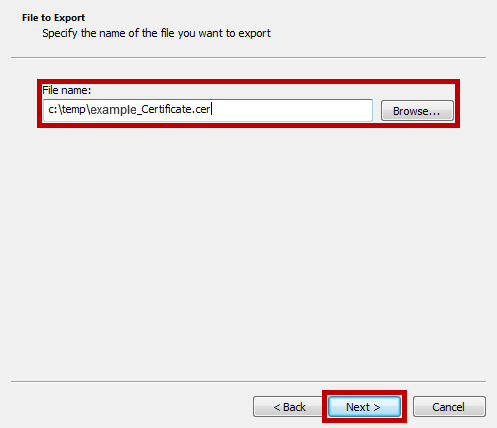
Browse to where you want to save the certificate, enter a filename for the root certificate and click Next.
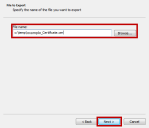
-
Review your settings and click Finish to start the export.
You are notified when the certificate has been successfully exported.
- Repeat this process for your standard certificate and any intermediate certificates.


Apply certificate chain to the appliance
Install certificates
Root certificate
- Open the chain certificate file in a text editor, such as Notepad.
- Select the text from your root certificate. Include the
BEGIN CERTIFICATEandEND CERTIFICATEtags but ignore any other metadata included in the file. Copy the text to your clipboard. - In the File Director Admin console, select Configuration > SSL Certificate.
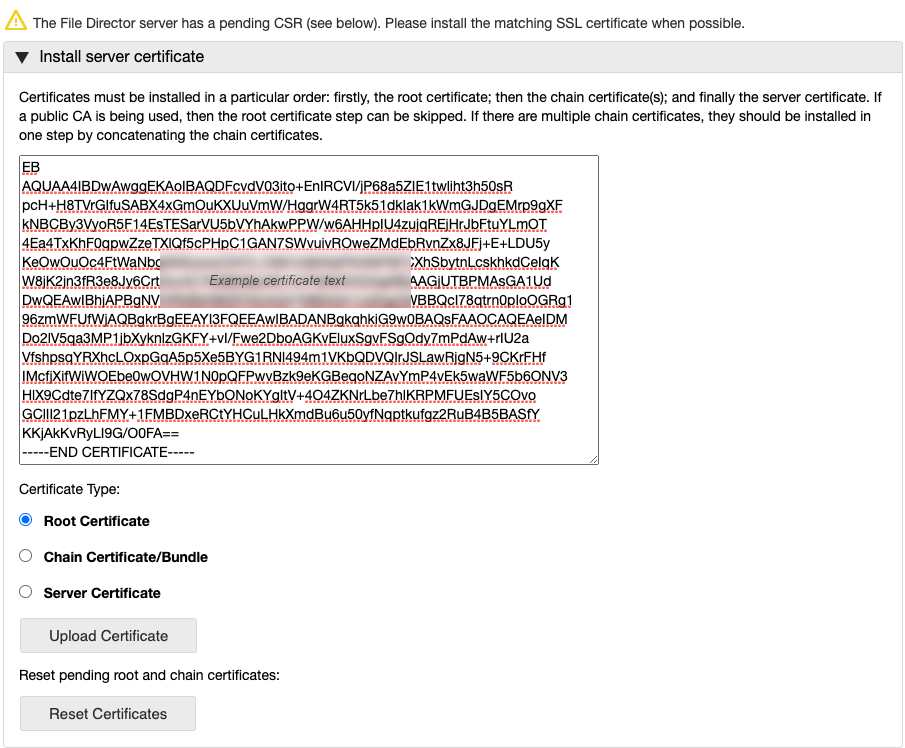
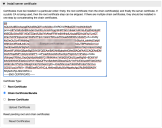
- In the Install server certificate section paste the root certificate text into the text box.
-
Ensure Root Certificate is selected as the Certificate Type and click Upload Certificate.
A message will confirm that the certificate has been installed and prompts you to upload a chain or server certificate.
Chain Certificate
-
Return to the chain certificate file in a text editor, such as Notepad.
-
Select the text from your root certificate. Include the
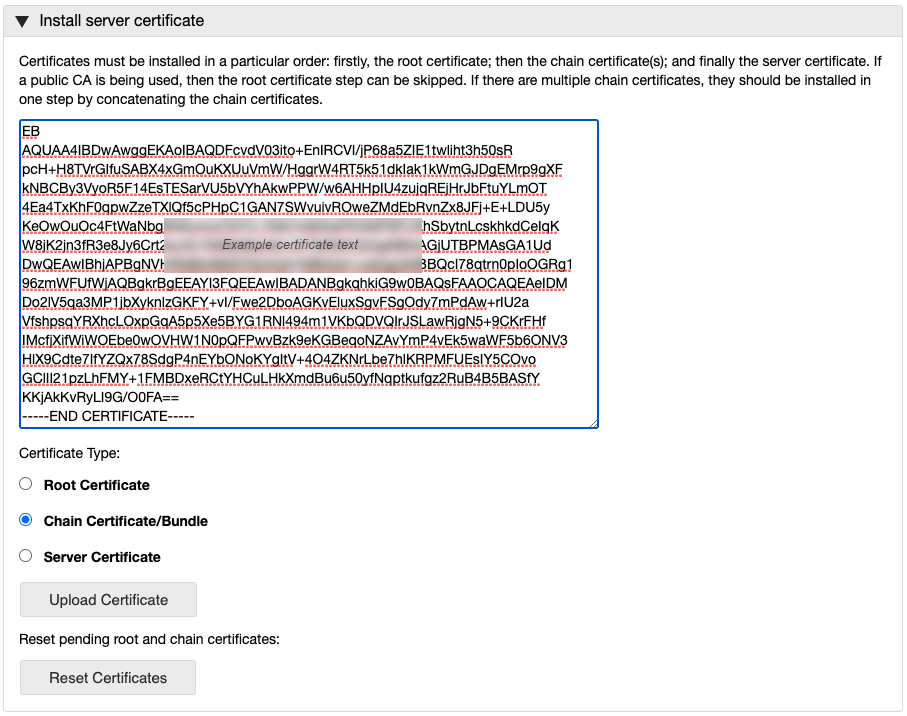
BEGIN CERTIFICATEandEND CERTIFICATEtags but ignore any other metadata included in the file. Copy the text to your clipboard.If your certificate file contains more than one chain certificate, retain the
BEGIN CERTIFICATEandEND CERTIFICATEtags for each one and delete any metadata from between them. The text for all intermediate certificates, including the tags, can then be copied to the clipboard as a single file.Return to the File Director Admin console (SSL Certificate dialog), in the Install server certificate section paste the chain certificate text into the text box.
Ensure Chain Certificate/Bundle is selected as the Certificate Type, and click Upload Certificate.
A message will confirm that the chain certificate has been installed and prompts you to upload a server certificate.
Server Certificate
1.Locate the server certificate file downloaded previously (refer to Request server certificate above).
Open the certificate file in a text editor.
2.Copy the text for the server certificate to your clipboard. Include the BEGIN CERTIFICATE and END CERTIFICATE tags but ignore any other metadata included in the file.
3.In the File Director Admin console (SSL Certificate dialog), in the Install server certificate section paste the server certificate details into the text box .
4. Ensure Server Certificate is selected as the Certificate Type, then click Upload Certificate.
When all certificates have successfully installed, a notification message is displayed at the top of the SSL Certificate dialog confirming that the certificate has been enrolled.
To test the certificate, close and reopen the browser and connect to the Admin console using the fully qualified server name specified in the certificate. If the certificates are installed correctly, the browser connects securely without any security warnings.
We recommend that you back up the File Director appliance configuration snapshot.