Request an Azure® Virtual Machine in the CSM Desktop
Use the Incident Form to request an Azure® virtual machine in the CSM Desktop Client.
To log an Azure® in the CSM Desktop Client:
- Log into CSM.
- In the
CSM Desktop Client toolbar, click
New>New Incident.
A new Incident record opens.
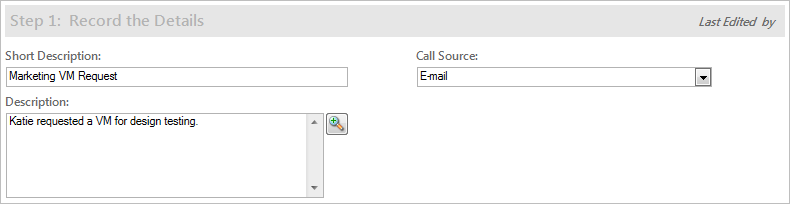
- Record the basic details (Who, What, How):
- Requestor (in the Quick Info Tile): Provide the name of the Customer who initiated the contact, and then press ENTER or TAB to search for the Customer Record.
- Title: Provide a title for the Incident.
- Description: Provide a detailed description for the Incident.
- Call Source: Select a
source
for the initiation.
- Classify the Incident:
- Service: Select Cloud Services from the drop-down.
- Category: Select Virtual Machines (VM) from the drop-down.
- Subcategory: Select
Request Azure VM from the drop-down.
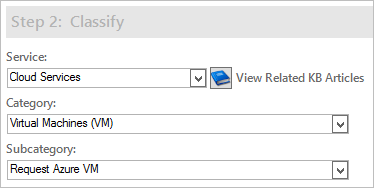
The Request Virtual Machine Specifics form displays in the Fullfill the Service Request section.
- Priority: Click the Priority drop-down to reveal the Priority Matrix (determined by invoked SLA), and then click a priority number.
- Complete the
Request Virtual Machine Specifics Form:
Note: The Virtual Machine drop-down values are based on the Standard VM specifications (Tools>Table Management>VM Template>Standard VM).
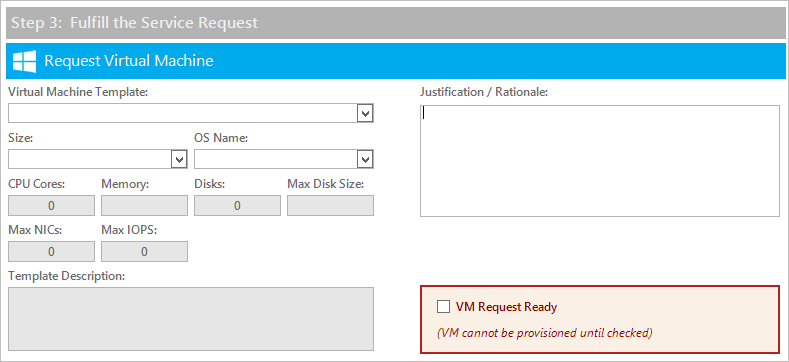
- Virtual Machine Template: Select a predefined template from the drop-down. This field is required.
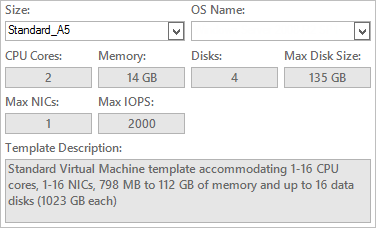
- Size: Select a
size for the virtual machine.
The following read-only fields are auto-populated when the size is selected: CPU Cores, Memory, Disks, Max Disk Size, Max NICs (network interface card), Max IOPS (input/output operations per second), and Template Description.
- OS Name: Select the name of the Customer's operating system from the drop-down.
- Justification/Rationale: Provide additional details about the VM request.
- VM Request Ready: Select the check box when the virtual machine is ready to be provisioned.
- Complete the
Incident logging process
When the virtual machine is provisioned, an Automation Process initiates a c to senOne-Step Action a request to Azure® using the Customer's credentials and specifications. If the request is successful, the One-Step Action e-mails the Customer, updates the Service Request record by creating a Journal entry, creates a new Virtual Machine CI for the VM, and changes the Service Request status to Resolved. If the request to Azure® is unsuccessful, the One-Step Action sends an e-mail to the Customer and updates the Service Request record by creating a Journal entry that includes an error message.
- After the VM request is fulfilled, request a second day action:
- In the I Want To section, select a second day action from the
Request Action for this VM
drop-down:
- Power Off
- Deallocate VM
- Restart VM
- Start VM
- Reset Access
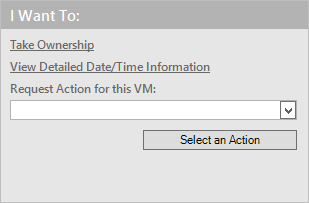
- Click the Run Action button.
- In the I Want To section, select a second day action from the
Request Action for this VM
drop-down: