Getting Started Procedures
All the step-by-step instructions for getting up and running are right here.
Prerequisites:
Let HEAT PatchLink DeskTop for System Center (HEAT PatchLink DeskTop) synchronize the HEAT PatchLink DeskTop Catalog for the first time.
This action automatically begins after installation of the HEAT PatchLink DeskTop Server. You may need to let it complete the
download.
Step 1: Log In
- Log on to either your WSUS Server or any other system that has the HEAT PatchLink DeskTop Console Plug-in installed.
- Using either the start page or the start menu, open the System Center Configuration Manager console.
Result: The System Center Configuration Manager Console opens.
Step 2: Publish software
-
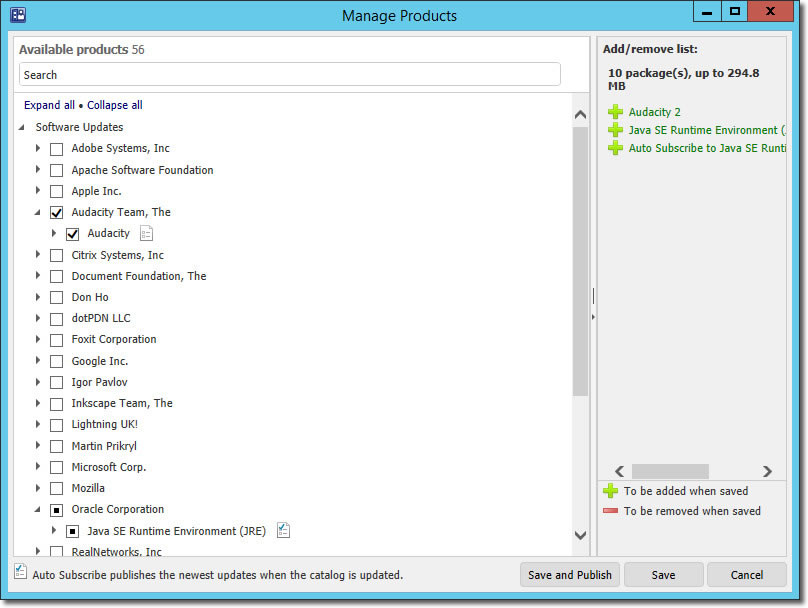
From the main pane, click the Manage Products button.
Step Result: The Manage Products dialog opens.
-
From the tree, select the vendors, products, or product versions you want to publish.
- To auto subscribe to a product, click the Auto Subscribe icon. Auto Subscription publishes the
newest release for a product release when it's added to the HEAT PatchLink DeskTop Catalog. Read the message that's displayed and
click the OK button.

- To manually publish a vendor, product, or product release, select a checkbox. Future updates are not automatically published.
Tip:- Read up on helpful info for managing products.
- As you add software, check its total size in the upper-right corner. This info gives an idea of how long it will take the publication to complete.
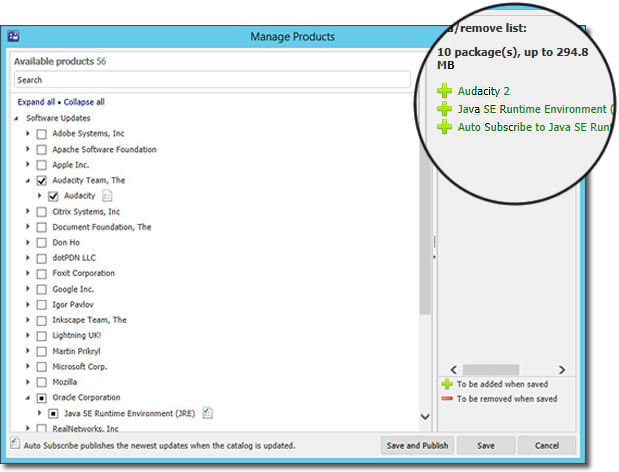 Package Size
 - To auto subscribe to a product, click the Auto Subscribe icon. Auto Subscription publishes the
newest release for a product release when it's added to the HEAT PatchLink DeskTop Catalog. Read the message that's displayed and
click the OK button.
-
Click Save and Publish. Read the message, and then click OK.
Note:
- When publishing, make sure you have 3x disk space that the publication consumes, plus an additional 10MB. For example, if you're publishing 20MB of software, have 70MB of disk space available. We recommend this practice because Windows Server Update Services keeps two copies of all 3rd-party packages that are published (the additional 10MB is used for temporary storage during publication staging).
- When you publish, a notice opens that tells you the size of the publication. Large publications can take a long time to process, so review the size and only proceed if the size is reasonable.

Publication Size Warning
Result:
- The software you selected begins publishing.
- The Activity History view makes a listing for the publication and displays its progress.
- When the publication completes, you can access the software within the Software Library Workspace.
Step 3: View Publication Status
After you publish software for the first time, you have to wait for publication to complete. Navigate to
Activity History to view the status of your publication.
-
Wait for the publication to complete with a status of Success.
Tip: While you're waiting for the publication to complete, view the Comment column for information on the publication's progress.
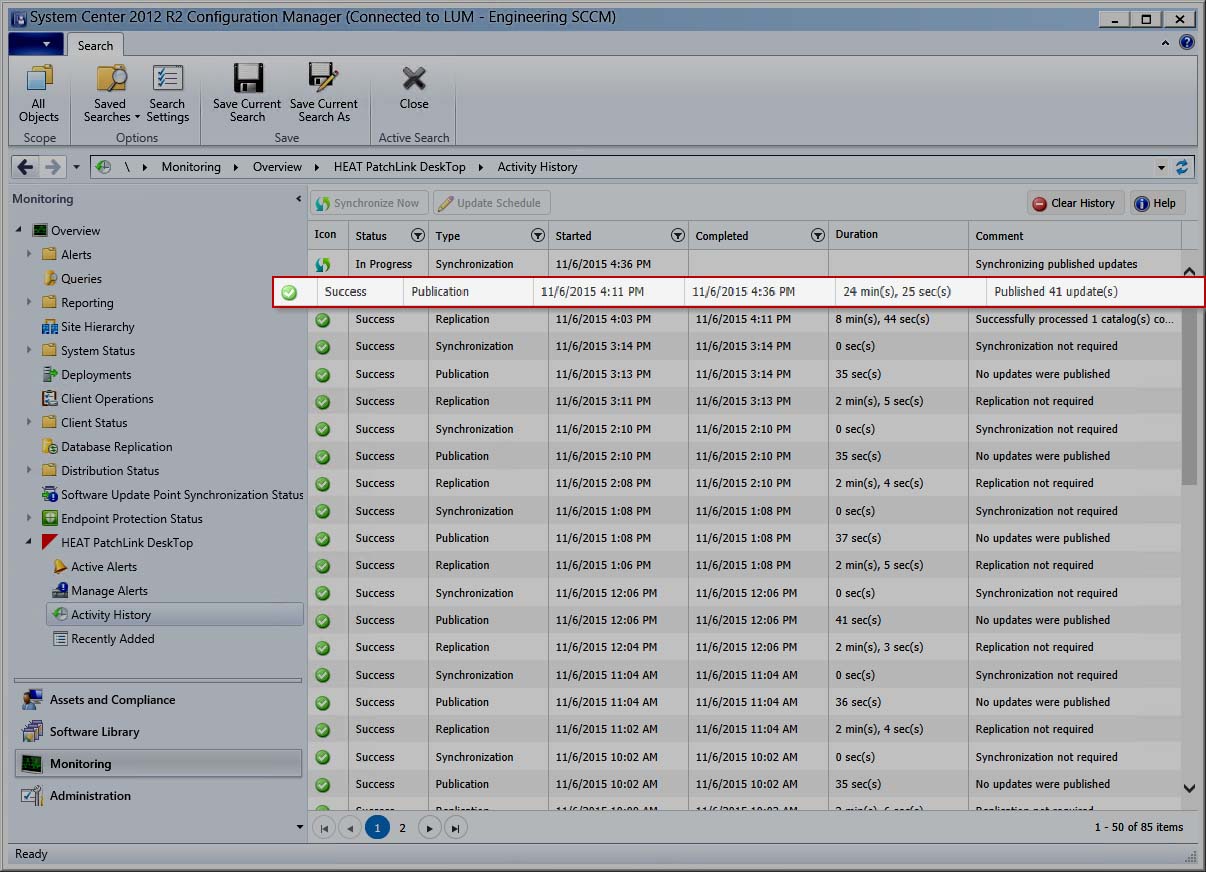
Result: After the Status column changes to Success, the software is
published within WSUS.
Step 4: Deploy Software
Prerequisites:
Per the standard System Center Configuration Manager workflow, create a network share that will be used as a location where your deployment
targets can use to access the software.
-
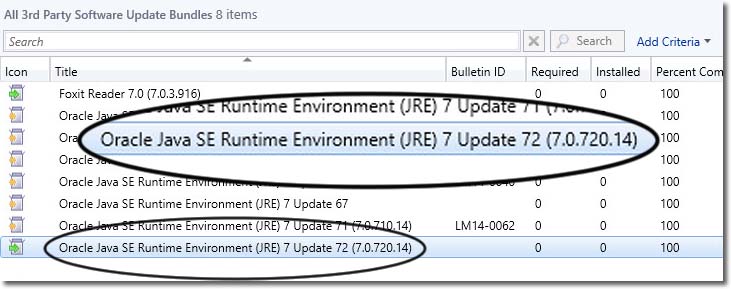
From the main pane, select the software that you want to deploy.
In our example, we're going to deploy the latest version of Java 7.Tip: Select multiple bundles by using Shift+Down Arrow or Ctrl+Mouse1.
-
From the Ribbon, click Deploy.
- If the Ribbon isn't displayed, click the Maximize arrow that's in the
upper-right corner next to the Help icon.

- You can also right-click your selection and choose Deploy.
Step Result: The Deploy Software Updates Wizard opens. - If the Ribbon isn't displayed, click the Maximize arrow that's in the
upper-right corner next to the Help icon.