Linking users to groups and roles
You can link a single user to many groups or roles using the User Management tree in the Administration component.
You can also link many users to a single group or role. For more information, see Linking many users to groups or roles at one time.
You can also manage the links between users, groups and roles with user structures. For more information, see User structures.
To link a user to many groups:
- In the Administration component, expand the User Management tree (
 ).
). - Select the required user.
- On the Actions list, click Add/Remove Groups.
The Add/Remove Groups dialog appears.
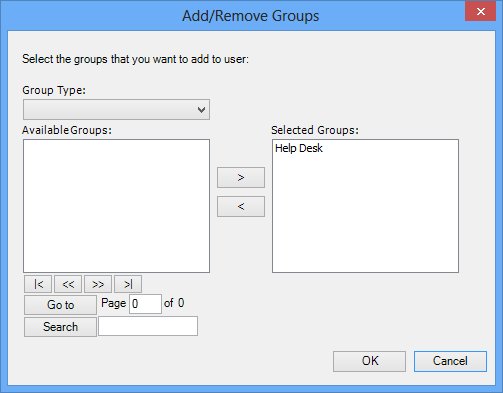
- Select the relevant Group Type, for example Support Group.
The Available Groups list updates. - Select the group that you want the user to be a member of, then click
 .
.
The User Group window appears.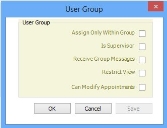
- Select the required check boxes:
Assign Only Within Group – restricts the user to assigning items only to other members of the group. This means that if a user tries to assign to a different group, the assignment is rejected.
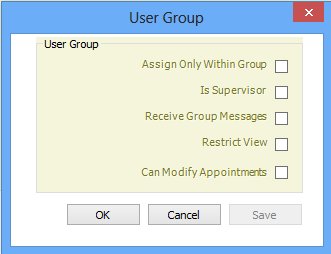
Is Supervisor – enables the user to see items for any user where the group is the current group, plus items where the group is blank that are assigned to other users that are members of the current group. For more information, see Supervisors.
Receive Group Messages – the user receives any messages (including assignment notifications, escalations and reminders) that are sent just to the group.
If you make an assignment to an analyst and their group at the same time, and other analysts within that group have the Receive Group Messages option selected, to ensure that just the specific analyst gets the notification of an assignment, you need to modify the tps.config file. For more information, see below.
Restrict View – the user sees only items where their name matches the User on the assignment, and the Group matches the current group or is blank. If this option is not selected, then a user also sees items that are assigned to their current group, but where the User is blank.
Can Modify Appointments – enables analysts to move schedule management appointments that were created by other users. (This check box is not on the window by default.)
For more information about Schedule Management, see the Ivanti Web Access Administrator Guide.
The User Group Settings dialog appears each time you add a group to the Selected Groups list.
- Click OK.
The Group is added to the Selected Groups list. - Repeat as required, then click OK.
To assign a user many roles at one time:
- Within the Administration component, expand the User Management tree.
- Select the required user, then on the Actions list, click Add/Remove Roles.
The Add/Remove Roles dialog appears.
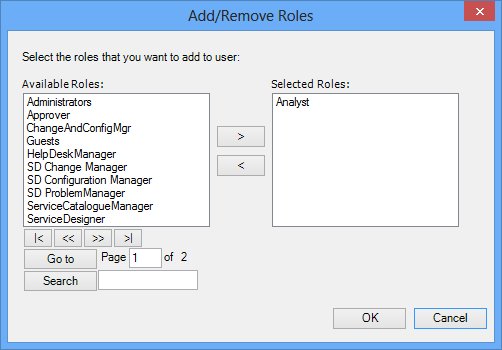
- In the Available Roles list, select the required role, then click .
The roles are added to the Selected Roles list.
You can select more than one role at a time by pressing and holding the Ctrl key and using the mouse, selecting the required roles, then click ![]() .
.
- Click OK.
You can also use the User Management tree in the Administration component to link a single user to a single group or role either by dragging the user onto a group or role in the tree, or by opening the user window and then dragging a group or role from the tree onto the corresponding tab of the user window.
The User Group Settings dialog appears each time you add a user to a group.