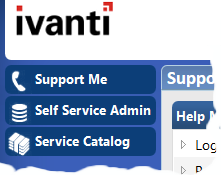
The Self Service navigation bar
The navigation bar on the left of Self Service provides access to the different areas of Self Service that you have access to.
Unlike Web Desk, the groups on the Self Service navigation bar can also be associated with a page. For example, you could associate a dashboard with each group to show information that is relevant to that group.
To associate a page with a shortcut group:
- Display the page that you want to associate with the shortcut group.
- Right-click the shortcut group that you want to associate the page with, then click Replace this shortcut group with current page.
The shortcut group is associated with the current page.
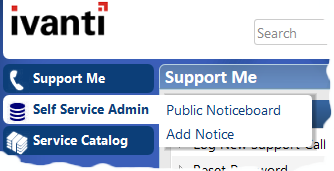
The shortcuts in each shortcut group appear when you hold the mouse over a group.
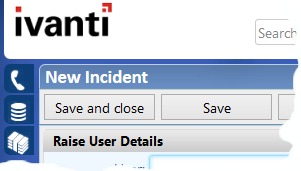
When you click a link that displays a document (such as a New Incident window), the navigation bar becomes narrower, displaying only the group icons, to provide more space for the window you are using.
You can create shortcuts in Self Service in the same way that you can for Web Desk (see Adding items to the shortcut bar). You can also move the groups and items in a group by dragging them to new positions within the navigation bar, and you can create new groups.
To create a new group on the Self Service navigation bar:
- Right-click the navigation bar, then click New group.
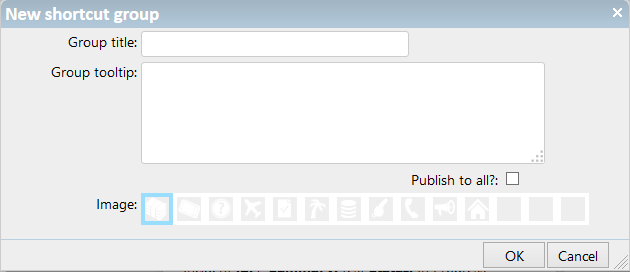
The New shortcut group dialog appears.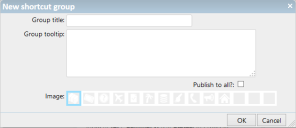
- In the Group title box, type the text that you want to appear on the group.
- In the Group tooltip box, type the text that you want to appear as a tooltip when you hold the mouse over the group.
- Select the Is system group? and Publish to all? check boxes as appropriate.
- From the Image strip, select the image that you want to use on the group, then click OK.
The group is added to the navigation bar.
For information about changing the images available on the Image strip, see Changing the Self Service toolbar and group images.
If you have set up a multilingual system, you can add translations for shortcut groups and shortcut items by right-clicking the shortcut group or shortcut item, then clicking Localize Shortcut Group or Localize Shortcut.
Publishing the Self Service Shortcut bar
You can manage the publishing of Self Service Shortcut bars in the same way as Console Shortcut bars and Web Desk Shortcut bars, from the Shortcut Manager dialog in the Ivanti Console.
To access the Shortcut Manager dialog, click Manage Shortcuts on the Shortcuts menu in the Ivanti Console, then select Self Service Shortcut bar in the list box at the top of the dialog.