Configuring Corporate-Owned iOS Devices
The Apple Deployment Program (ADP) enables you to deploy iOS devices that your business has purchased directly from Apple or from a participating Apple Authorized Reseller or carrier.
You can automatically enroll devices in mobile device management (MDM) without having to physically touch or prepare the devices before users get them. The use of MDM minimizes the setup process for users by removing specific steps from the Setup Assistant.
You can also control whether or not the user can remove the MDM profile from the device. For example, you can order the devices from Apple, configure all the management settings, and have the devices shipped directly to the user’s home address. After the device is unboxed and activated, the device enrolls in your MDM and all management settings, apps, and books are ready for the user.
After enrolling in the program, administrators log in to the portal, link one or more MDM servers to the ADP account, and then associate specific devices to one of the MDM servers. The devices can then be assigned to users via MDM. After a device is activated, any MDM-specified configurations, restrictions, or controls are automatically installed.
Enrolling in Apple Deployment Programs
Before you begin using Apple Deployment Programs (ADP), you first need to enroll in the program. You must have the signing authority to enroll on behalf of your business or institution, as you will be responsible for agreeing to the terms and conditions for each program you access within ADP.
Refer to Apple’s Device Enrollment Support Page for the details of prerequisite steps for enrollment in the program.
To enroll in Apple Deployment Programs:
1.Go to the Apple Deployment Programs portal on your browser.
2.Create an agent account and provide an email address associated with your business or institution. This email address will be used to create your ADP Apple ID, which is required before signing into ADP.
3.Enable two-steps verification. A recovery key is sent, which you need to retain in case you forget your password or lose access to your devices. An email is sent when two-steps verification is enabled.
4.Provide additional business or institution information such as verification contact, business or institution information, Apple customer number, Reseller ID, and Customer ID.
Adding the Pulse Secure Application to the App Catalog
Before provisioning the device, you need to add the Pulse Secure iOS application to the App Catalog. To add the Pulse Secure application to app catalog, refer to Adding an iOS App to the App Catalog Manually, using the following app information:
•Package: net.pulsesecure.pulsesecure
•App Location: Enter Download URL
•Download URL: https://itunes.apple.com/in/app/pulse-secure/id945832041?mt=8
•Title: Pulse Secure
•Creator: Pulse Secure
Setting Up the Apple Deployment Program
After your enrollment is complete, go to the Apple Deployment Programs portal to prepare settings for your institutionally-owned devices. Complete the following steps:
1.Add administrator accounts for individuals who are authorized by your business to access the portal.
2.From the ADP portal, establish a virtual server for your MDM server or servers. Virtual servers in ADP are linked to your physical MDM servers. Each server must be known to Apple and authorized to manage your devices. A two-steps verification process is used to securely authorize an MDM server.
3.Assign devices to your virtual MDM servers by order number or by serial number. Only eligible devices will be available for assignment to your MDM server. You can also download a comma-separated value (CSV) file that contains the full list of all unassigned devices in a specific order.
4.After virtual MDM servers are set up and devices are assigned to them, you can review several aspects of your device assignment, including: Date of the assignment, Order numbers, Name of the MDM server to which the devices are assigned, Total number of devices, separated by device type. You can also download a CSV file containing all the serial numbers of the devices assigned to each MDM server.
Adding Administrators for ADP
After you are enrolled to Apple Deployment Programs (ADP), you will be able to add additional administrator accounts for individuals who are authorized by your business or institution to access the portal.
To add administrator accounts:
1.Select Admins in the Apple Deployment Program portal.
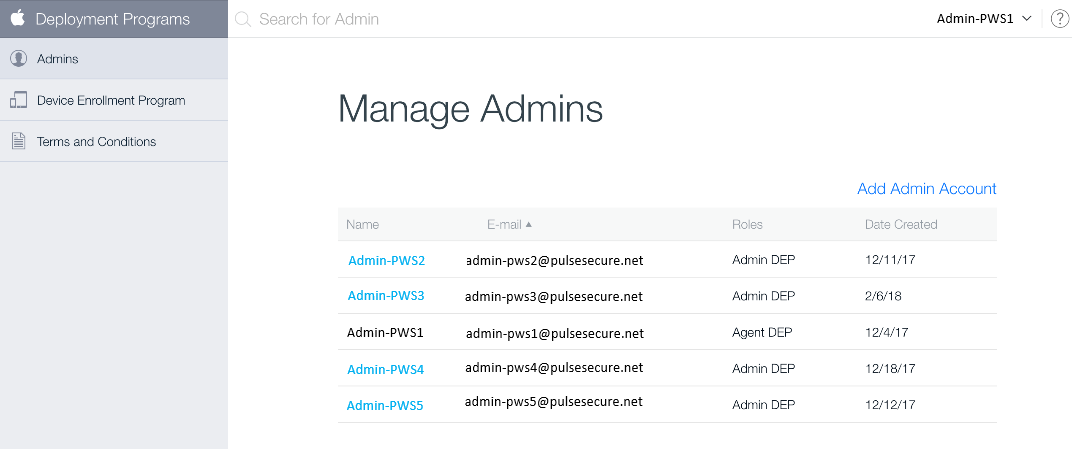
2.On the right-hand side, select Add Admin Account.

3.Enter the admin details and click Add.
Configuring for ADP on Pulse Workspace
IT Administrators can configure multiple ADPs on Pulse Workspace server.
Before you start, you must download the public key certificate file from Pulse Workspace.
1.Log into Pulse Workspace.
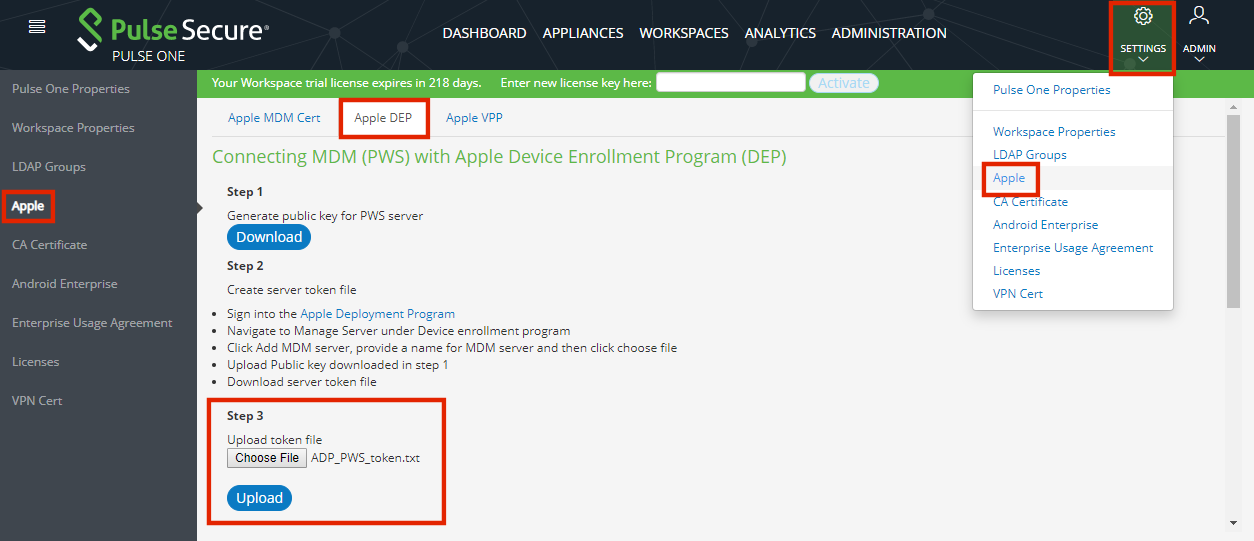
2.Select Settings > Apple and select the Apple DEP tab.
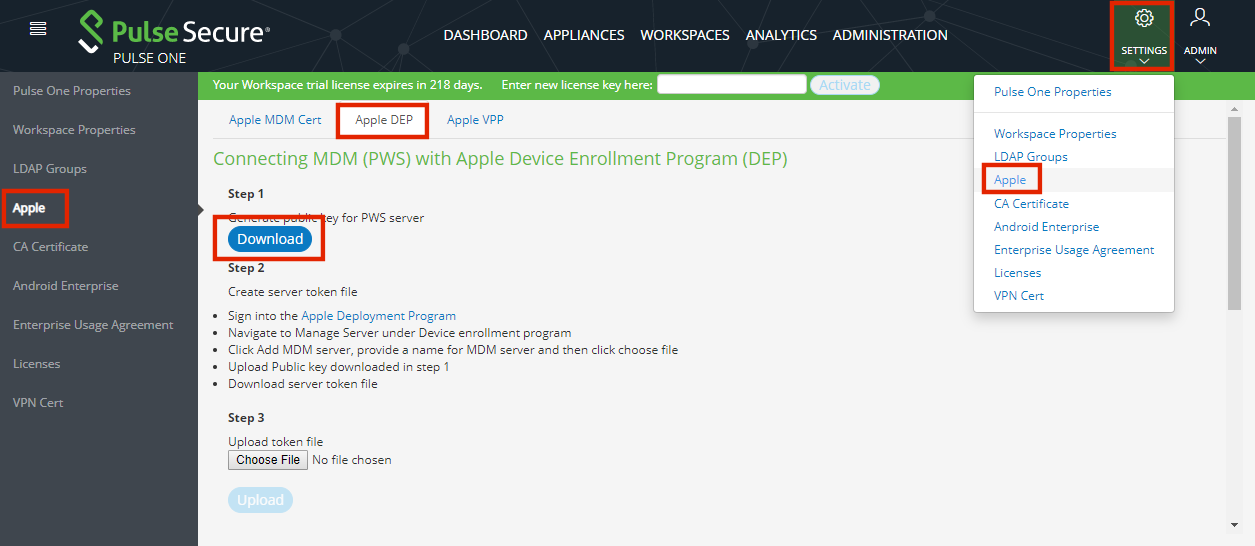
3.Select Download and save the public key file locally.
4.Access the Apple Deployment Program portal in your browser, and log in.
5.Select Device Enrollment Program.

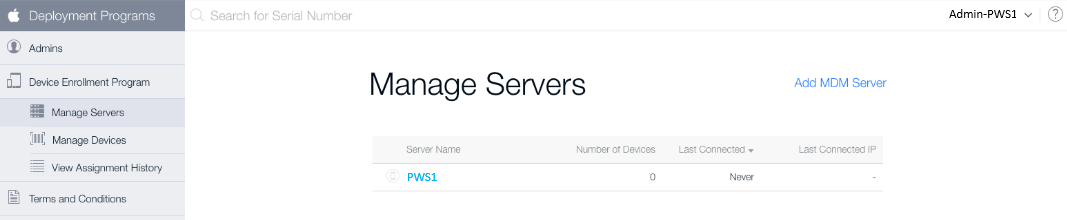
6.Select Manage Servers.
The Manage Servers page appears.
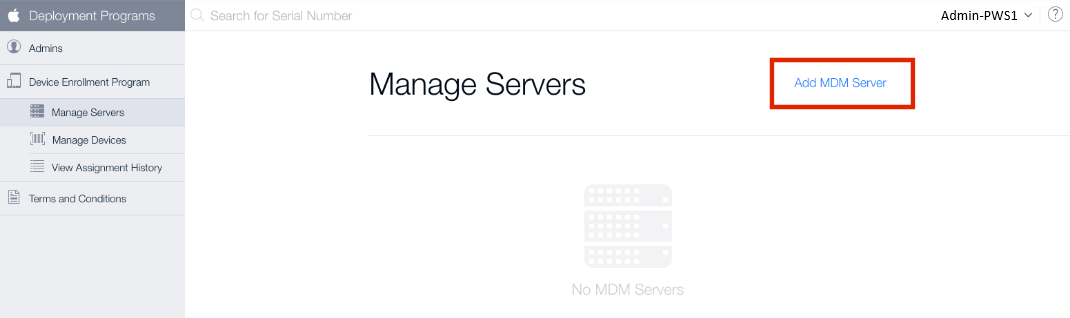
7.Click Add MDM Server.
The Add MDM Server dialog appears.
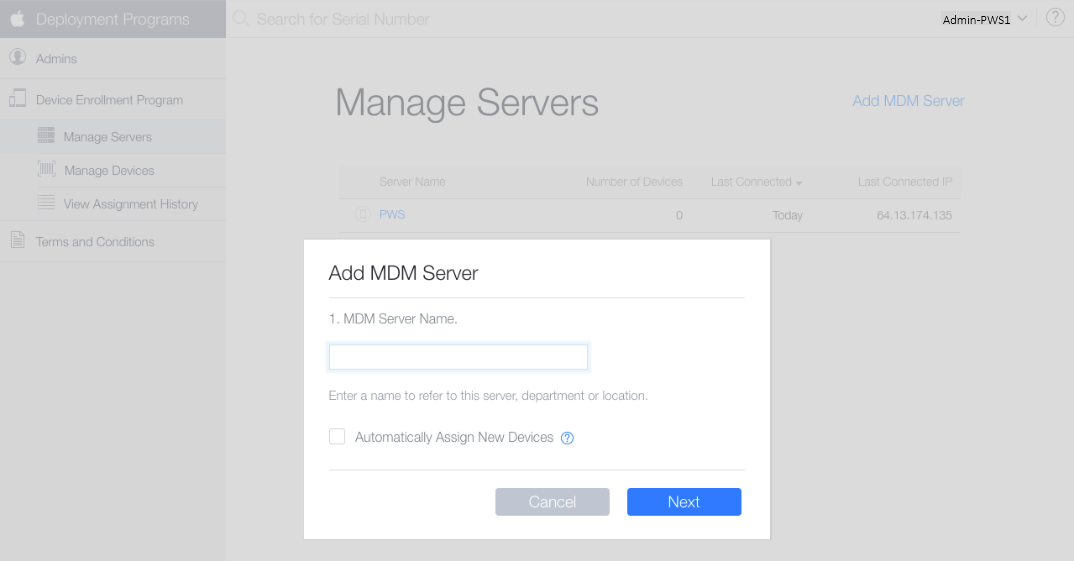
8.Enter an MDM Server Name for the Pulse Workspace server and click Next.
The dialog updates.
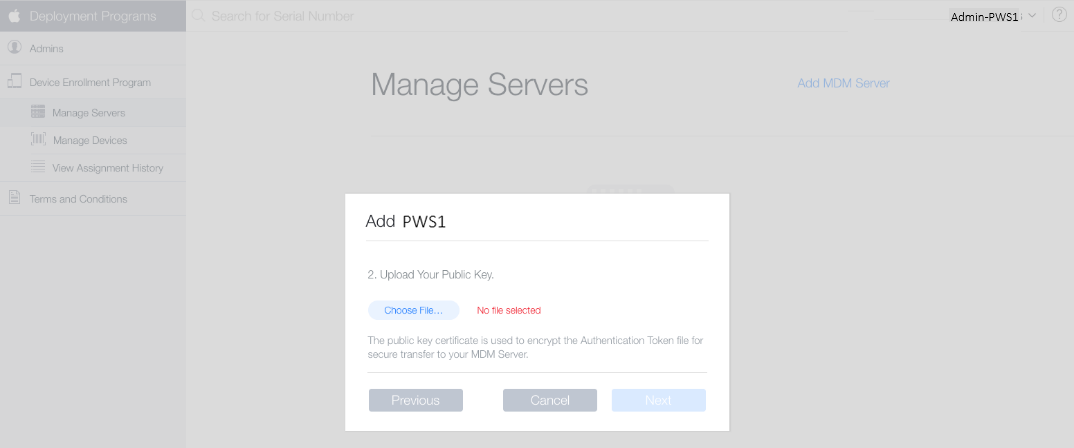
9.Click Choose File, and select the public key file.
The dialog updates.
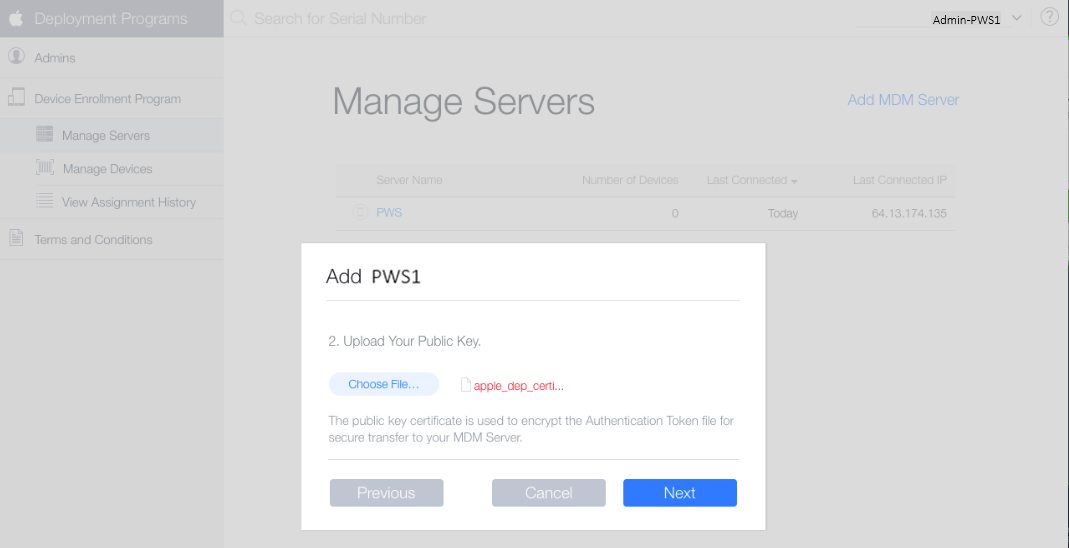
10.Click Next.
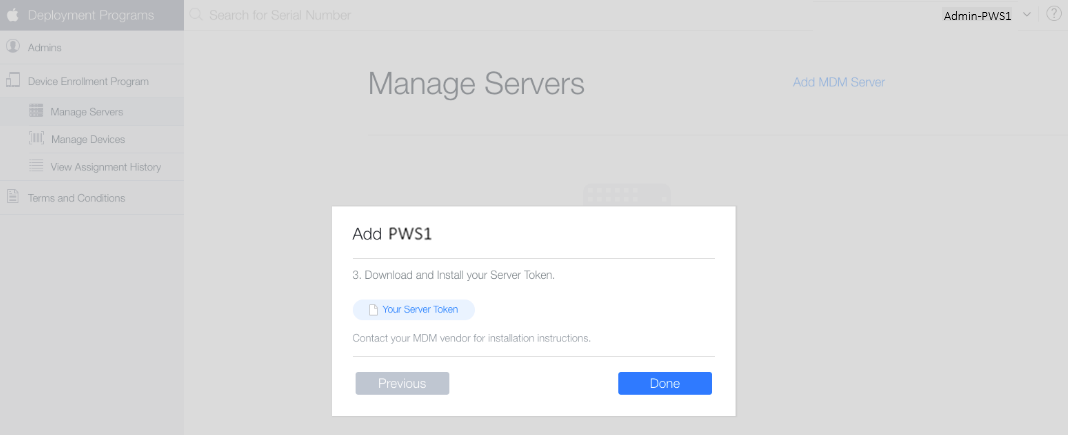
11.Click Your Server Token and save the token file locally.
12.Click Done.
The server is added successfully.
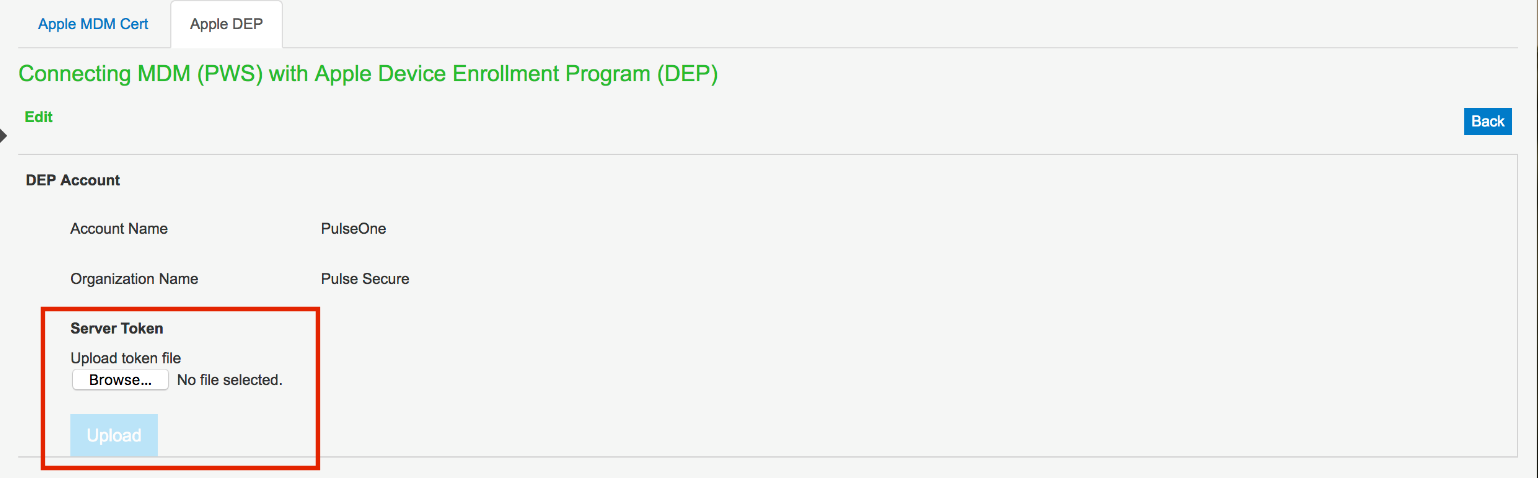
13.On Pulse One, return to the Apple DEP tab.
14.Click Choose File and locate the server token file.
15.Upload the server token.
After successful upload of the server token, the ADP profile page is displayed.
16.Make necessary configuration and click Save.
For configuration details, see Configuring the ADP Profile.
The details are displayed in the Pulse Workspace console.
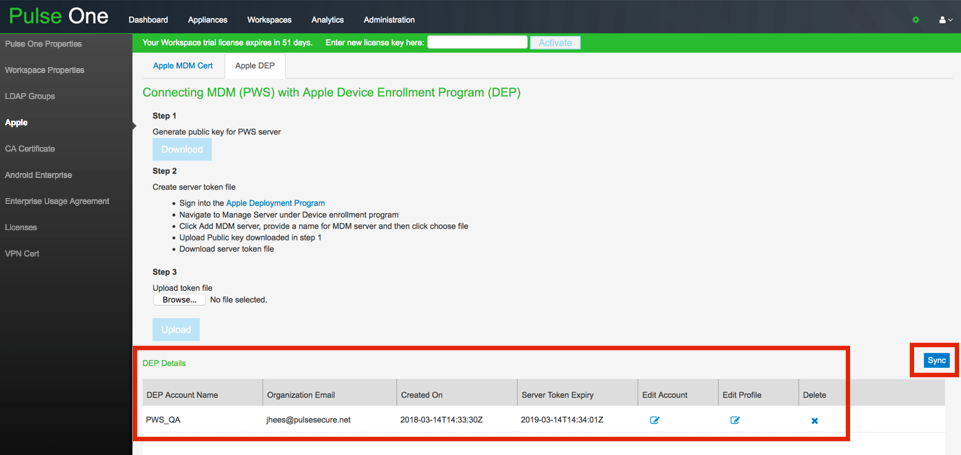
17.Click the Sync button to sync the ADP account information with ADP portal.
A confirmation dialog appears.
18.In the confirmation dialog, click Yes.
Your account info will then be synchronized with the ADP portal.
Pulse Workspace will sync automatically with the ADP portal one per hour.
Configuring the ADP Profile
IT Administrators configure the ADP enrollment profile that must be pushed to devices. This profile includes:
•Name: The name of the device enrollment profile. This is not visible to user.
•Description: The description of the device enrollment profile. This is not visible to user.
•Department: This information appears when users click About Configuration during activation.
•Support Phone Number: This information appears when the user clicks Need Help during activation.
•Preparation Mode: This state is set during enrollment and cannot be changed without factory reset of device:
•Supervised.
This setting enables Lock Enrollment profile to device to be enabled.
•Unsupervised
•Lock Enrollment profile to device:
•Enable - disable management profile to be removed from settings.
This setting requires Preparation Mode to be Supervised.
•Disable - allows the management profile to be removed.
•Setup Assistance: Configures the settings that customize iOS setup assistance. The following settings are enabled:
•Passcode - Prompt for passcode during activation.
•Location Services - Prompt for the location service during activation.
•Restore - Prompt for iCloud backup during activation.
•Apple ID - Prompt users for an Apple ID when PWS attempts to install an app without an ID.
•Terms and Conditions - Prompt users to accept Apple's terms and conditions during activation.
•Touch ID - Prompt for Touch ID service during activation.
•Apple Pay - Prompt for Apple pay service during activation.
•Zoom - Prompt for Zoom service during activation.
•Siri - Prompt for Siri service during activation.
•Send diagnostic data to Apple - Prompt for this service during activation.
Managing ADP Devices
With the release of iOS 11, Apple provided businesses a means to add any existing iOS device to their Apple Deployment Program (ADP) account. You can add a device using Apple Configurator 2.5 or later and a wired connection to the iOS device. Apple Configurator can be downloaded from the Apple App Store.
1.Access the Apple Deployment Program portal in your browser, and log in.
2.Select Manage Devices.
3.Under Choose Devices By, select the method to define ADP enabled devices - Serial Number, Order Number or Upload CSV File.

4.Under Choose Action, select Assign to Server, and then select the configured MDM (PWS) server from the list.
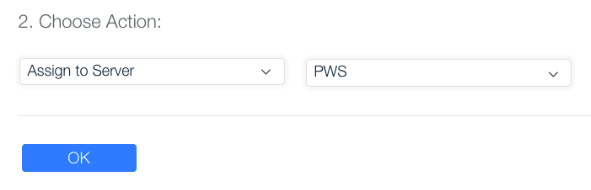
5.Click OK.
A confirmation message appears. For example:
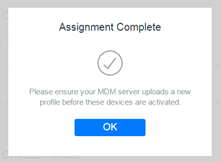
Configuring Pulse Workspace for User Authentication
This section describes Pulse Workspace configuration for SAML-based and Pin-based user authentication.
SAML-based Authentication
Pulse Workspace uses SAML authentication when SAML authentication is enabled, see the "Configuring Enterprise SSO Using SAML" chapter of the Pulse One Administration Guide.
When SAML is enabled, Pulse Workspace sends a login request to Pulse Connect Secure to verify the user.
To configure Pulse Workspace for SAML-based authentication, do the following:
1.Follow the steps described in the "Configuring Enterprise SSO Using SAML" chapter of the Pulse One Administration Guide.
2.On Pulse Workspace, navigate to Settings > Apple > Apple DEP > Edit Profile.
3.Provide the PCS Sign-In URL for SAML authentication and click Save.
For details about PCS Sign-In URL, refer to the "Sign-In Policies" chapter in the Pulse Connect Secure Administration Guide.
PIN-based Authentication
Pulse Workspace uses PIN-based authentication when SAML authentication is disabled, see the "Configuring Enterprise SSO Using SAML" chapter of the Pulse One Administration Guide.
To prepare Pulse Workspace for Pin-based authentication, do the following:
1.In Pulse Workspace, navigate to Workspaces > Devices > Users.
2.For each end user, create the required user/workspace, see Adding a User.
Retain the registration key for provisioning.
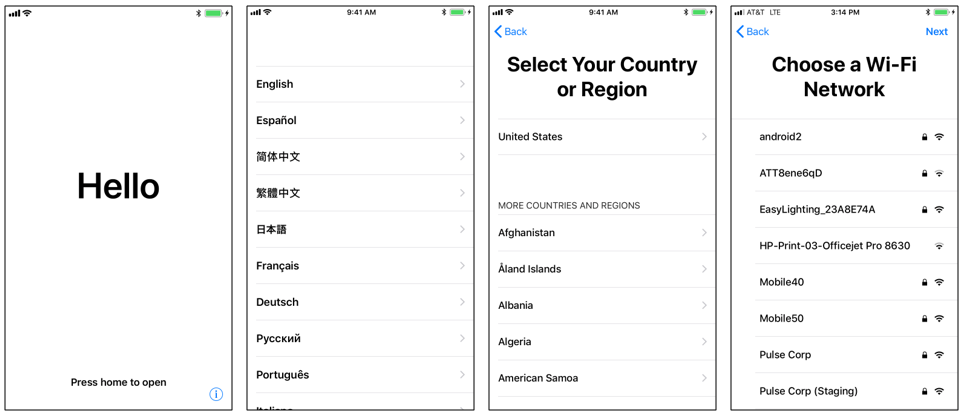
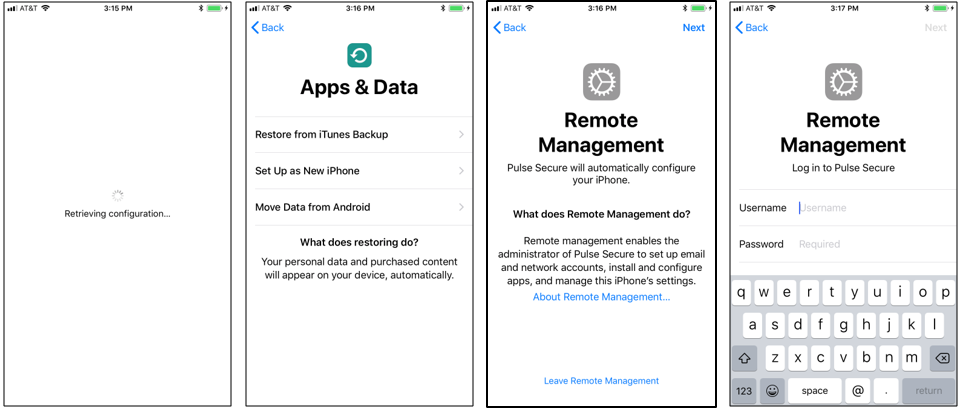
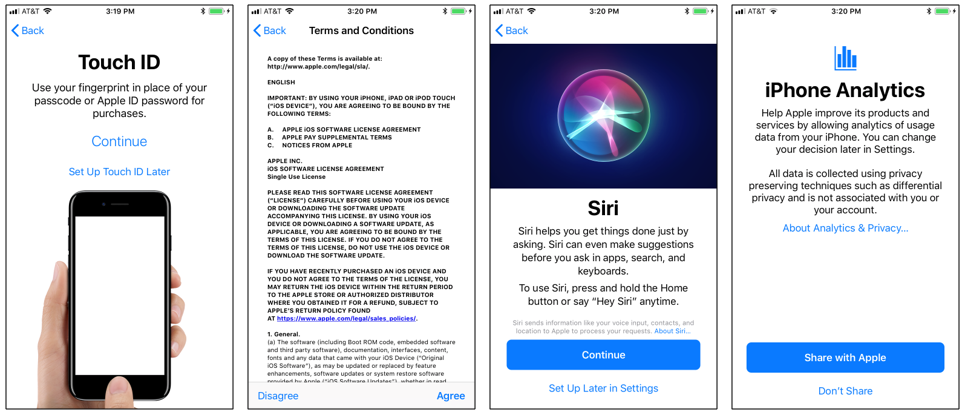
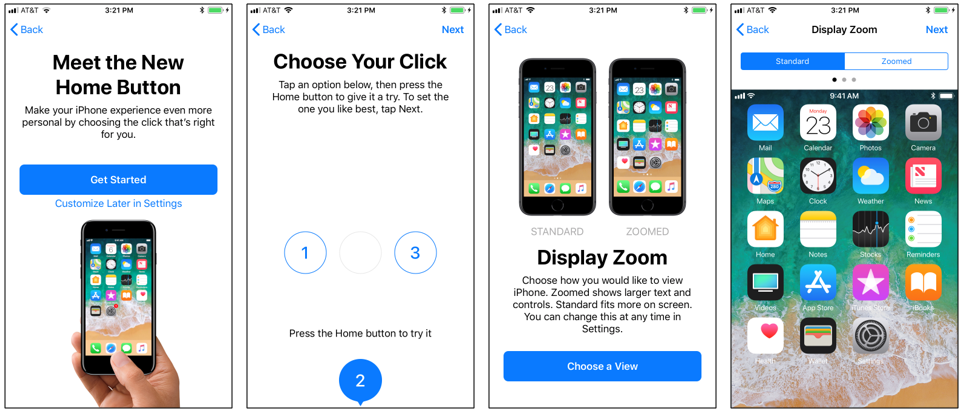
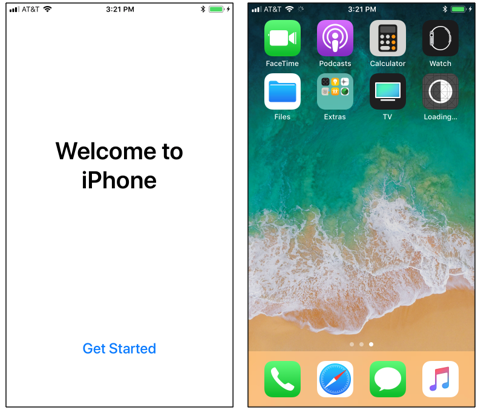
Enrolling an iOS Device
Once you have configured ADP for use, a registered end user can enroll an iOS device.
To do this, the user must power up the device, and follow the on-screen instructions through to completion.
For example:
Renewing an Expired Apple Server Token
After Configuring ADP with Pulse Workspace, ADP details are displayed in the Pulse Workspace console and server token is valid for one year. Two weeks before the token expires, Pulse Workspace server will send notification to the administrator. In the ADP portal, the administrator can download the new token, and then upload it to Pulse Workspace server to extend the token validity.
To upload the new server token:
1.Log in to Pulse Workspace console.
2.Navigate to Settings > Apple > Apple DEP.
3.Click the Edit Account icon in the details table.
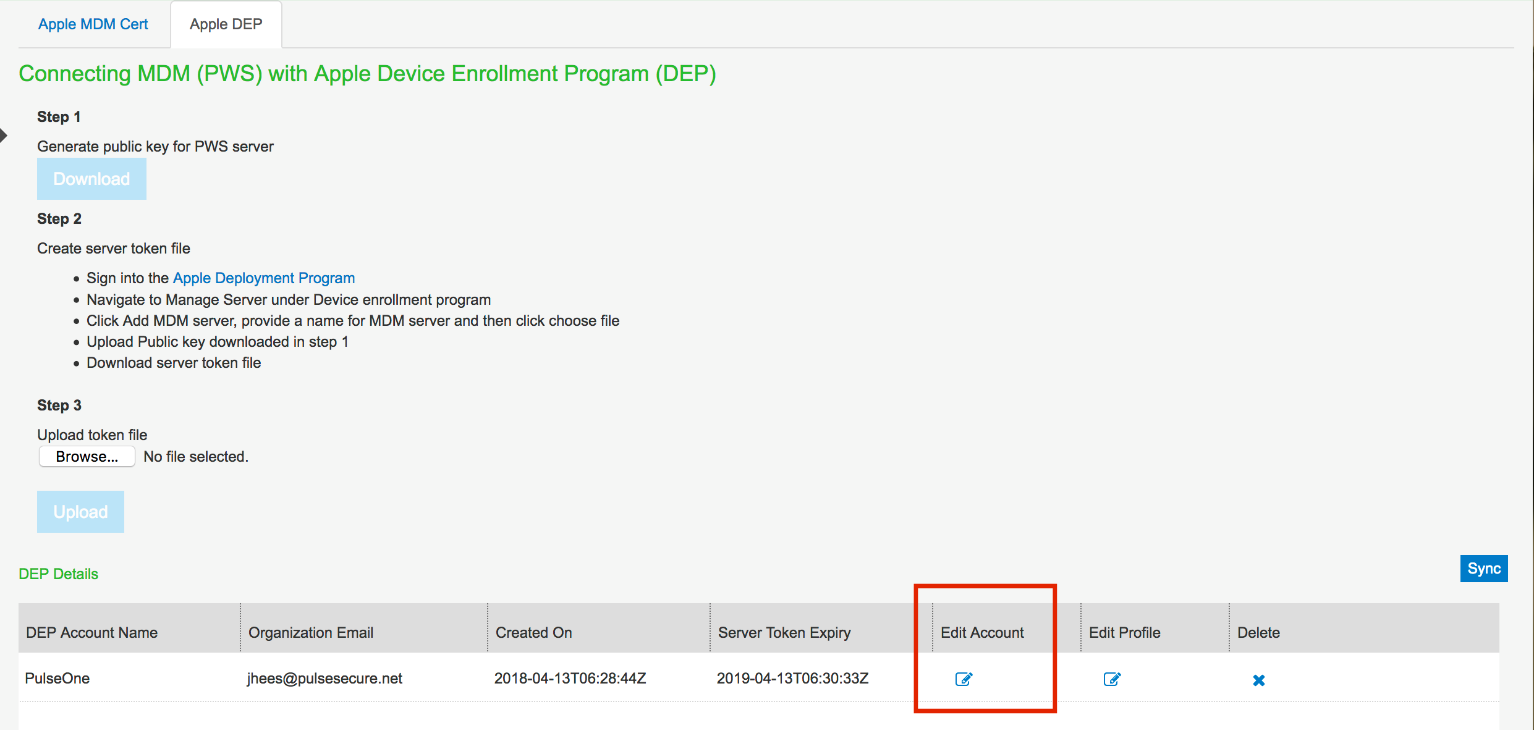
4.In the Edit page, click Browse and select the new token.
5.Click Upload.