Define Merge Actions for Field Validation/Auto-Population Properties
Use the Validation/Auto-Population page in the Field Properties window to define whether or not to overwrite the field's validation and auto-population properties.
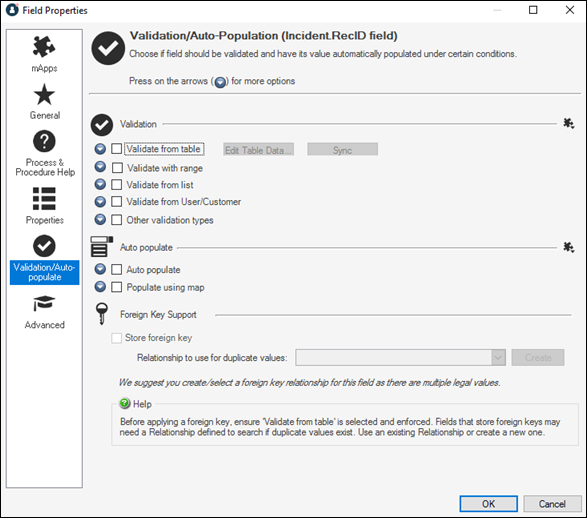
Note: The
Field Properties window is available in the
Business
Object Editor (accessed from within the
Object
Manager in the
mApp Editor).
Good to know:
- You can only configure separate merge actions for individual Business Object fields and field properties if the Business Object is set to Merge in the Business Object Properties window (mApp page). If the Business Object is set to any other option, or if Include in mApp is cleared, then you cannot configure separate merge actions for individual field properties.
- For more information about validation/auto-population properties, refer to Define Validation/Auto-Population Properties for a Field.
-
If you are configuring merge actions for Business Object fields that were previously applied as part of a Protected mApp™ Solution, the main differences are:
- You see a shield icon
 next to
each content-protected field.
next to
each content-protected field.
- If a Business Object field is content-protected, it cannot be deleted. This includes menu, context menu, toolbar, and related buttons.
- Default fields in a content-protected Business Object cannot be edited in any way but you can add new fields and then edit or delete them.
- When a Business Object is content-protected, you can increase its field length from the default and decrease it back to the original default length.
- You can use a content-protected Business Object property field in a Full Text Search by selecting the check box on the Search Results page.
- See Protected mApp™ Solutions.
- You see a shield icon
To define merge actions for field validation/auto-population properties:
- Add a Business Object to a mApp Solution using the Add Business Object to mApp Solution wizard.
- Open the
Field Properties window for a field in the
Business Object you just added to the
mApp Solution:
- In the
Object
Manager within the
mApp Editor,
select the
Edit Business Object task in the
Structure area.
The Business Object Editor opens, displaying the list of fields with a mApp Action column to show the merge actions selected for the fields in the Add Business Object to mApp wizard (either Overwrite or Do Not Overwrite. The mApp Action column is blank for fields set to Do Not Overwrite). If you set the Business Object to Merge in the Business Object Properties window (mApp page), then the selections made in the Defaults section (Default Behavior for Fields drop-down list) are also reflected in the mApp Action column.Tip: You can also select Edit Business Object
 on the
mApp Editor
toolbar to open the Business Object Editor.
on the
mApp Editor
toolbar to open the Business Object Editor.
- Select a field, and then select Field Properties.
- In the
Object
Manager within the
mApp Editor,
select the
Edit Business Object task in the
Structure area.
- Set the individual field to
Merge:
- Select the mApp page, and then select Include in mApp.
- In the Options area, select Import to Target System.
- From the If Already Present drop-down list, select Merge as the merge action for the field.
- Select the
Validation/Auto-Populate page.
- Select
mApp
 next to each property merge area, and then select a
merge action:
next to each property merge area, and then select a
merge action:
For validation properties:
- Do not overwrite the validation rule: Select this option to leave the field's validation properties unchanged in the target system when the mApp Solution is applied.
- Overwrite the validation rule: Select this option to overwrite the field's validation properties in the target system when the mApp Solution is applied.
For auto-population properties:
- Do not overwrite the auto-populate rule: Select this option to leave the field's auto-population properties unchanged in the target system when the mApp Solution is applied.
- Overwrite the auto-populate rule: Select this option to overwrite the field's auto-population properties in the target system when the mApp Solution is applied.
-
Select OK.
- Prepare the mApp Solution for Distribution (), or save the mApp Solution () to continue making other changes.