Networks Page: Overview
Summary: A high-level overview of the Networks page in Ivanti Neurons RBVM and ASPM
On the Networks list view, you can manage networks and view high-level information about the assets and vulnerabilities present within each network. You can also view the connectors associated with each network and review the network precedence rules for vulnerability scanner.
Unlike groups, which assist you with managing user access to assets, you use network partitions to manage the asset data. Deleting a network also removes any assets within the network from the client.
This list view shows counts for all assets and findings within each network. All users see total counts regardless of their group assignments.
Who can use the Networks page?
The ability to view the Networks page is available to users with the Core Read RBAC privilege. Users need the RBAC privilege Network Control to create, delete, and modify networks.
Overview
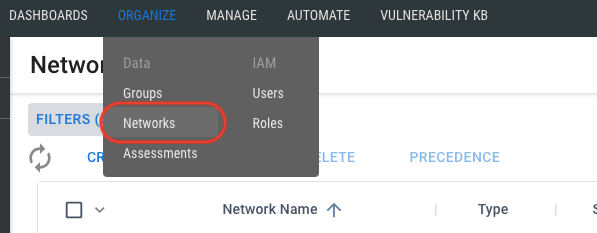
This Networks page shows To load the Networks page, navigate to the Organize > Networks page.
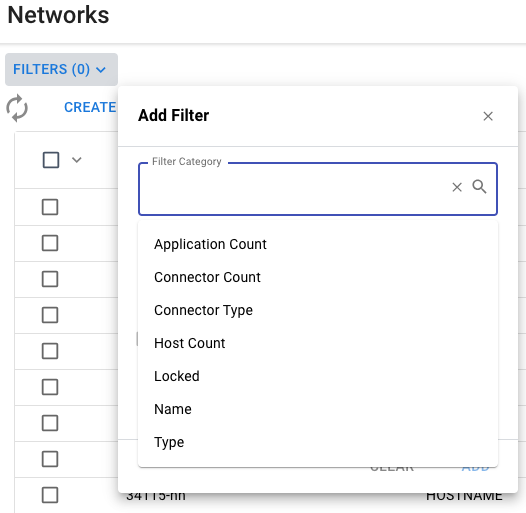
Filters: As with other pages in Ivanti Neurons, you can apply filters to the Networks page.
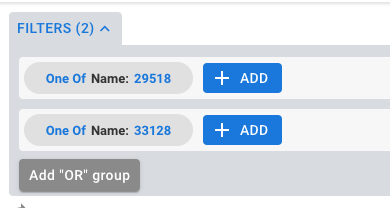
You can also add an OR filter expression by choosing Add “OR” Group.
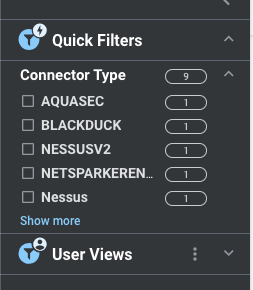
Quick Filters: Quick Filters offer easy access to commonly used filters also available within the filter bar. The Networks page offers the Quick Filter Connector Type.
Refresh: Click to refresh the page and view any changes made.

Create: From the CREATE menu, you can either create an assessment or a view. For more information about creating a new network, see Creating a Network.

If you want to customize the columns and filters on the Networks page, you can create your own view and share it with others. You can also set your own default view that will load the first time that you visit the Networks page after login. For more information, visit the overview on saved views
Edit: EDIT allows you can change the network name. You must select a network before you can edit it. For more information, visit the article on editing a network.

Delete: This option allows you to completely remove the network and any assets and findings associated with it. You must select the network before you delete it. For more information, visit the article on Deleting a Network.
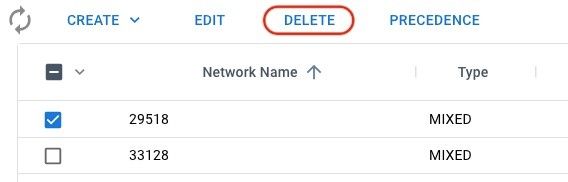
Precedence: This option allows you to view network precedence rules configured for different connectors. If any special exceptions exist for the network, the Network Precedence dialogue will also show this information.
To select this option, you must first select a network of the MIXED type.
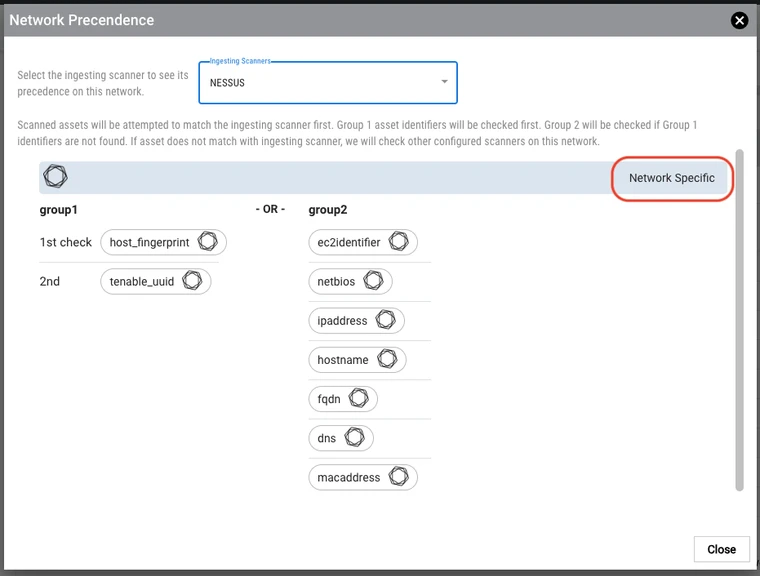
Open the list of Ingesting Scanners to view the vulnerability scanners associated with the network. Note that the list of “configured” scanners takes into account the network’s history and manually upload files. Although the platform may still have data from a particular scanner in this network, the connectors shown in this dialogue may no longer exist.
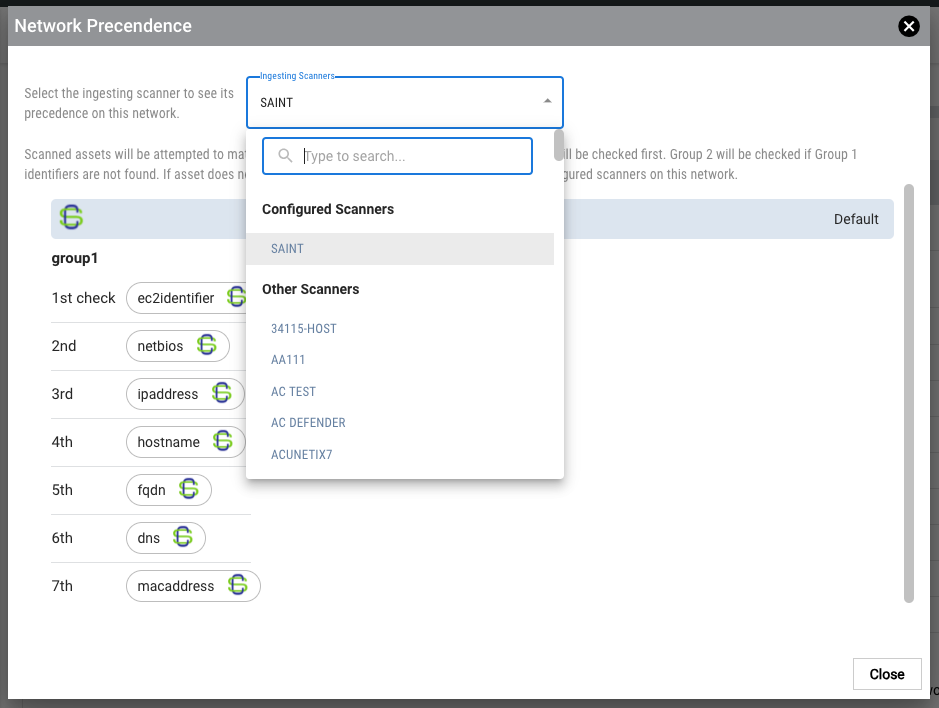
From this dialogue, you can also view default network precedence rules for other types of vulnerability scanners supported by Ivanti Neurons RBVM and ASPM.
On the right, the dialogue has an indicator for whether network-specific rules exist for the current scanner. In the image below, the dialogue indicates that the selected network has its own network precedence rules for Nessus.
For more information, visit the article on Asset Identification for Deduplication.
List View Settings: For more information on adding additional columns, reordering columns, sorting list view data, and managing other list view settings, visit the article on list view column and row settings.