Managing Individual Machine Properties
The Manage Machine Properties dialog is accessed from within Machine View or Scan View by double-clicking a machine or by right-clicking the desired machine and then selecting Machine properties. The dialog contains several tabs that enable you to define many different properties for an individual machine.
|
Tab |
Description |
|---|---|
|
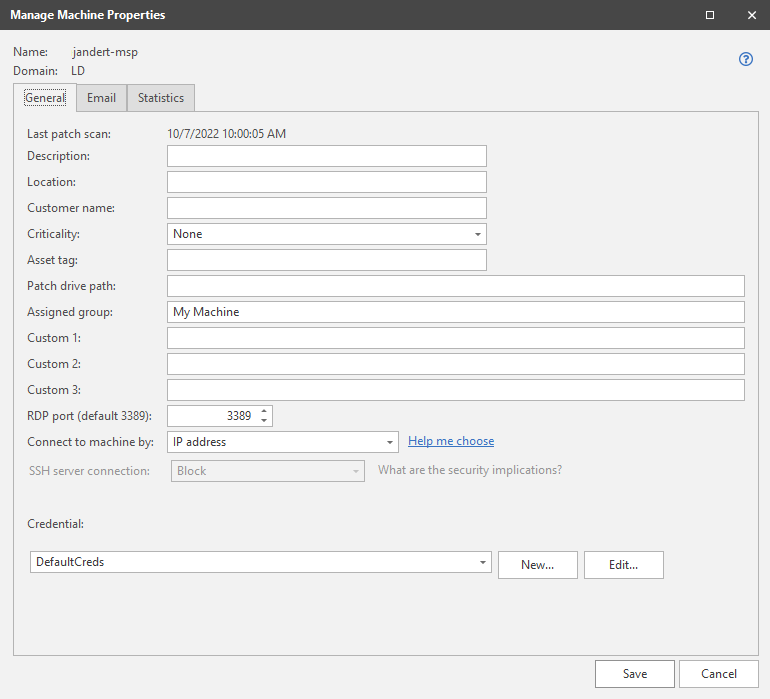
General |
Enables you to define a variety of general information about the machine, including:
The use of environment variables (such as %windir%) is not supported. For more detailed information, see IP Address vs FQDN. The setting specified here will be used for scans or agent installations that are initiated from Machine View or Scan View. This option is only configurable on Linux machines. If this is a Windows machine, the ability to modify this option is disabled. The SSH protocol is used when the console initiates a connection with the specified Linux machine. The primary use cases are when a power status scan or a push installation of an agent are initiated from the console to a Linux machine. Security Controls does not currently support the use of SSH server authentication, so unless you are certain that the specified Linux machine is trusted and safe, you should choose to block SSH server connections. For more detailed information, see the SSH Authentication topic. There may be several reasons for providing different credentials to a machine after a scan has been performed. If you have multiple administrators in your organization and each is responsible for a different domain, they will need to set their own credentials before performing an action. Or, your organization's policy may be to separate scan (assessment) duties from deployment duties, in which case different credentials are probably required. |
|
|
Enables you to specify which reports should be automatically sent and to whom the reports should get sent. The specified reports will be sent whenever the machine is involved in a scan or a deployment. To configure reports:
You can use the Machine owner and Machine admin boxes to define the owner and administrator of this machine. If you need to define a new contact or change the email address for a contact, select Manage > Address Book. |
|
Statistics |
Displays a trend chart showing the number of found and missing patches detected in the last several scans. This enables you to quickly determine if the patch security state of a machine is trending up or down. |