Installing Neurons for ITSM
•Where to Install Neurons for ITSM
Where to Install Neurons for ITSM
Before you begin installation, be clear on your deployment plan for Neurons for ITSM. See Neurons for ITSMNeurons for ITSM Deployment Overview.
•For the Demonstration or Proof-of-Concept Deployment, you install Neurons for ITSM onto the Neurons for ITSM server. With this deployment, you must install Microsoft SQL Server and Microsoft SQL Server Reporting Services (SSRS) on your server before you install Neurons for ITSM.
•For the Minimum Production Deployment , you install Neurons for ITSM onto the Neurons for ITSM server.
•For the Enterprise Production Deployment, you install Neurons for ITSM onto each of your Neurons for ITSM processing servers and web servers, as described below.
Installing Neurons for ITSM
Prerequisite:
•Without fail take a backup of the entire folder in all the machines where Neurons for ITSM is installed. This step is a mandatory preventive measure, do not miss it.
•Install the prerequisite installer using Ivanti Service & Asset Manager Prerequisite.exe.
The Ivanti Service & Asset Manager.exe installs the essential software that is required for running the System Configuration Wizard (SCW) tool.
•Install the Additional App Domain provided with the package. Follow instructions given in Additional App Domain Deployment.
Installing the Additional App Domain is mandatory.
Installation is basically the same for all hosts in your deployment, except for the features to be installed, which happens in Your selection of features from the Setup Type dialog box depends on the role of the individual host in your deployment plan.
After the Additional AppDomain powershell script is successfully run, the cache re-build is automatically executed. If the Additional AppDomains powershell script is not run in same machine, then the Cache Rebuild should be executed manually. For instructions on how to executed Cache Rebuild manually, refer to Neurons for ITSM Cache Rebuild.
Do the following on each production server in your deployment:
1.Access the installation folder on the Software product CD or zip file and run IvantiServiceManager.exe. Right-click and select Run as Administrator to ensure proper installation.
The installer checks for the prerequisite software components. If any of those components is not installed, the system prompts you to install them now.
2.Click Install at the prompt. Installation of the prerequisite software can take several minutes. If you are prompted to restart the system, click Yes. The system displays the Welcome dialog box. The installer checks for space and other requirements before displaying the Next button.
3.Click Next. The system displays the License Agreement dialog box.
4.Choose I accept the terms in the license agreement and click Next. The system displays the Destination Folder dialog box.
5.Click Next to accept the default installation folder, or click Change and select a different folder. The system displays the Setup Type dialog box.
6.Your selection of features from the Setup Type dialog box depends on the role of the individual host in your deployment plan.
•For the Demonstration or Proof-of-Concept Deployment, choose Complete, click Next, and install all components.
•For the Minimum Production Deployment , choose Complete, click Next, and install all components.
•For the Enterprise Production Deployment, your choice depends on the role of the host:
•Production processing server: Choose Custom, click Next, and install all components except for the Neurons for ITSM Operations Console. You must install this server first before you install the staging, UAT, or web servers.
•Staging or UAT processing servers: Choose Complete, click Next, and install all components.
•Web servers: Choose Custom, click Next, and only install the Neurons for ITSM application server.
For the Enterprise Production Deployment, note the following:
•If your deployment includes different processing servers for production, staging, and UAT, you must install the License Manager in every one of those landscapes.
•You can choose Complete and install all Neurons for ITSM features on all of your servers, but doing that takes up more disk space than necessary.
When installing components, note the following:
•To not install a component, click the down arrow next to the server icon next to the category name, highlight the component, right click, and select This feature will not be available.
•If your deployment includes DSM, you do not need to install the DSM Integration service because that component has been incorporated into Neurons for ITSM since Release 2015.2.
7.Click Next. The system displays the Ready to Install the Program dialog box.
8.Click Install. The system begins installing Neurons for ITSM and displays a status dialog box, showing the installation progress of each module over the next few minutes.
9.Click OK if the system displays a dialog box saying that reboot is required after installation.
10.If the system displays a dialog box saying that some of the files that need to be updated are currently in use, choose Automatically close and attempt to restart applications and click OK.
When the installation is completed, the system displays the System Configuration Wizard.
11.Go to Configuring Neurons for ITSM for instructions about using the System Configuration Wizard.
Installing Additional App Domain
You will be prompted to install the App Domain after the SCW installation is complete. Proceed with the installation without skipping.
•Additional components zip file is provided along with the installer.
•All the components in the zip files needs a working setup of Ivanti Service & Asset Manager.
•Powershell script should be run with Administrator privilege.
•Ensure you have atleast 500 MB of free space before running the script.
List of App Domains:
1.Survey
•SurveyUI
•SurveyProxy
2.ActionService
3.TeamsBot
Steps to run the script:
1.Extract the zip file provided along with the Installer.
The setup will have one powershell script named install.ps1.
2.Open a powershell window with Administrator privilege.
3.Run the following command from the extracted location:
Set-ExecutionPolicy Bypass -scope Process -Force
.\install.ps14.Teamsbot is optional component, please type yes to install. If Installing Teamsbot there are two URLs you need to pass where components are installed:
•AppServer URL
•CentralConfig URL
The value can be machine name (if above components are installed on a different server) or localhost (if the components are installed on same server).
OpsConsole, ActionService and Survey will be installed by default with the script as they are necessary components for the application to function properly.
Neurons for ITSM Cache Rebuild
Follow these steps to run the cache rebuild manually:
1.Open the command prompt as an Administrator.
2.Go to "HEAT Software\HEAT" folder on the machine where you have run the installer.
For example, D:\HEAT Software\HEAT\AppServer\CacheRebuild.
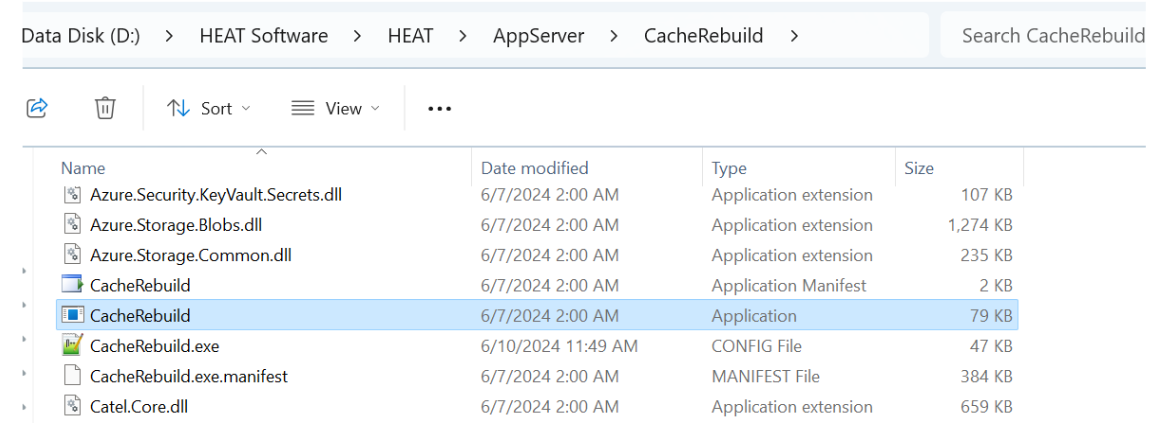
3.In the command prompt once the path is correct, run the CacheRebuild.exe.
For example, D:\HEAT Software\HEAT\AppServer\CacheRebuild>CacheRebuild.exe.
Do not close the command prompt window while the cache rebuild is running, it will close automatically after it's done.
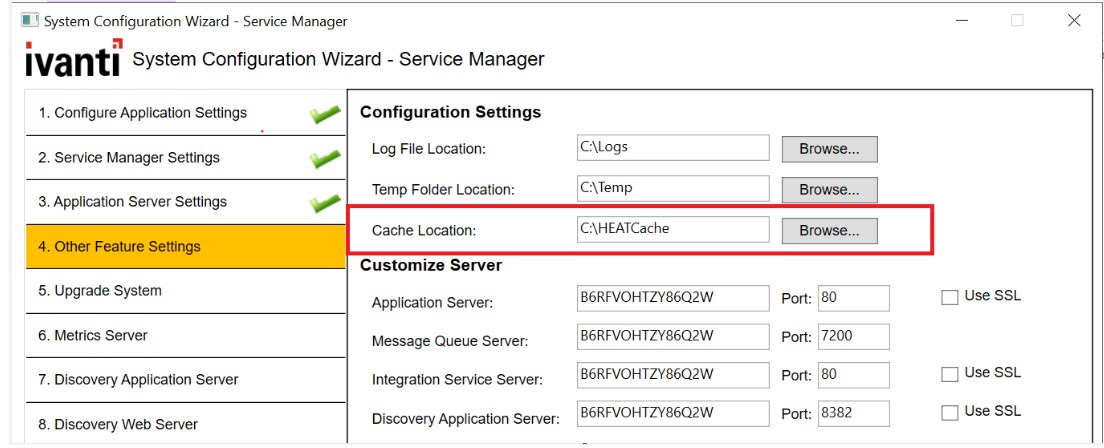
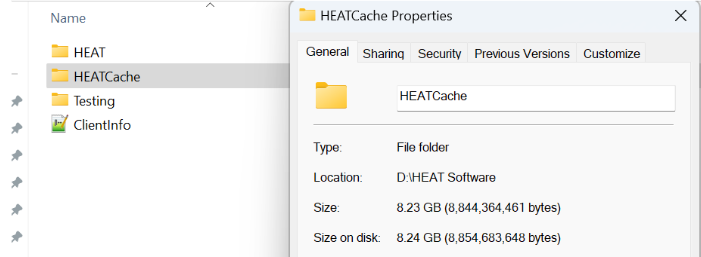
The CacheRebuild folder will be saved in the path provided in the SCW.