This page refers to an older version of the product.View the current version of the User Guide.
Editing Templates
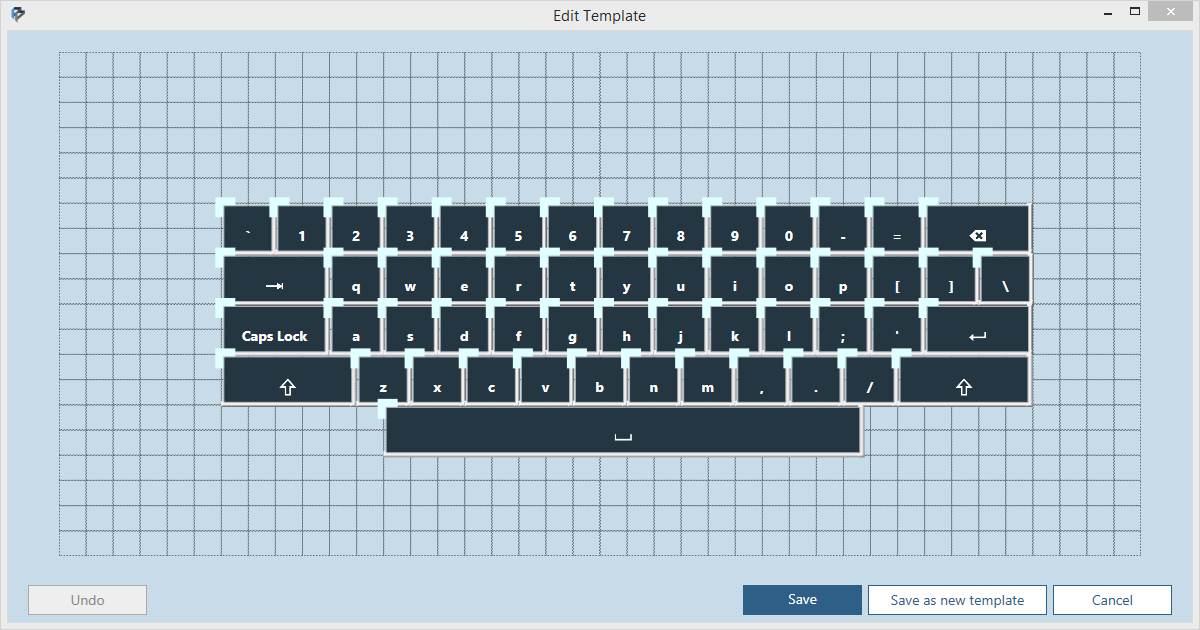
A keyboard consists of a template with a preassigned layout of blank keys that can be given values and labels from the Editor panel. To change the size, location, and number of buttons on a keyboard, you must edit the keyboard's template directly.
To edit a template:
1 Select the keyboard from the Keyboards panel that you want to edit.
2 Click Edit > Edit Template or click Edit Template in the top-right corner of the Editor panel.
3 Make any edits as needed. Possible actions are described below:
• To create a new button, double-click on an unoccupied space in the template. The button appears, automatically aligned to the grid.
• To change the vertical and horizontal size of a button, click and hold the edge of a button and then drag.
• To move a button, click and hold the blue lines at the top-left side or corner of the button and then drag.
• To delete a button, double-click its center.
• To undo a recent action, click Undo.
4 When finished, click Save to apply the changes to the existing template or Save as new template to create a new template. Wavelink recommends saving a new template to preserve any original template files for future use in other projects you may create. When you save a new template, it is added to the Keyboards panel as a new keyboard.
For a complete tutorial on using the Template Editor, see the video below.
This page refers to an older version of the product.View the current version of the User Guide.
The topic was:
Inaccurate
Incomplete
Not what I expected
Other